24
Reverse Installation of the HRV
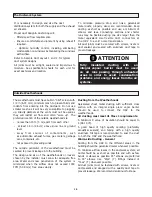
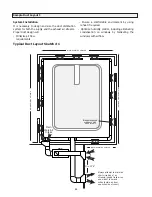
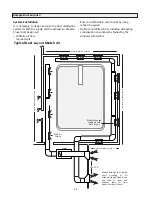
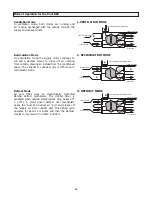
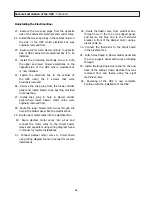
Damper Removal:
Reinstalling the Damper Motor:
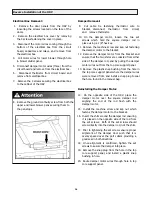
Electrical Box Removal:
1.
Remove the door panels from the HRV by
loosening the screws located on the face of the
doors.
2.
Remove the electrical box cover by removing
the 4 screws fastening the cover in place.
3. Disconnect the motor wires coming through the
bottom of the electrical box from the circuit
board, capacitors and relays, and remove from
the electrical box.
4. Pull motor wires for lower blower through hole
in blower divider panel.
5. Disconnect damper motor wires (three) from the
circuit board and remove from the electrical box.
6.
Disconnect thermistor from circuit board and
remove from electrical box.
7. Remove the 4 screws securing the electrical box
to the cabinet of the HRV.
8. Remove the ground continuity screw from both the
upper and lower blower pans securing them to
the pan stops.
14. On the opposite side of the HRV, place the
damper motor over the square damper rod
aligning the end of the rod flush with the
damper motor.
15. Install the machine screw and kep nut which
fastens the damper motor to the bracket.
16. Insert the shim around the damper rod ensuring
it is placed on the opposite side of the rod from
the set screws. Both of the set screws should
screw directly into the damper rod, not the shim.
17. Prior to tightening the set screws ensure proper
alignment of the damper door such that it is
evenly spaced over the port collars providing a
good seal in both directions.
18. Once alignment is confirmed, tighten the set
screws to secure the damper into place.
19. Remove the snap plug from the hole in the top
core support panel, and install a plastic snap
bushing in hole.
20. Route damper motor wires through hole in top
core support panel.
9. Cut cable tie fastening thermistor wire to
bracket, disconnect thermistor from circuit,
and remove thermistor.
10. On the damper motor, loosen the two set
screws which hold the square damper rod in
place using a 1/8” hex key.
11. Remove the machine screw and kep nut fastening
the damper motor to the bracket.
12. Remove the damper motor from the bracket and
ensure that the two shims are collected from either
side of the damper rod, and by pulling the damper
motor wires out from the top core support panel.
13. Remove the plastic snap bushing from the hole in
the top core support panel where the damper wires
were removed from, and install a snap plug to seal
the hole, found in the manual bag.
Summary of Contents for 1200 POOL
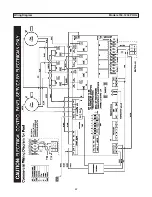
Page 27: ...27 Wiring Diagram Models 700 1200 POOL ...
Page 29: ...29 ...
Page 30: ...30 ...
Page 31: ...31 ...
Page 32: ...info lifebreath com T 1 855 247 4200 F 1 800 494 4185 69 POOL 100516 ...

