12
Figure 3
2. Remove the lung bags from
the upper compression plate.
Connect the right and left lung
bags to the adapters in the right
and left bronchi.
(See figure 3.)
B. Installing the Chest
Compression Plate
1. Remove the compression springs
from packaging. Insert the springs
into the four plastic cylinders
extending up from the lower com-
pression plate.
(See figure 4.)
2. Before replacing the upper com-
pression plate, make sure the
lung bags are connected to the
tracheal tube extending from the
lower portion of the neck of the
Airway Management Trainer head.
Figure 4
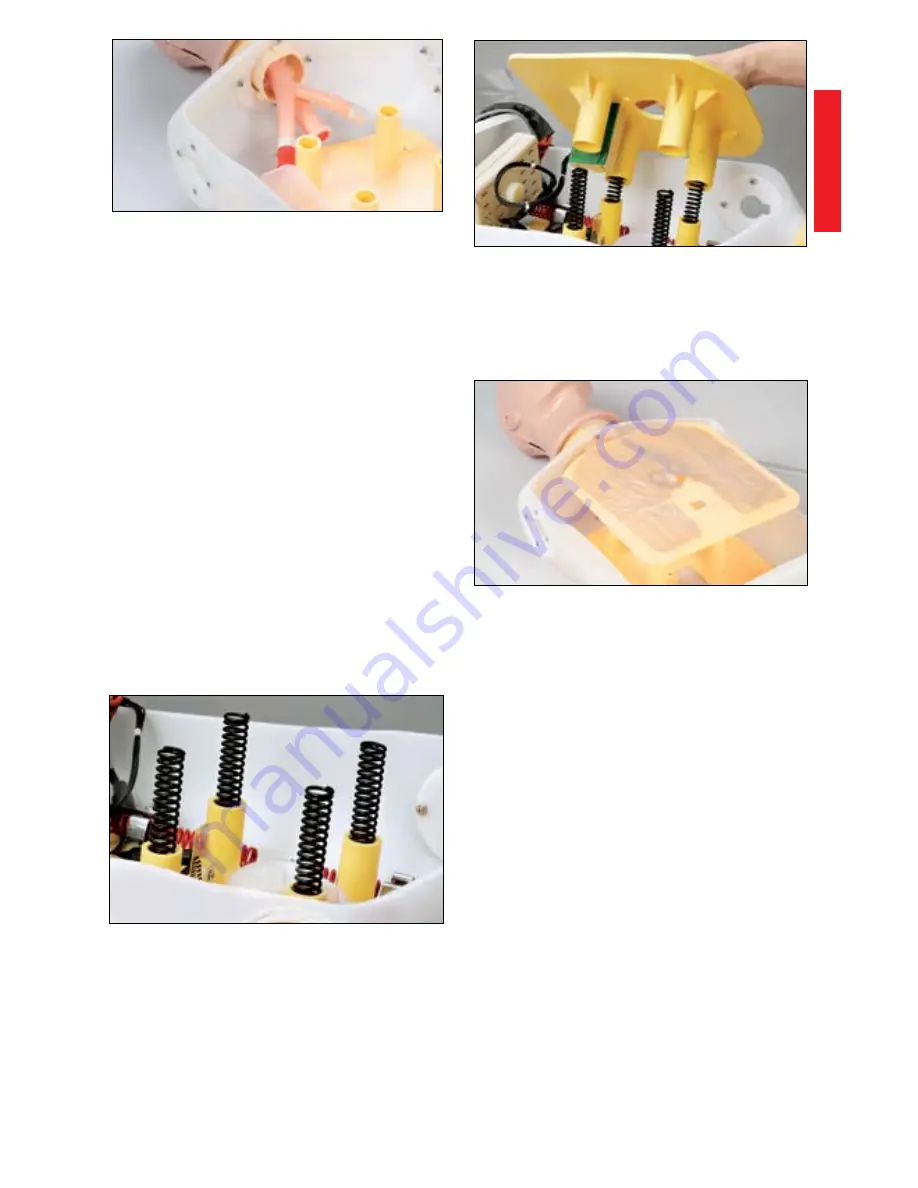
3. Position the upper compression
plate over the springs so that
each of the springs fits up into
a cylinder on the bottom of the
upper compression plate.
(See
figure 5.)
Figure 5
4. Place the lung bags through the
hole in the center of the upper
compression plate so they rest on
top of the plate.
(See figure 6.)
Figure 6
5. Place the chest plate back over
the upper compression plate and
lungs.
6. Reattach the chest skin by adjust-
ing the Velcro
®
edges. Again, be
careful not to damage the elec-
tronics attached to the chest skin.
Cleaning & Maintenance:
To clean the Airway Management
Trainer head, you will need to remove
the head from the manikin. To do so,
disconnect the lungs from the bronchi.
Then, rotate the head so that it is fac-
ing backwards. The large tab on the
front of the neck should be aligned with
the keyway in the torso. Tilt the head
upward until it snaps free. Disengage
the smaller rear tabs from the neck
opening and pull the head from the
body.
(See figure 7.)
Reverse these
steps to reattach the head.
Procedure A


