2
2
20
Figure 24
Figure 26
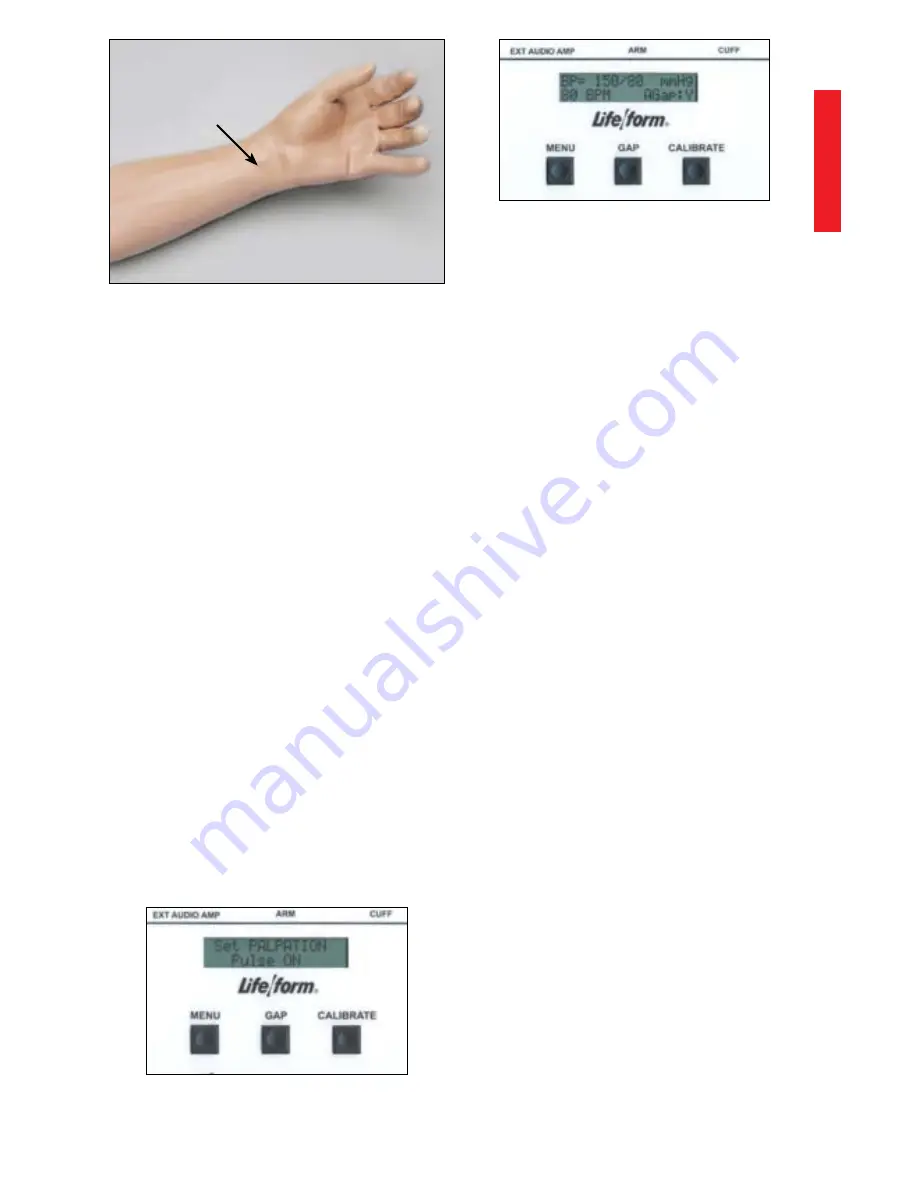
Pulse Location
A pulseless condition can be simu-
lated by switching your unit to the
“pulseless” mode. Press the Menu
key repeatedly until “Set PALPATION”
menu appears. By pressing the down
arrow at this point, palpations can be
disabled causing the simulator to be
pulseless. When in the “pulseless”
mode, all settings are automatically
reset to 0 and all blood pressure
sounds are disabled.
The pulseless setting will also turn off
the sounds in the arm. The pulse will
always be on unless the pulseless
feature is activated or if the systolic or
heart rate levels are set to zero. To do
this, press the Menu key four times.
The down arrow key will set the pulse
to pulseless. Press the arrow up key
to turn the pulse back on.
(See fig-
ure 25.)
Located to the right of the
Menu key is the ausculatory Gap key.
(See figure 26.)
This key is included
to simulate the ausculatory gap that is
sometimes present between phase
1 and phase 2 sounds in which no audi-
ble sound is noted during this portion
of ausculation. This control function is
included so that the trainee can become
familiar with this phenomenon.
Pressing the Gap key simply turns
the gap function off or on. When the
key is pressed, a message will briefly
appear that the ausculatory gap is
enabled or disabled. Also the main
display will show (at the bottom right
of the display) either AGap:Y (for on)
or AGap:N (for off).
The arrow up and down keys also
control the volume of the sounds
that are present in the arm. From the
main menu, press the up arrow key to
increase the volume, press the down
arrow key to decrease the volume.
The volume levels can be adjusted
from level 1 (the lowest volume) to
level 7 (the highest volume).
Using the Nasco
Life
/
form
®
Blood Pressure Simulator
First, verify that the pressure line tubing
from the sphygmomanometer and the
audio line coming from the simulated
arm assembly are properly connected
to the blood pressure simulator unit, as
previously described in the set up pro-
cedures. Apply the sphygmomanom-
eter cuff and gauge to the simulated
arm assembly in the usual manner.
Apply the stethoscope to the simulated
arm also in the usual manner. Set the
systolic and diastolic controls to the
desired levels. Select the auscultatory
gap if desired. Finally, adjust the pulse
rate control to the desired setting.
Figure 25
Procedure A


