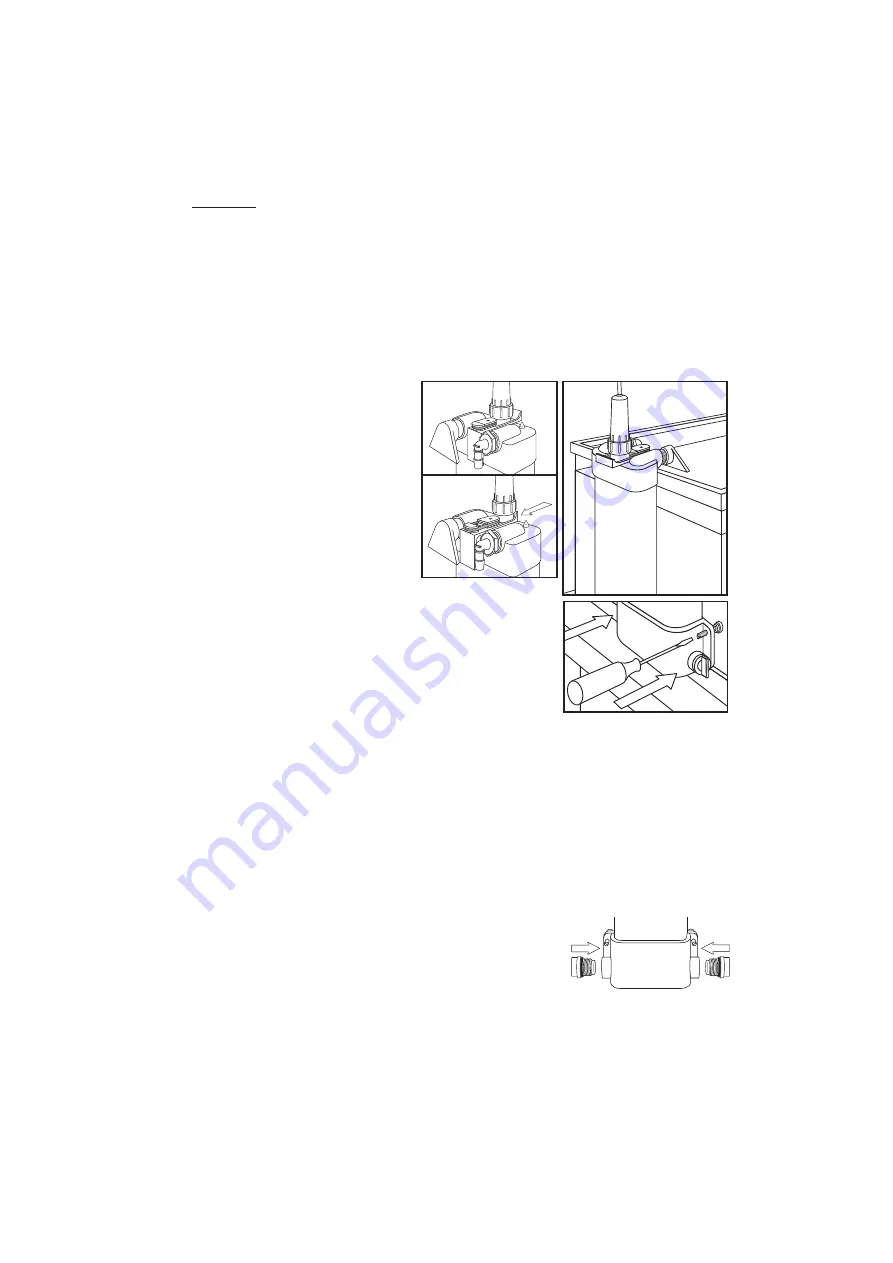
connector on the bulb needs to match the four holes on the ballast end.
DO NOT
use excessive force or this may damage the parts.
I.
Slide the bulb into the quartz sleeve through the quartz cap. Gently
push the bulb all the way in.
J.
Screw on the splash boot of the ballast connection onto the quartz
cap. Hand tighten only.
K.
Your AquaStep PRO UV Sterilizer is ready for use.
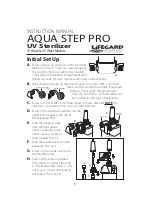
Side or Back of the Aquarium Installation
A1.
Install the AquaStep PRO UV
Sterilizer on the side or back
of the aquarium by pushing
the mounting bracket spring
attachment located at the top
with your thumb and hang
the unit over the edge of the
aquarium. It may be necessary
to move the triangular portion
of the water fall assembly to
one side so that the mounting bracket can be
pushed far enough to clear the moulding on the
top edge of the aquarium.
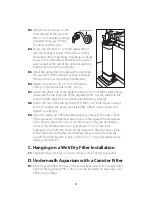
A2.
Make sure the unit is completely level by
adjusting the plastic screws located on each
side at the bottom of the AquaStep PRO.
A3.
Install a pump (not included with the unit) inside the aquarium in the
desired location following the instructions of the pump manufacturer.
A4.
Attach one end of the 1/2” ID x 11/16” OD flexible tubing to the outlet
side of the pump.
A5.
Attach the other end of the flexible tubing to the 3/4” MPT x 1/2” barb
elbow located on the top inlet side of the AquaStep. In most cases the
flexible tubing will need to be cut to the proper length.
FLUIDI
ZED
BED F
ILTE
R
FLUID
IZED
BED FI
LTE
R
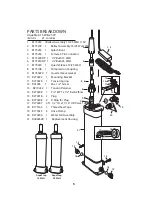
Beside the Aquarium Installation
B1.
Place filter on base in desired location next to the
aquarium. Make sure the unit is level on the base.
B2.
Screw in plugs on each side of the bottom manifold. Make sure plug
“O” rings are seated properly. The bottom inlet ports will not be
needed in this type of installation.
2


