INSTALLATION
continued
6.
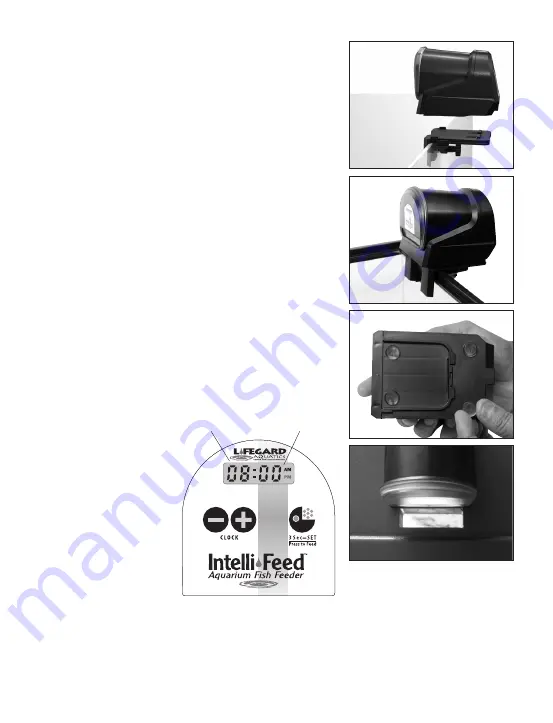
Attach the Aquarium Mounting Bracket onto the base of the
feeder by sliding it until the two front parts of both units are
aligned (fig. 5)
7.
Place the forked side of the Aquarium Mounting Bracket on the
top frame of the aquarium and then tighten by turning the screw
to the desired position. (fig. 6)
INSTALLATION ON AQUARIUM TOP
1.
If the Aquarium Mounting Bracket is not needed for proper
installation.....then turn the feeder upside-down and attach the
adhesive feet on the base (fig. 7)
2.
Position the feeder onto the top of the aquarium (or chosen
space) (fig. 8).
fig. 5
fig. 6
fig. 7
fig. 8
PROGRAMMING
Programming is divided into two phases :
Time setting
and
feeding settings during a 24 hour
period
, including the number of rations for each feeding (ration
means the quantity of food distributed from a single rotation of
the food container).
Setting of Time :
u
After the batteries have been
inserted or the Power Adapter
is used, the display time
shows 00:00 with the hours
blinking.
u
Adjust current time with
+ and – and then press
Set
to store.
u
Then the Minutes blink,
adjust with + and -, then store by pressing
Set
.
u
The two dots will blink and the clock starts to work.
Hours Minutes


