


15
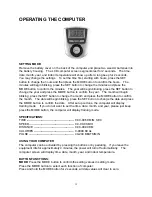
OPERATING THE COMPUTER
SETTING MODE:
Remove the battery cover on the back of the computer and place two size AA batteries into
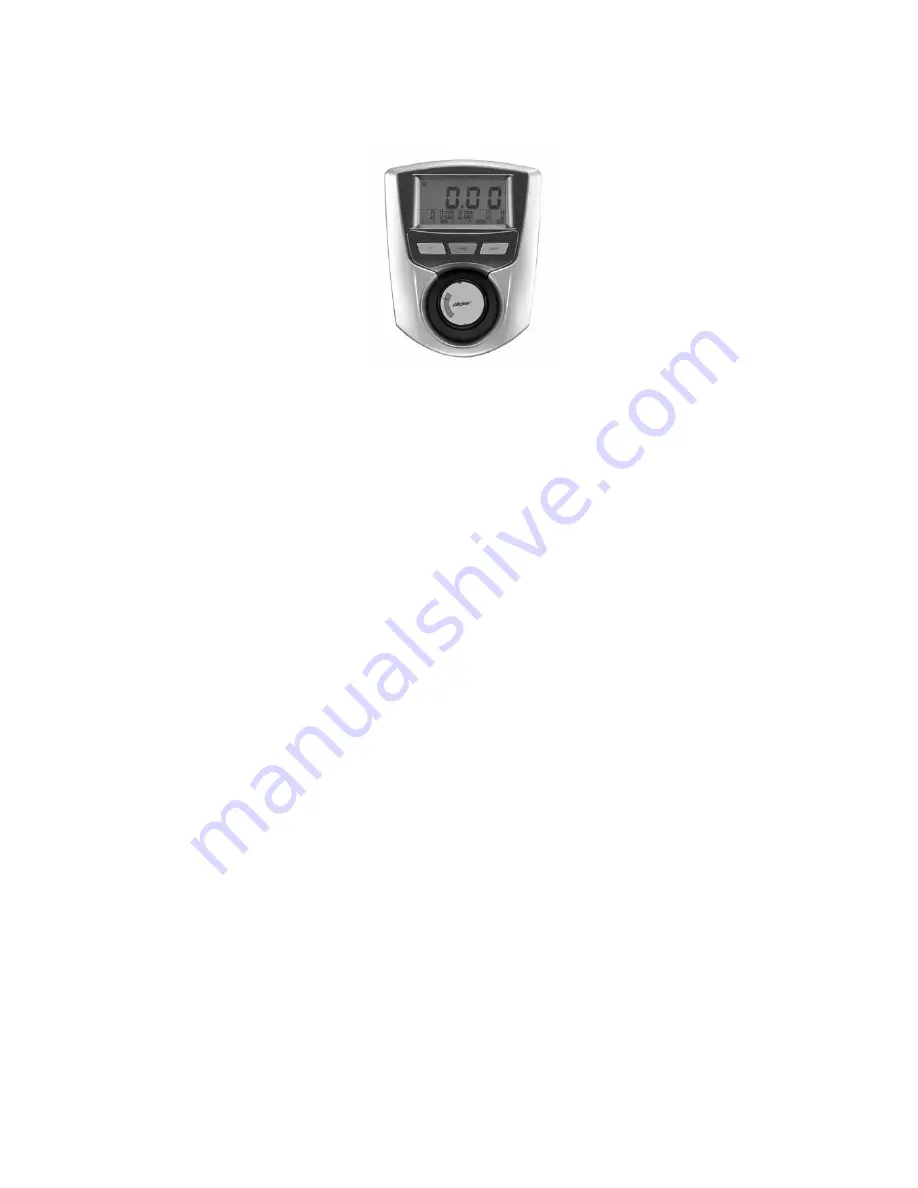
the battery housing. The LCD computer screen segments test for 2 seconds. The time,
date, month, year, and indoor temperature will show up after a long beep for 2 seconds.
You may change the settings. To set the time first, starting with hours, press the SET
button to change the hours and then press the MODE button to confirm the hours. The
minutes will begin blinking, press the SET button to change the minutes and press the
MODE button to confirm the minutes. The year will begin blinking, press the SET button to
change the year and press the MODE button to confirm the year. The month will begin
blinking, press the SET button to change the month and press the MODE button to confirm
the month. The date will begin blinking, press the SET button to change the date and press
the MODE button to confirm the date. After set up is done, the computer will display
training mode.
If you do not want to set the time, date, month, and year, please just keep
press the MODE button, the computer will display training mode.
SPECIFICATIONS:
TIME --------------------------------------------------- 0:00-99:59 MIN: SEC
SPEED ------------------------------------------------ 0.0-99.9 KM/H
DISTANCE ------------------------------------------- 0.00-99.99 KM
CALORIES ------------------------------------------- 0-9999 KCAL
PULSE ------------------------------------------------ 40-240 BEATS/MIN
USING YOUR COMPUTER
The computer can be activated by pressing the buttons or by pedaling. If you leave the
equipment idle for approximately 4 minutes, the power will turn off automatically. The
computer screen will display time, date, month, year, and indoor temperature.
BUTTON FUNCTIONS:
MODE:
Press the MODE button to confirm the setting values in setting mode.
Press the MODE button to select each function of computer.
Press and hold the MODE button for 2 seconds, all data values will clear to zero.
Summary of Contents for 93772 KNIGHT
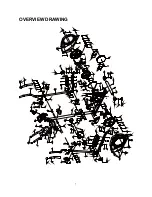
Page 8: ...7 OVERVIEW DRAWING...


