background image

model no. 

IFH12A-50


INSTRUCTION MANUAL


INSTRUCTION MANUAL


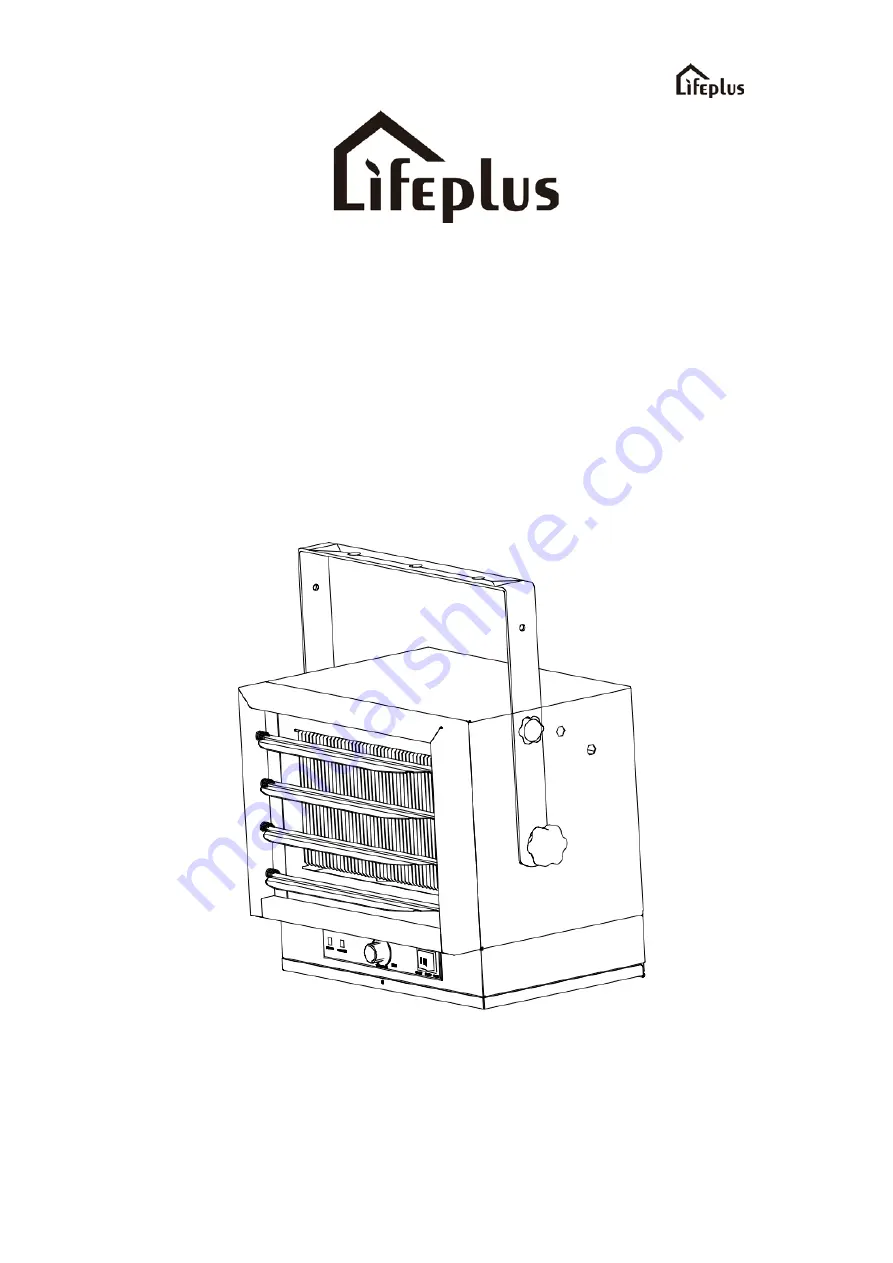
Fan Forced Ceiling Mount Heater 

Model no. 

IFH12A-50 


Summary of Contents for IFH12A-50

Page 1: ...model no IFH12A 50 1 INSTRUCTION MANUAL INSTRUCTION MANUAL Fan Forced Ceiling Mount Heater Model no IFH12A 50...

Page 2: ...outdoors 7 This heater is not intended for use in bathrooms laundry areas and similar indoor locations Never locate heater where it may fall into a bathtub or other water container 8 To disconnect hea...

Page 3: ...ING This heater requires hardwire installation no plug The installation of this product must be carried out by a Certified Electrician and in accordance with all local and national electrical codes WA...

Page 4: ...use it in areas where gasoline paint or flammable liquids are used or stored 8 This heater is not suitable for use in corrosive atmospheres such as marine greenhouses or chemical storage areas 9 This...

Page 5: ...12A 50 5 INSTALLATION MOUNTING THE BRACKET 1 Locate a wood stud in the wood ceiling joist If you cannot locate a wood stud you have to install a wood piece on the ceiling as this heater must be secure...

Page 6: ...er to the right or left adding a washer to both sides of the bracket is recommended A longer lag bolt may be required to properly secure the unit HANGING THE HEATER 1 Attach the heating unit to the mo...

Page 7: ...ion circuit or device at 50Amp or less before being connected to power supply 1 Remove the screw from the front of the unit to connect the power to the heater 2 Attach the cable connectors to the unit...

Page 8: ...e wire to the power block located in the base of the heater See Figure 7 4 Turn on the power at the main service CAUTION High temperatures risk of fire Keep flammable materials such as furniture pillo...

Page 9: ...angle I 3000W the temperature of the mechanical control ring is selected according to the LOW HIGH Angle When the temperature around the part reaches a certain value the product will stop heating for...

Page 10: ...adequate clearance and prevent possible overheating 1 Adjust louvers to the desired position NOTE The louvers are designed so they cannot be completely closed Do not attempt to defeat this feature dam...

Page 11: ...aser or gift recipient This warranty becomes valid at the time of purchase and terminates either by the specified time frame listed above and or owner transfer unless otherwise authorized by Lifeplus...

Reviews: