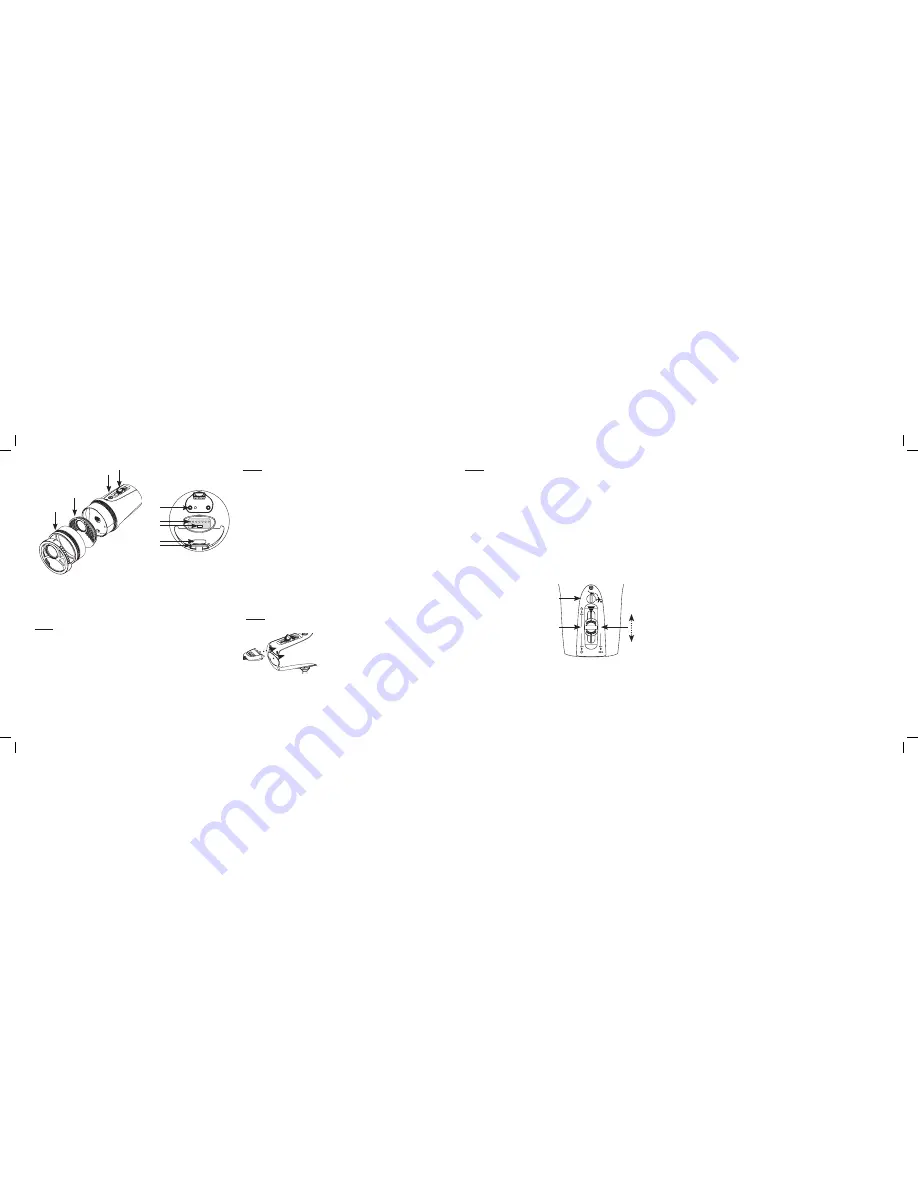
1
3 4
2
5
9
8
7
6
Step 1:
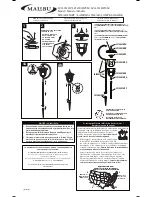
Caution Caution Caution!
Please read this manual carefully: the Sola 4000 is a professional underwater video
light which can produce high levels of light and heat, and must be used with care.
-
Do not turn your Sola 4000 on outside of the water for more than a few
seconds at a time. It is designed to be cooled by surrounding water, and
may overheat if it is not adequately cooled.
-
Never look directly at the Sola 4000’s LEDs when turned on.
-
The Sola 4000 has a hard off switch or Mode Switch that completely
disconnects the battery from the circuit for travel. In addition the LED
plate can be removed if required by airport security.
5. Charge pins
6. Brightness indicator display
7. Battery status LED
8. D-ring
9. Mount plate
1. Bezel
2. LED Plate
3. Dive/Travel
Mode Switch
4. Slider Switch
Sola Exploded view:
Step 2:
First-Time Assembly/Travel Safety Features
Your Sola 4000 will ship to you with the LED plate turned backwards, and the Mode Switch
set to “Travel” (the airplane icon). This is the recommended method of travel with your Sola
4000 to comply with the strictest aviation regulations.
Connecting the LED plate
1.
Unscrew the silver threaded bezel and remove the LED plate.
2.
Check the o-ring and sealing surfaces of your Sola Nightsea LED plate for any
debris and be sure there is a light coating of silicone grease on the o-ring.
3.
Flip the LED plate and position it so the pin on the body mates with the hole
on the back of the LED plate.
4.
Press the LED plate into place, and screw the bezel back on securely.
Dive/Travel mode
The Dive/Travel mode switch physically disconnects the Li-Ion battery from the
circuit. To connect the battery, turn the dial so that the groove points at the scuba
diver icon. The light will be ready for use but will remain off.
Slider Switch
The Slider Switch activates the light, and controls brightness. It can also be locked
into place to by centering the slider and rotating the switch 90 degrees in either
direction.
Step 3:
Charging the Sola 4000
Note: The Sola 4000 will not charge unless the
LED plate is connected.
To charge: Turn the Mode Switch to Dive mode and
connect the charger to the back of the light head. The
rear display LEDs will light up left to right to confirm
the light is charging and the battery icon will indicate
the charge level.
Step 4:
Operation
Turn the Mode Switch to Dive. Unlock the Slider Switch, and tap it forward or back. The
light will turn on in the level 4 position (1500 lumens). Do not leave the light on for more
than a few seconds in air.
• Tapping the switch forward while the light is on will increase the brightness level
until it reaches the highest setting (power level 7).
• Tapping the switch backward will decrease the brightness level until it reaches
the lowest power setting (power level 1).
• Holding the switch in the forward or backward position for two seconds will turn
the light off.
SOS Mode
o
From off: hold the Slider Switch back. The light will come on as usual, but
continue holding for four seconds and SOS Mode will be activated. Release
Slider.
o
From on: hold the Slider Switch back. At first, the light will turn off, but after
3 more seconds, it will come back on in SOS mode.
o
Turn off SOS mode by holding the Slider Switch back for 4 more seconds.
o
To change from SOS to On, tap the Slider Switch forward.
Mode Switch
Slider Switch
Accessories and Extras
To buy accessories, contact your Light & Motion dealer with the product
part numbers below.
Cyan Filter Wheel -
(800-0162)
The Cyan filter matches the Sola 4000’s light to the color of the
ambient sunlight. This allows you to shoot images using the same red
filter on your camera lens as you would use to shoot in the ambient
light, making it possible to shoot scenes with the foreground and
background matching in color. The filter screws into the filter wheel
using a standard 37mm filter thread, making it easy for you to insert
your own custom filters.
Sola 4000 Video Arm Kit -
(802-0272)
This kit allows you to mount the Sola 4000 to any Light & Motion
Bluefin or Stingray housing equipped with a quick-release base.
It requires replacement of the 1” photo ball mount with the ¾”
Locline mount (included in this kit). Buy this kit if you don’t have
arms to mount the Sola 4000 to your Light & Motion housing. This
kit is included in all Sola 4000 Travel Packages.
Sola 4000 Video Mount Kit -
(800-0166)
This kit consists of ONLY the ¾” Locline mount for the Sola 4000.
Buy this kit if you already own ¾” Locline arms.
YS Mount-
(800-0188)