Light Efficient Design
Tel: (847) 380-3540
www.led-llc.com
sales@led-llc.com
Installation Instructions Appleton Mercmaster® II
LED-8929***-HAZ & LED-8929***C-HAZ
9
Lamp Installation
9. Remove the optical assembly covering the
lamp such as guards, globes or external
reflectors by loosening screws and un-
threading.
10. Remove old lamp
11. Firmly tighten LED lamp enough to depress the
center contact of the lamp holder.
12. Replace the optical assembly by threading into
the ballast housing.
13. Apply the silver adhesive label over the
current label on the luminaire which specifies
the replacement lamp and where it will be
visible during re-lamping.
14. Re-connect electrical power to the luminaire
at the supply source
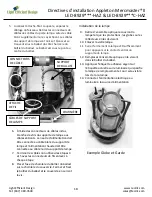
Example Globe
and Guard
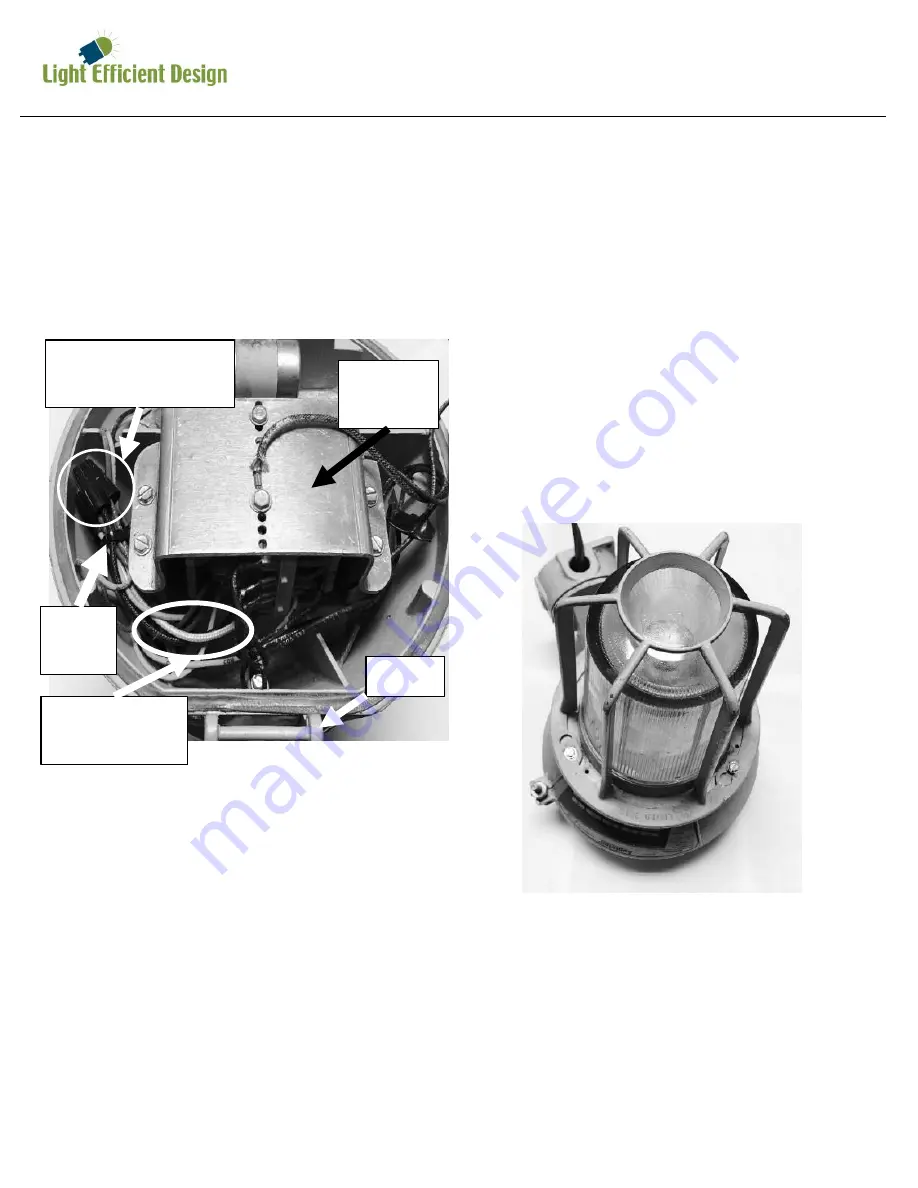
Wire connectors/
Wire nuts
Ballast
Bracket
Lamp holder
wires
5. Locate the wire tie and cut it, separate the
wiring from the bundle. Remove the wire
connectors/wire nuts from the lamp holder
wires. Discard the additional white wire, if any.
The lamp holder wires are black and white and
come from under the ballast on the hinge side of
the ballast housing. The ballast is under the
bracket in the center of the housing.
6. Using the included wire connectors/wire nuts
connect the lamp holder wires to incoming
wires. The supply neutral should be connected
to the lamp holder white wire and the supply
hot should be connect to the lamp holder black
wire.
7. Cap off the unused wires from steps 4 & 5 with
the wire connectors/wire nuts removed during
each step.
8. Place the ballast housing hinge pin over the
cover hinge. Close and secure the ballast
housing and cover by tightening the nut.
Wire
Tie
Hinge


