LIGHT PROGRESS
UV-BOX-E3/40H-NX-R [Eng.]
Revision 3 - October 2020
Page
9
of
16
MAINTENANCE - UV LAMP
NOTE:
Lamp maintenance is very important because the UV-C
light emitted by the source is not visible to the naked eye. The
eye will detect a bluish glow indicating that the tube itself is on,
however without proper maintenance the Germicidal effect may
not be sufficient to perform the sterilisation treatment.
•
Before reaching the lamp
ALWAYS
switch off power supply.
•
If the UV-C lamp is dirty or dusty clean with a clean soft cloth
and alcohol, avoid touching the glass part with bare hands
(always wear gloves)
•
The lamp once it has reached its number of burn hours
MUST be replaced.
Refer to Table 1 for correct product code
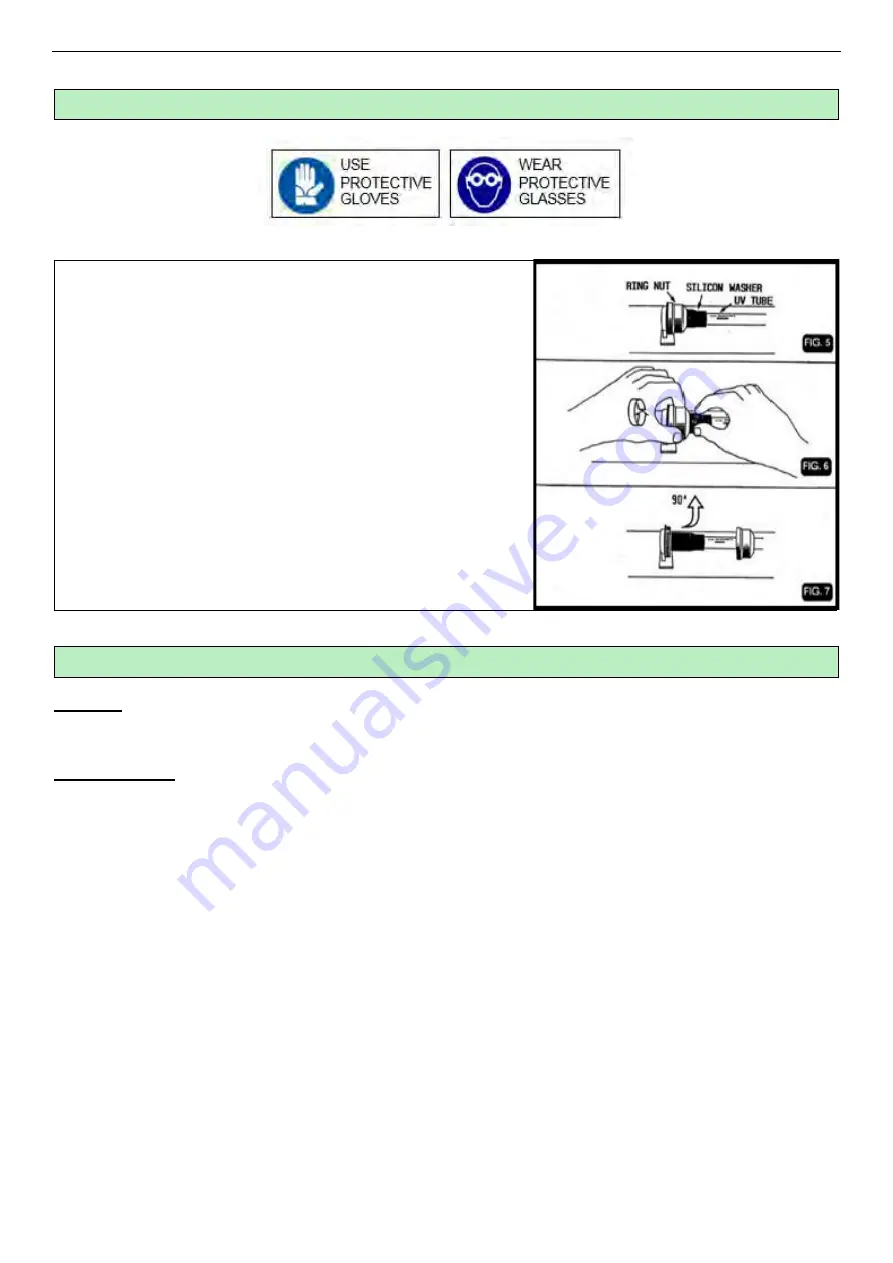
Change the lamp by following the procedure below:
•
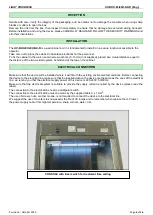
Loosen the nuts on the lamp housing and let them slide
along the lamp, grab the lamp at the 2 ends and pull it in
a direction parallel to the lamp
•
Repeat the above step in reverse to insert the new lamp
TROUBLESHOOTING
UV LAMP
See MAINTENANCE
POWER SUPPLY
This model is supplied with electronic ballast that provides an emission 15% higher than traditional reactors and also
the pipes are not affected by the ambient environment (operating down to -20 ° C). Finally, the ignition of the lamps is
immediate (without starter) and the duration is more prolonged.
To replace the ballast in the event of failure, ALWAYS remove power to the unit:
•
Unscrew the screws on the lid of the timer panel. Now the cover is removable and can be easily accessed
inside. Please, note that with this operation the door is set free and must be extracted.
•
Disconnect the wires on the right (4 or 7 wires) and the left (3 wires) placed on the power supply by pressing
the blade of a screwdriver on the slot corresponding to each input wire, to set it free. Pay attention to the
succession of links because each wire will have to occupy again the same position at the end.
•
Unstick the circuit board levering by a screwdriver.
•
Replace the ballast with a new one, like the original (for code see Table 1), and reconnect the wires paying
much attention to the succession of the links.
•
Mount the cover again, repeating in reverse.
Summary of Contents for UV-BOX-E3/40H-NX-R
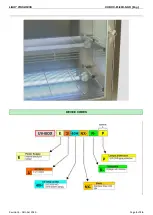
Page 5: ...LIGHT PROGRESS UV BOX E3 40H NX R Eng Revision 3 October 2020 Page 5 of 16 DEVICE CODES...
Page 13: ...LIGHT PROGRESS UV BOX E3 40H NX R Eng Revision 3 October 2020 Page 13 of 16...
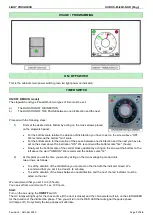
Page 14: ...LIGHT PROGRESS UV BOX E3 40H NX R Eng Revision 3 October 2020 Page 14 of 16 CIRCUIT DIAGRAM...
Page 16: ...LIGHT PROGRESS UV BOX E3 40H NX R Eng Revision 3 October 2020 Page 16 of 16...


