Page 16 / 29
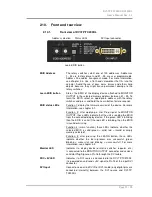
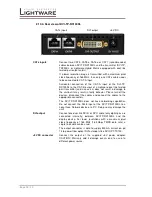
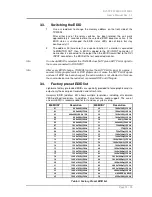
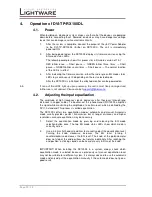
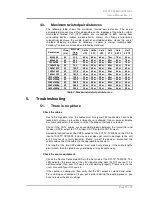
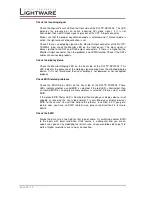
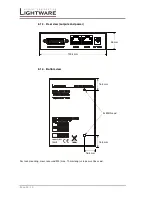
2.10.4. Rear view of DVI-TP-RX100DL
CATx inputs
DVI output
+5V DC
CATx inputs
Connect two CAT5, CAT5e, CAT6a or CAT7 (recommended)
cables between DVI-TP-RX100DL and the transmitter (DVI-TP-
TX200DL or Lightware Hybrid Matrix equipped with dual link
twisted pair output cards).
If a lower resolution image is transmitted, with a maximum pixel
clock frequency of 165 MHz, then only one CATx cable needs
to be connected to CAT-A input.
Accidental connection of the CAT-A input of the DVI-TP-
RX100DL to the CAT-B output of a Lightware dual link twisted
pair transmitter (and vice versa) does not result in damage to
the unit but it may result in faulty behavior. Please turn off the
devices, disconnect the cables and connect the cables to the
appropriate connectors.
The DVI-TP-RX100DL does not have networking capabilities.
Do not connect the RJ45 input of the DVI-TP-RX100DL to a
Local Area Network device or a PC. Doing so may damage the
unit!
DVI output
Connect one dual link DVI-D or DVI-I cable (only digital pins are
connected internally) between DVI-TP-RX100DL and the
display device. For lower resolutions with a maximum pixel
clock frequency of 165 MHz (1.65 Gbps TMDS data rate), a
single link cable can be used.
The output connector is able to supply 500 mA current on pin
14 to power fiber optical DVI extenders like DVI-OPT-TX100.
+5V DC connector
Connect the output of the supplied +5V power adaptor.
CAUTION! Warranty void if damage occurs due to use of a
different power source.


