


ASSEMBLY
L
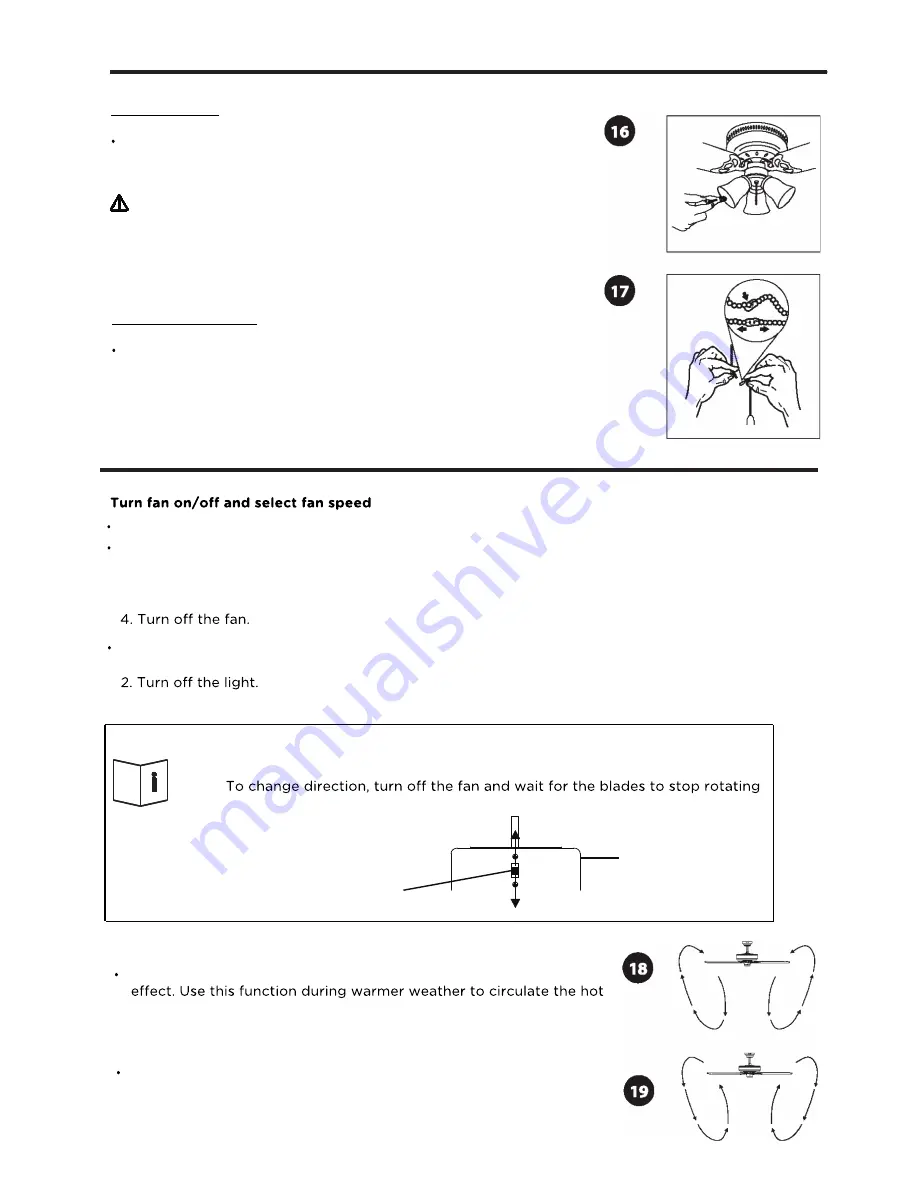
10. Install bulb
·
Install three 60 W candelabra base bulbs (not included)
(see Fig. 16).
IMPORTANT NOTE:
If you use bulbs that total over 190 W, the ceiling fan
can be damaged.
T
11. Extend pull chain
·
Assemble decorative fob chain from hardware bag to fan and
light kit pull chain. Insert end of chain into chain coupling.
Check chains are held by lightly pulling both chains in coupling
(see Fig. 17).
OPERATION
·
Restore power to ceiling fan and test for proper operation.
·
The fan pull chain controls the fan speed settings:
1. Turn on the fan at high speed.
2. Turn on the fan at medium speed.
3. Turn on the fan at low speed.
The light pull chain controls the status of light.
1. Turn on the light.
·
Forward and reverse direction function
This ceiling fan is equipped with reverse switch for downward or upward air-flow.
NOTE:
Do not change the direction of rotation while the fan blades are in motion.
before setting the switch to the desired rotation direction, either forward or
reverse.
7
Forward function
·
On this setting, the fan will turn counter-clockwise to create a cooling
air away from your living space (see Fig. 18).
Reverse function
·
On this setting, the fan will turn clockwise. Use this function during
cooler weather to re-circulate warm air down the living space (see
Fig. 19).
Reverse
Forward
Switch housing
Reverse switch


