IS312 ECN3016
Page 3
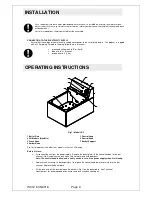
INSTALLATION
OPERATING INSTRUCTIONS
Push rubber feet into base holes provided and ensure the unit is installed on a sound, level work surface,
which is heat resistant e.g. stainless steel or formica. Inform your personnel that external surfaces and base
will become hot.
For safety regulations, the plug must always be accessible
.
CONNECTING TO THE ELECTRICITY SUPPLY
Ensure that the voltage of your electricity supply corresponds to the serial plate details. The product is supplied
with a 13 Amp plug. To replace the plug, follow these instructions:
•
green and yellow wire to 'E' or (Earth)
•
blue wire to 'N' (Neutral)
•
brown wire to 'L' (Live)
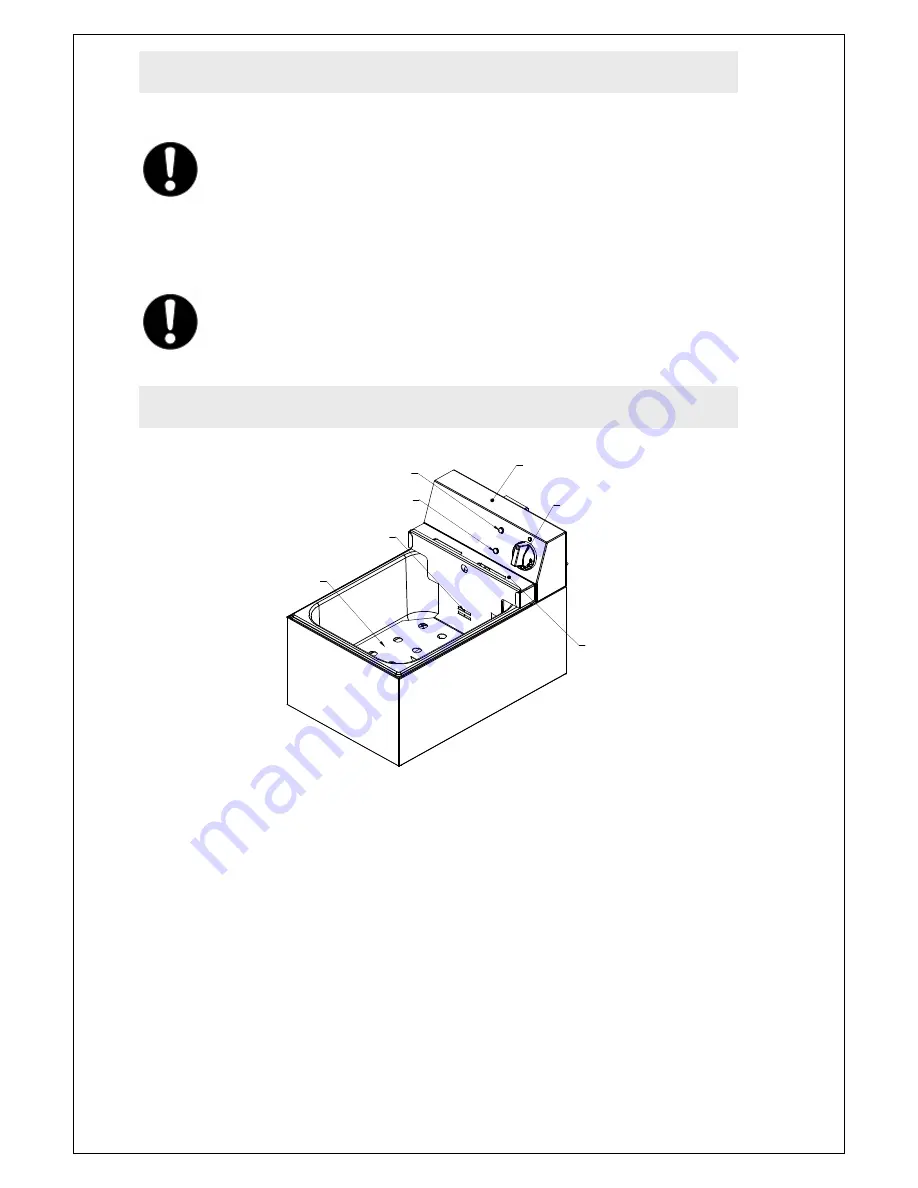
4
3
6
2
5
7
1
Fig 1 – Model LDF
1 Batter Plate
2 Oil Markers (Max/Min)
3 Green Neon
4 Amber Neon
5 Control Head
6 Control Knob
7 Basket Support
Fig 1 also represents the other fryer models in the Lynx 400 range.
Before first use:
•
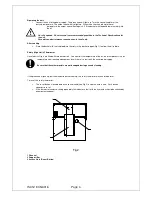
Disconnect the unit from the power supply. Remove the batter plate, lift the control head out of the rear
channel (Fig 2) and clean the tank with a little hot water and mild detergent.
Note: The control head is fitted with a safety switch to cut off the power supply when it is lifted up.
•
Replace tank, ensuring it is thoroughly dry. To replace the control head, lower it carefully into the rear
channel. Replace the batter plate.
•
Fill the tank with oil to a level between the markers (Fig 1) on the batter plate. See Technical
Specifications for recommended oil quantities and only use clean cooking oil.

