B-7
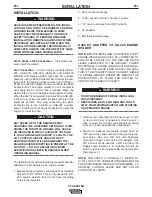
INSTALLATION
CV ADAPTER
B-7
NOTE:
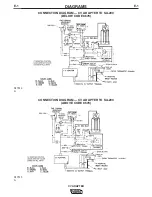
FOR STEPS 4 THROUGH 11, REFER TO
S17516 CONNECTION DIAGRAM FOR UNITS WITH-
OUT REMOTE CONTROL AND S17765 FOR UNITS
WITH REMOTE CONTROL. CV ADAPTER CON-
TROL LEADS ARE NOT COLOR CODED ON ALL
UNITS.
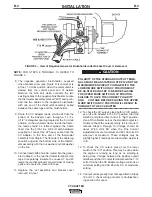
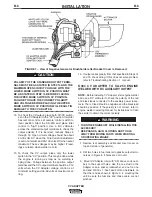
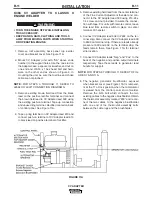
4. Unbolt existing brown field lead from black exciter
leads in the lead bundle and bolt it to CV Adapter
lead 509 using # 10 x 1/4 bolt and nut provided.
Tape up connection and unused lead terminal on
lead 509 (see Figure 10).
5. Connect CV Adapter lead 610 to black exciter lead
bolted connection shown in Figure 10 and insulate
the connection with tape. Tape unused lead termi-
nal on lead 610.
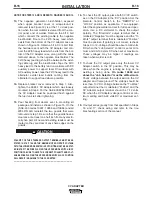
6. Remove existing blue
field
lead from the center ter-
minal of the Fine Current Adjustment rheostat and
connect it to CV Adapter lead 503 using #10 x 1/4
screw and nut provided. Insulate connection with
tape. For units with remote control, leave blue lead
from remote switch in place on center terminal of
rheostat.
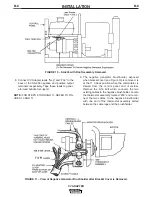
7. Connect CV Adapter lead 602 to the center termi-
nal of the Fine Current Adjustment rheostat.
For units without remote control — connect CV
Adapter lead 600 to the end terminal of the Fine
Current Adjustment rheostat that has an existing
lead connected to it.
For units with remote control — remove remote
switch from panel to connect CV Adapter lead 600
to the remote switch terminal that has a yellow and
a black lead connected to it. Replace remote
switch on panel.
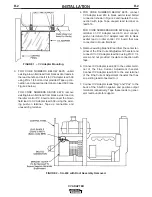
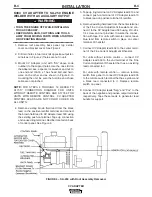
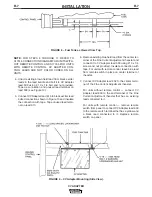
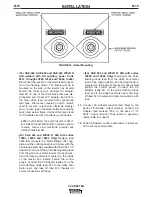
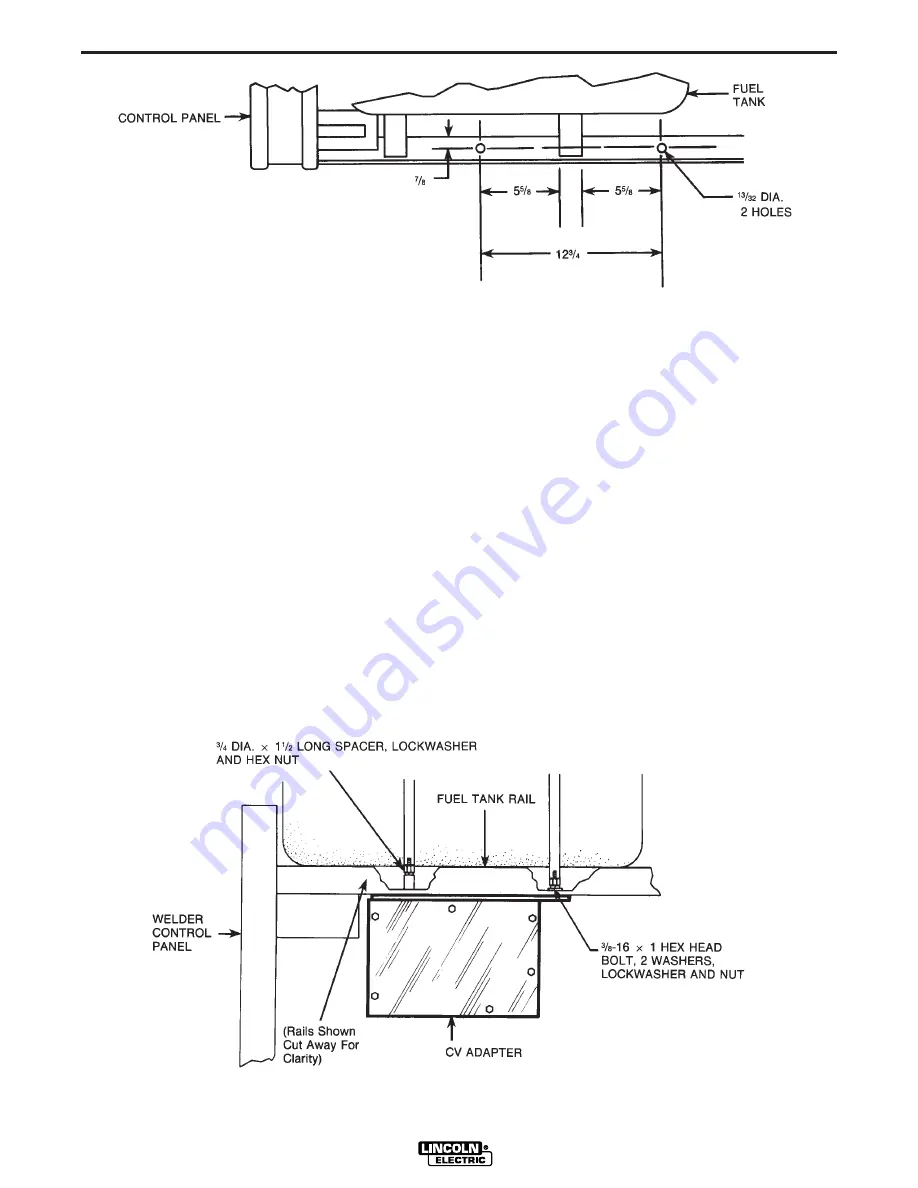
FIGURE 8 – Fuel Tank as Viewed from Top.
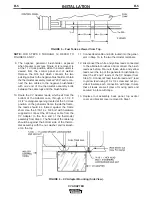
FIGURE 9 – CV Adapter Mounting (Side View).
Summary of Contents for CV ADAPTER
Page 42: ...E 13 DIAGRAMS E 13 CV ADAPTER CV ADAPTER SCHEMATIC L6922 A ...
Page 43: ......

