background image

A-2

INSTALLATION   

MINIFLEX

A-2

GENERAL DESCRIPTION

The Miniflex has been specifically designed for
extracting and/or filtering welding fume. It is a high
vacuum, low volume system that excels in the design
and ease of handling. It can be completely disassem-
bled in a matter of minutes for cleaning and mainte-
nance. With an automatic start/stop function, the unit
automatically turns on and off during welding via a
current sensor located in the slot at the top of the
unit. It can be used in confined spaces and other
locations that are not accessible with other welding
fume extractors. And with its standard set of wheels
and optional wall-mounting bracket, it can be easily
moved around or positioned off the work floor, out of
the welder’s working space. 

Unit includes:

• 8 ft. (2.5 m) extraction hose with 1-3/4 in. (45 mm)

O.D. hose adapter.

• Two sets of seals and carbon brushes.

ELECTRICAL INSTALLATION

Plug in the Miniflex to a 115V single phase,
grounded input suitable for 15 amp service.
-----------------------------------------------------------------------

USE WITH NOZZLES AND HOSES

The Miniflex is not supplied with a nozzle. Nozzles
and extra hoses can be ordered separately as
options. The recommended nozzles and hoses are: 
• Extraction Nozzles: EN 20 or 40 (K2389-5 and

K2389-6)

• Nozzle Kits: NKT or NKC (K2389-3, K2389-4)
• Fume Exhaust Guns (See publication #13.10 and

#12.110)

• Extraction Hoses: 

• 8ft. (2.5m) long x 1-3/4 in. (45mm) O.D. (K2389-9)
• 16 ft. (5m) long x 1-3/4 in. (45 mm) O.D.(K2389-8)

• Hose-to-Hose Adapter (K2389-10)
• Hose Connection Outlet (K2389-2)
See section C and Miniflex brochure Publication
E13.11 for more information.

Note: Recommended maximum hose length is 24 ft.
(7.5 m) on extraction side of unit.

Consult Lincoln Electric Automation before using
any other size or length of hose. 

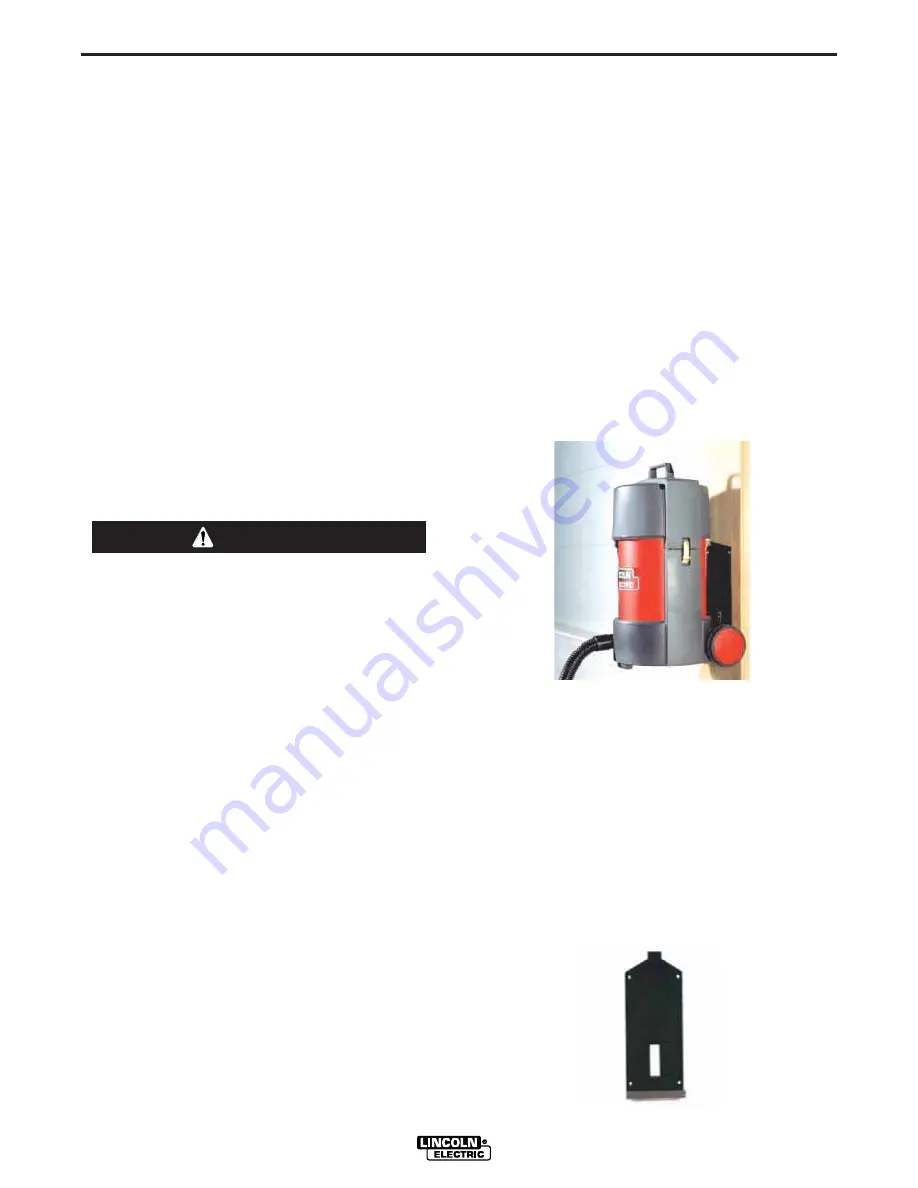
WALL MOUNTING BRACKET

(If applicable)

h

The optional wall bracket provides an easy and practi-
cal way to free some floor space. It can be easily
installed onto any sturdy wall. The bracket does not
include any hardware, therefore the user must supply
their own screws, anchors, etc. because of the different
types of walls the bracket can be installed on. 

Note: Wall construction should be sturdy enough
to support Miniflex unit.

MOUNTING THE WALL BRACKET ON A WALL

1. Using the bracket and a level as a guide, mark the

four holes at the desired location on the wall.

2. Drill holes at each location.
3. Set anchors and align bracket with holes. 
4. Screw bracket into wall using appropriate screws.

FIGURE A.1

WARNING

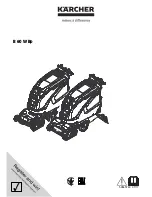
MOUNTING THE MINIFLEX ON A WALL BRACKET

1. The wheel side of the Miniflex should be facing the

wall (see Figure A.1).

2. Push in the silver metal plate (see Figure A.2) while

inserting the lip of the bracket between the top of
the canister and the filter. 

3. When the lip of the bracket is in place, release the

silver plate to attach bottom portion of the Miniflex
into the bracket.

4. Push in silver metal plate and pull up on Miniflex to

release from wall bracket.

FIGURE A.2

Summary of Contents for MINIFLEX IM857

Page 1: ...7 June 2005 Safety Depends on You Lincoln arc welding and cutting equipment is designed and built with safety in mind However your overall safety can be increased by proper installation and thought fu...

Page 2: ...WEARERS SHOULD CONSULT WITH THEIR DOCTOR BEFORE OPERATING Read and understand the following safety highlights For additional safety information it is strongly recommended that you purchase a copy of...

Page 3: ...cal earth ground 3 f Maintain the electrode holder work clamp welding cable and welding machine in good safe operating condition Replace damaged insulation 3 g Never dip the electrode in water for coo...

Page 4: ...vent the welding sparks from starting a fire Remember that welding sparks and hot materials from welding can easily go through small cracks and openings to adjacent areas Avoid welding near hydraulic...

Page 5: ...appropri s et non inflammables 4 Des gouttes de laitier en fusion sont mises de l arc de soudage Se prot ger avec des v tements de protection libres de l huile tels que les gants en cuir chemise paiss...

Page 6: ...below for future reference This information can be found on your machine nameplate Product _________________________________________________________________________________ Model Number ______________...

Page 7: ...________________ Accessories Section C General Options Accessories C 1 ________________________________________________________________________ Maintenance Section D Safety Precautions D 1 Routine Mai...

Page 8: ...ated Mesh Screen Pre separator LongLife H Pretreated Cellulose Filter 130 sq ft 12 m2 Activated Carbon Filter HEPA High Efficiency Particulate Air Filter Up to 99 97 High Vacuum Low Volume Low 94 CFM...

Page 9: ...in 45mm O D K2389 9 16 ft 5m long x 1 3 4 in 45 mm O D K2389 8 Hose to Hose Adapter K2389 10 Hose Connection Outlet K2389 2 See section C and Miniflex brochure Publication E13 11 for more information...

Page 10: ...lame spraying Extraction of cement saw dust wood dust etc Extracting cigarettes cigars tissues and other burning particles objects and acids Any dangerous situations where there is a risk of an explos...

Page 11: ...ATION Use the Automatic Start Stop feature to extend the life of the carbon brushes In the auto setting Figure B 2 Item C the unit automatically starts and stops when the work cable of the welding mac...

Page 12: ...nd 400XA Magnum fume GMAW guns and the 350A 500A 250A FCAW SS fume guns can be connected to the Miniflex and its extraction hose For 250XA 400XA Magnum Guns see publication E13 10 For 350A 400A 250 FC...

Page 13: ...unit 4 Remove LongLife H Filter C 5 Remove the pre filter H 6 Clean pre filter with industrial vacuum cleaner or replace if necessary Use caution and proper personal protection equipment when cleanin...

Page 14: ...00 hours depend ing on usage Note Two sets of carbon brushes and seals are included with unit MINIFLEX CAUTION Carbon brush life depends on how unit is operat ed i e continuous operation or automatic...

Page 15: ...D 3 MAINTENANCE D 3 MINIFLEX A Side Clips B Top Cover C LongLife H Filter D Main Filter Seals E Outlet Cover F HEPA Filter G Carbon Brushes H Pre filter Figure D 1 G B F E A C D H A...

Page 16: ...CAUSE lists the obvious external possibilities that may contribute to the machine symptom Step 3 RECOMMENDED COURSE OF ACTION This column provides a course of action for the Possible Cause generally i...

Page 17: ...ace or clean using an industrial vacuum cleaner Use caution and proper personal protection equip ment when cleaning pre filter 4 Improper application Check hose diameter and maximum length 24 ft 7 5 m...

Page 18: ...t may not be accurate for all machines covered by this manual The specific diagram for a particular code is pasted inside the machine on one of the enclosure panels If the diagram is illegible write t...

Page 19: ...electrically live parts or electrode with skin or wet clothing Insulate yourself from work and ground No toque las partes o los electrodos bajo carga con la piel o ropa moja da Aislese del trabajo y...

Page 20: ...e Be und Entl ftung des Arbeitsplatzes Mantenha seu rosto da fuma a Use ventila o e exhaust o para remover fumo da zona respirat ria Turn power off before servicing Desconectar el cable de ali mentaci...

Page 21: ...and Service through Subsidiaries and Distributors Worldwide Cleveland Ohio 44117 1199 U S A TEL 216 481 8100 FAX 216 486 1751 WEB SITE www lincolnelectric com World s Leader in Welding and Cutting Pr...

Reviews: