


English
English
19
••••
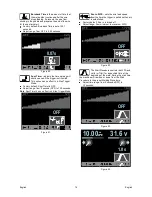
Use the Set Control [11] to highlight the function
which will be assigned to the Right Button [12], for
example Crater Procedure.
Figure 41.
••••
Press the Set Control [11] to select the Assigned
Function to the Right Button [12]. The Check Mark
will also change the position.
Figure 42.
••••
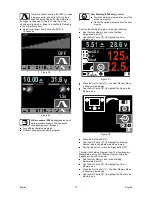
Confirm the select – press the Right Button [12].
••••
Return to the main level of the interface. If the Right
Button [12] is pressed, the Crater Interface Settings
will be shown on the display.
The Brightness Level
Enables the Brightness Level.
••••
Adjust range: from 0 to +10.
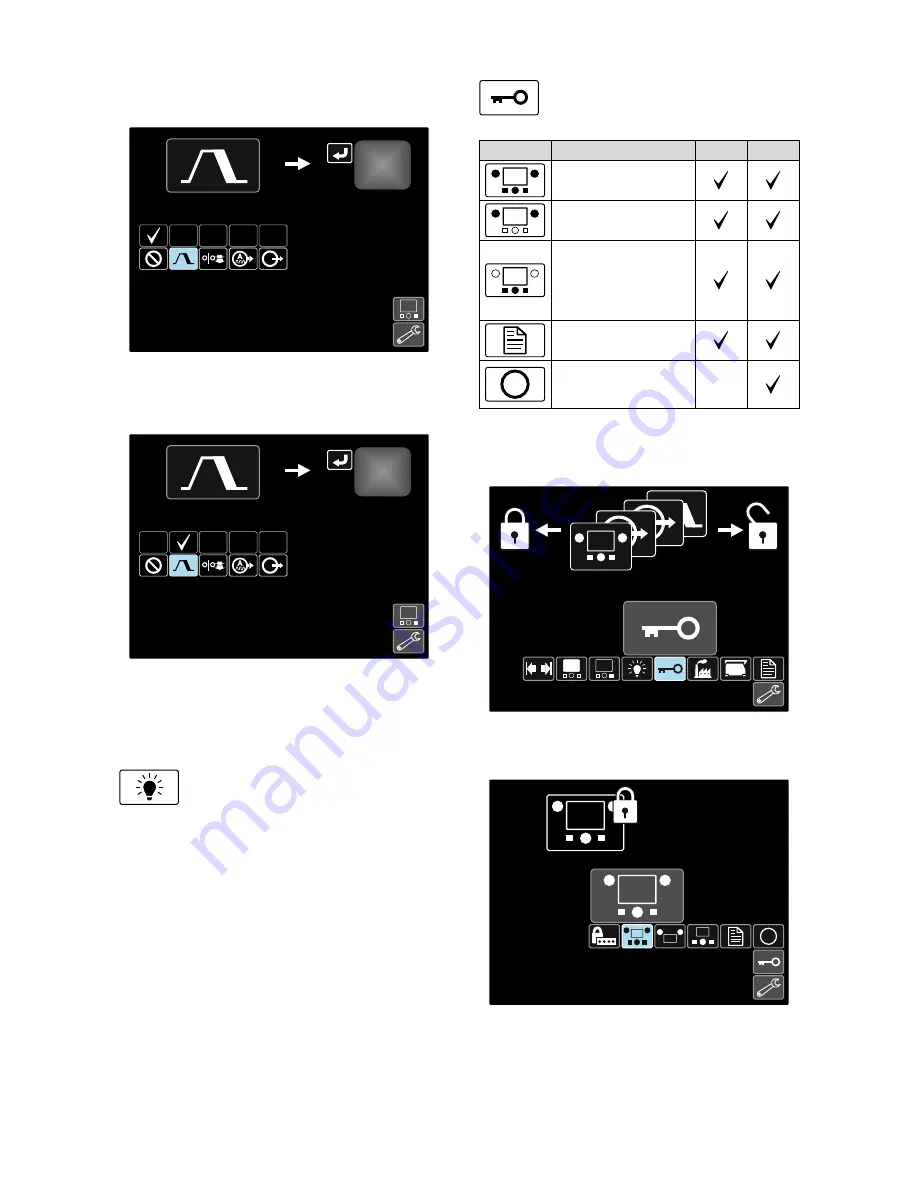
Lock / Unlock
Can lock / unlock:
Icon
Description
PF44
PF46
All Interface
Components
The Left [9] and / or
Right [10] Control
The Welding
Parameters Bar [27]
The Set Control [11] and
the Left [7] and the Right
[12] button
Configuration Menu
M
User Memory
-
To set the lock:
••••
Access to the Settings and Configuration Menu.
••••
Use the Set Control [11] to highlight the Lock/Unlock
icon.
M
M
?
Figure 43.
••••
Press the Set Control [11]. The Lock Menu is shown
on the display.
M
Figure 44.


