IM6015
REDI-MIG
®
210c, 250c, 250s, 325c, 325s
Page 9
1.3 Shielding Gas Supply (For the Gas Metal
Arc Welding Process)
Obtain cylinder of appropriate type shielding gas for the
process being used.
1.
Set gas cylinder on rear platform of the machine. Hook
chain in place to secure cylinder to rear of welder.
2.
Remove the cylinder cap. Inspect the cylinder valve for
damaged threads, dirt and dust. For cylinders having an
external thread fitting, remove any dust and dirt from the
threads with a clean cloth.
DO NOT ATTACH THE REGULATOR/FLOWMETER
IF OIL, GREASE OR CYLINDER VALVE DAMAGE IS
PRESENT. OIL OR GREASE IN THE PRESENCE OF
HIGH PRESSURE OXYGEN IS EXPLOSIVE! Inform your
gas supplier of this condition.
3.
Stand to one side away from the outlet and open the
cylinder valve for an instant. This blows away any dust or
dirt which may have accumulated in the valve outlet.
4.
Inspect the regulator/flowmeter for damaged threads and
seals, dirt and dust. Remove dust and dirt with a clean cloth.
DO NOT USE THE REGULATOR/FLOWMETER IF
DAMAGE IS PRESENT! Have an authorised repair station
repair any damage.
5.
Attach the regulator/flowmeter to the cylinder valve and
tighten the union nut(s) securely with a spanner.
6.
Attach the machines inlet gas hose to the outlet fitting of
the regulator/flowmeter, and tighten the union nut securely
with a spanner.
7.
Before opening the cylinder valve, turn the regulator
adjusting knob counter-clockwise until the adjusting spring
pressure is released.
8.
Open the cylinder valve slowly a fraction of a turn. When
the cylinder pressure gauge pointer stops moving, open
the valve fully.
9.
The regulator/flowmeter is adjustable. Set it for the flow
rate recommended for the procedure and process being
used before starting to weld.
1.4 Gun and Cable Installation
LINC Gun
®
240G / 360G MIG gun (as supplied)
1. Lay the cable out straight.
2. Make sure all pins on the gun cable connector are
aligned with the proper mating sockets on the front
panel gun connector and then join the connectors and
tighten the hand nut on the gun cable connector.
Note
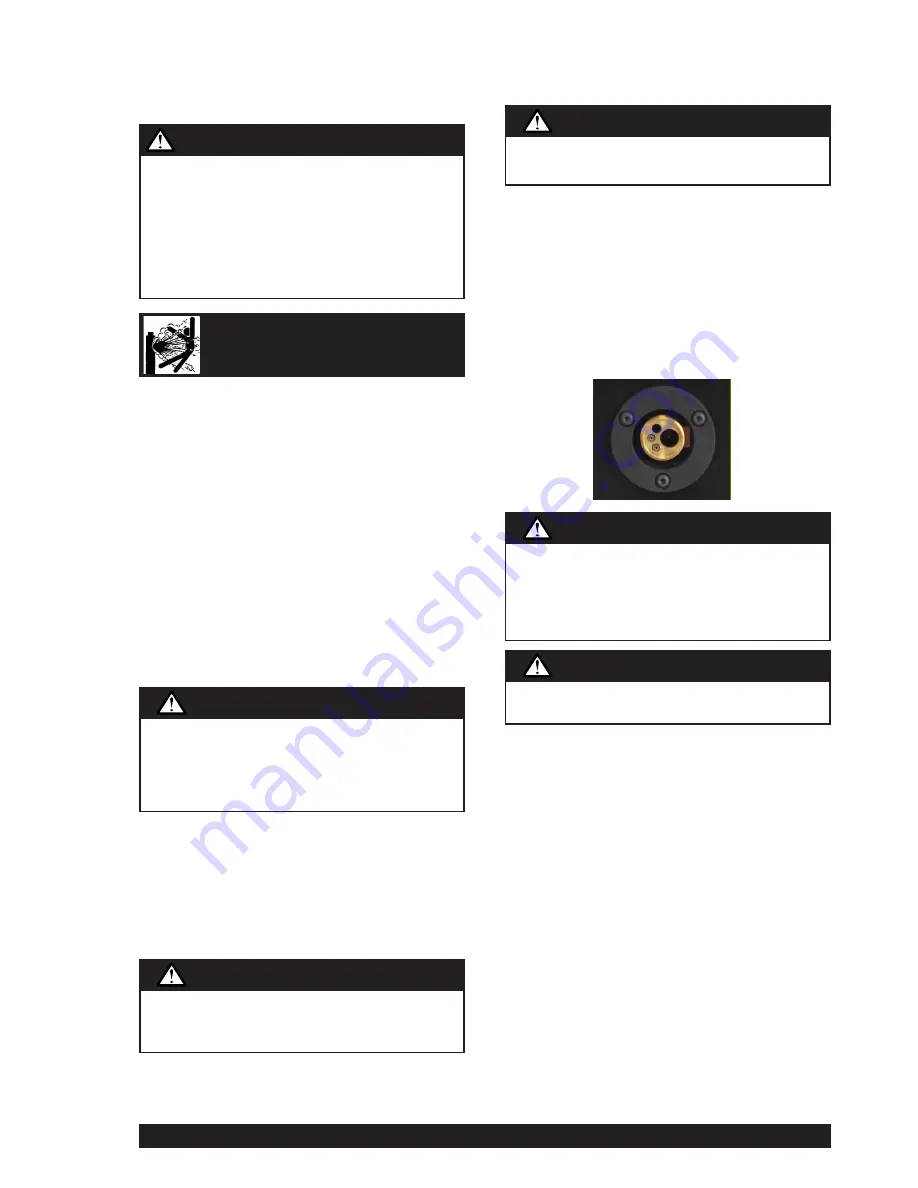
: If a gun and cable other than the supplied gun is
to be used, it must conform to standard European-style
connector specifications. See Picture.
The gun trigger switch must be capable of switching 10
milliamps at 60 volts DC—resistive.
1.5 Output Polarity Connection 210c, 250c, 325c
only
The electrode cable is located between output terminals.
The electrode cable is connected to the required output terminal
on the front of the REDI-MIG
®
210c, 250c, and 325c.
The gun polarity can be changed by placing the electrode cable to
the required output terminal, eg. for electrode (-)ve, connect the
electrode cable to the (-)ve output stud. Connect the work lead to
the other output terminal.
Output Polarity Connection 250s and 325s
The REDI-MIG
®
4s is connected to the REDI-MIG
®
250s &
325s separate power source via a control/electrode/gas cable
assembly. The electrode cable is connected to the required
output terminal on the front of the REDI-MIG
®
250s & 325s
separate power source.
The control cable connects to the plug on the front of the
REDI-MIG
®
250s & 325s separate power source, between the
output terminals.
The gun polarity can be changed by placing the electrode
cable to the required output terminal on the front of the
REDI-MIG
®
250s & 325s, eg. for electrode (-)ve,
connect the electrode cable to the (-)ve output terminal.
Connect the work lead to the other output terminal.
Gas under pressure is explosive. Always keep gas
cylinders in an upright position and always keep chained
to undercarriage or stationary support. Refer “Safety in
Welding and Cutting” - ANSI Standard Z49-1 and WTIA
Technical Note 7 available from the Welding Technology
Institute of Australia.
WARNING
Never stand directly in front of or behind the regulator/
flowmeter when opening the cylinder valve. Always stand
to one side.
WARNING
The gun trigger switch connected to the gun trigger
control cable must be a normally open, momentary switch.
The terminals of the switch must be insulated from the
welding circuit. Improper operation of, or damage to,
the machine might result if this switch is common to an
electrical circuit other than the machine trigger circuit.
CAUTION
Turn the welder power switch off before installing gun and
cable.
WARNING
Turn the welder power switch off before changing
polarity.
WARNING
Refer to “Safety in Welding and Cutting” - ANSI Standard
Z49-1 and WTIA Technical Note 7 available from the
Welding Technology Institute of Australia.
Please also refer to “Safety in Welding and Allied
processes - AS 1674.1 & .2” and WTIA Technical Note 7 –
TN07. Australian Standards are available from SAI Global
– www.saiglobal.com and WTIA publications are available
from the Welding Technology Institute of Australia –
www.wtia.com.au”.
WARNING
CYLINDER may explode
if damaged


