Section 6: Maintenance &Troubleshooting
Spirit II User’s Manual
This information is subject to the controls of the Export Administration Regulations [EAR]. This information shall not be provided to
non-U.S. persons or transferred by any means to any location outside the United States contrary to the requirements of the EAR.
6-12
4. Remove the Electrode, Work and Nozzle leads from the output terminal block, which
is located on the left side of the unit.
5. Ensure the torch head (with a full set of consumables) is properly installed onto the
torch base.
6. Apply primary power to the Spirit system.
7. Release the OFF Button on the Manual Gas Console to enable the system. Move
the pointer to ON and then press the select
button to energize the system. After
the gases set, prepare to apply a start signal to the unit.
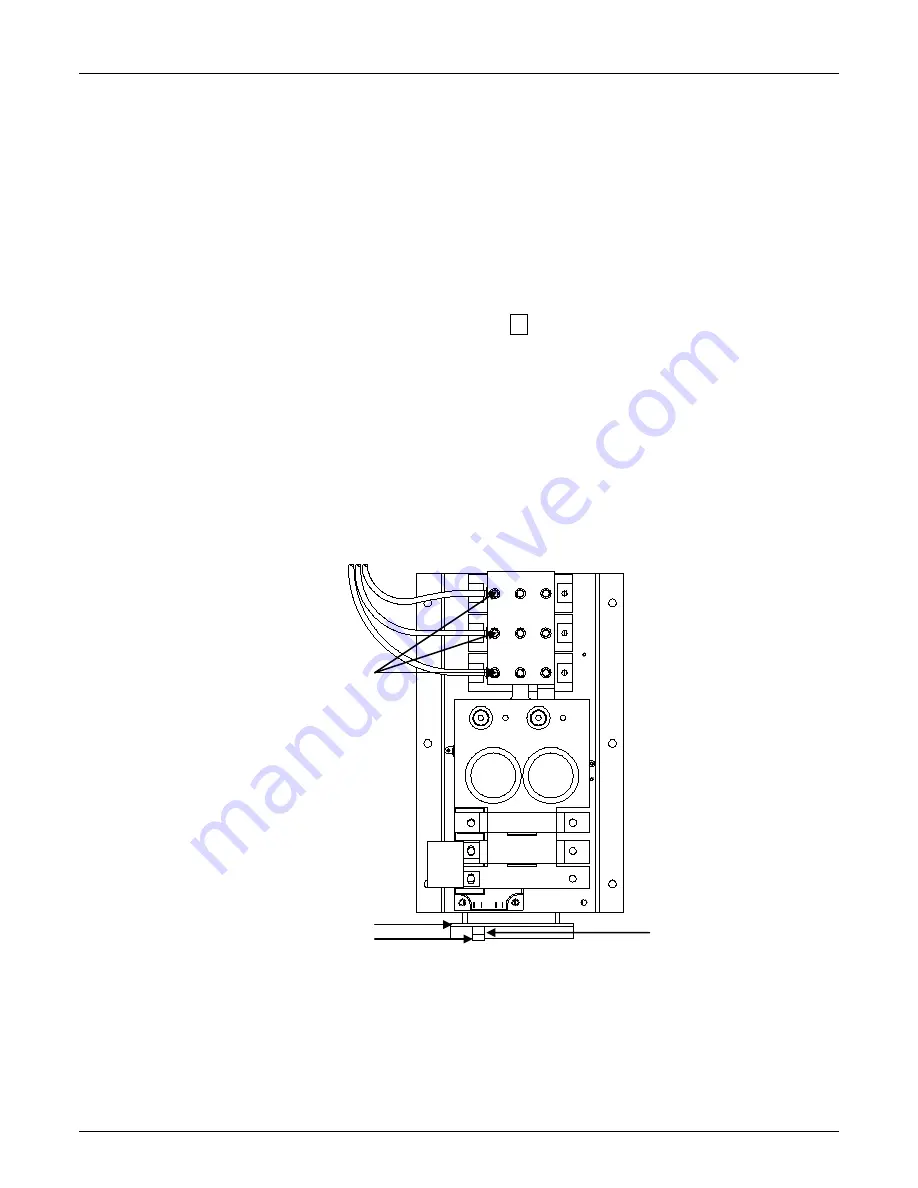
8. With a start signal applied, check the three phase voltage input to each chopper at
the diode bridge terminals (three screws on the left side of each chopper). Refer to
TABLE 1 for the proper three phase AC voltage.
Note that the system will only energize for approximately two seconds each
time a start signal is applied.
If the voltage is not present, check for primary voltage on the main contactor
(CON 1) and on the primary side of the power transformer.
Top View of Chopper
Diode Bridge Terminals
Chopper PCB
J1 Plug
D2 (Green LED) is
under J1 Plug


