15/21
Linde AG, Linde Gas Deutschland ©
SETTING WELDING CURRENT AND VOLTAGE
When the wire had been installed and gas had been set it is possible to start
welding.
The appliance must be plugged into the mains, the ON/OFF switch
A1
on "I".
To select the voltage use step switch
A2.
To select the current (that is linked to the wire speed) use the potentiometer
A6 (P1)
.
WELDING MODES
Machines works in four modes:
1. Continuous two stroke (2T)
2. Continuous four stroke (4T)
3. Spot welding
4. Interval welding
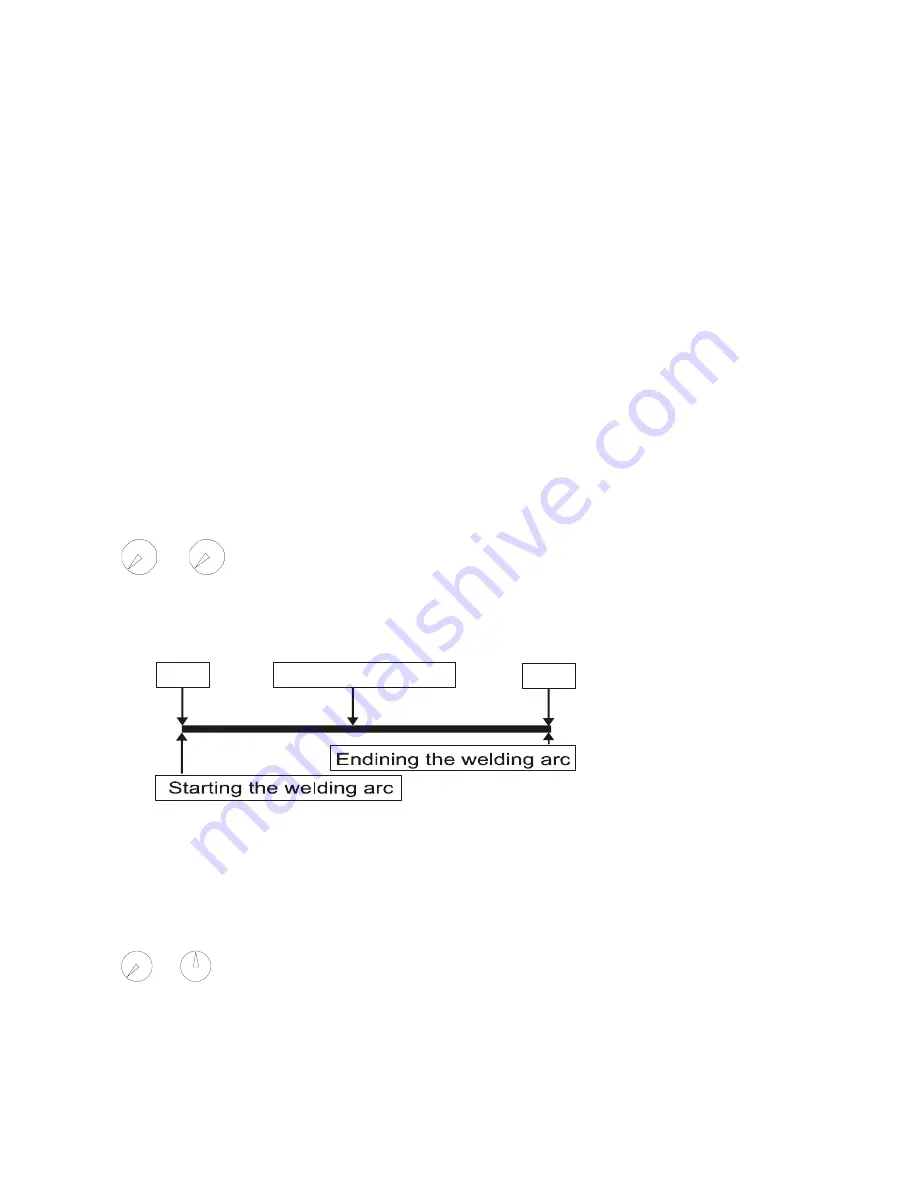
TWO STROKE
P2
P3
Both potentiometers
P2, P3
are in the OFF position. Welding
procedure starts by pressing the button in the torch handle. It is necessary to
keep the button pressed all the time during welding. The welding stops by
releasing the torch button.
1
2
Welding proces
FOUR STROKE
P2
P3
The four stroke mode is being used mostly for long welds, when
there is no need to hold the torch button pressed. The left potentiometer
P2
is in the OFF position, the right potentiometer
P3
is in the ON position. The
welding procedure start by pressing the torch button; after releasing the torch


