3.
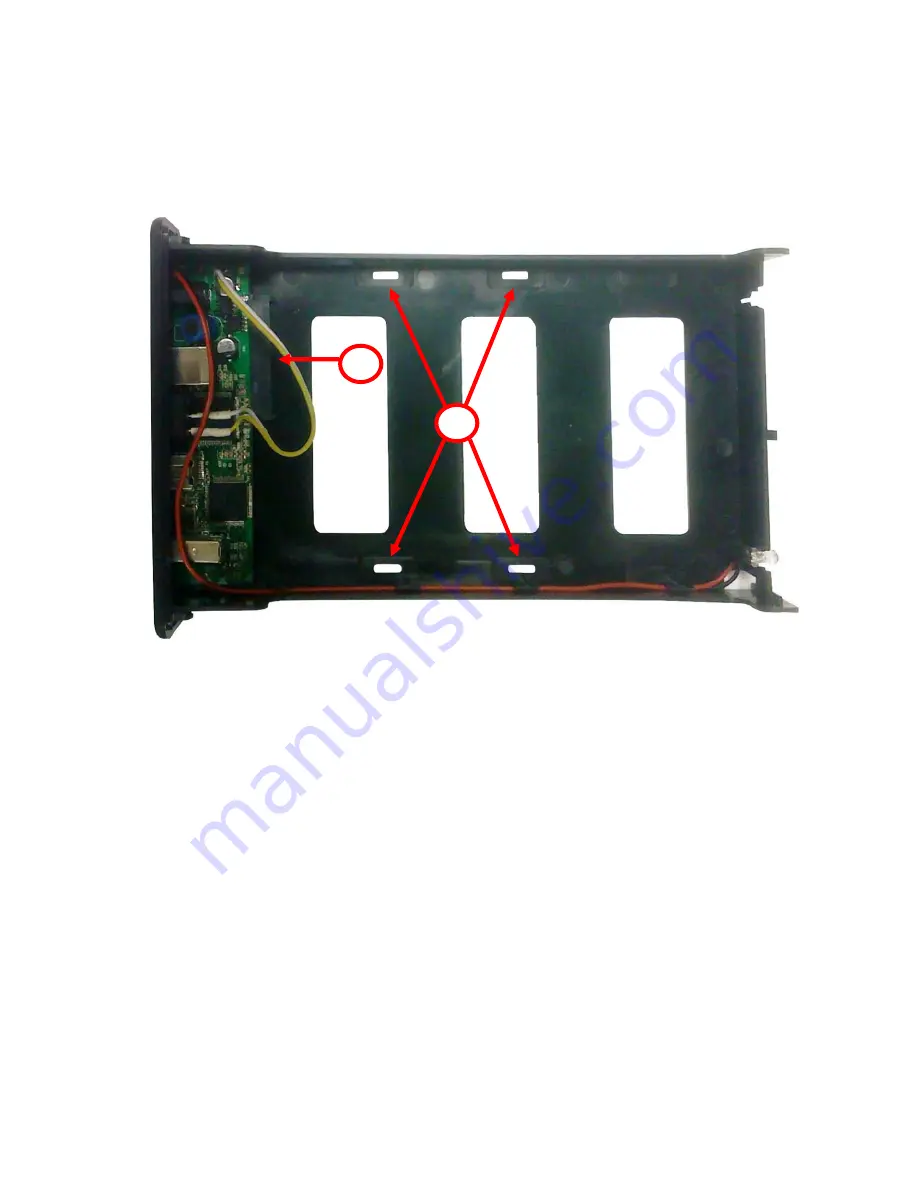
Place your HDD into the tray, and then slide it into position
so that the SATA connection is made between the HDD and
the 22 Pin SATA interface
4.
The screw holes on the underside of your HDD will be
aligned to the slots in the tray. Use the supplied screws to
attach your HDD to the tray
5.
Slide the tray back into the enclosure and fix it in position
using the screws which were previously removed
6.
The enclosure is now ready to be used, simply connect the
supplied power supply and your choice of computer
connection cable
Important Note:
Only one of the available connections may be connected/used
at a time. Connection of multiple interfaces will result in the
failure of this enclosure and void your warranty
3
4


