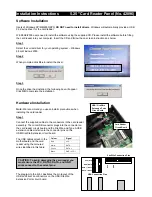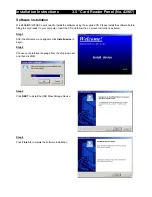
Hardware Installation
Note:
We recommend you use anti-static precautions when installing the card reader
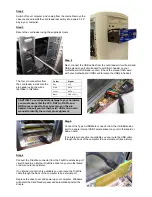
Step 1
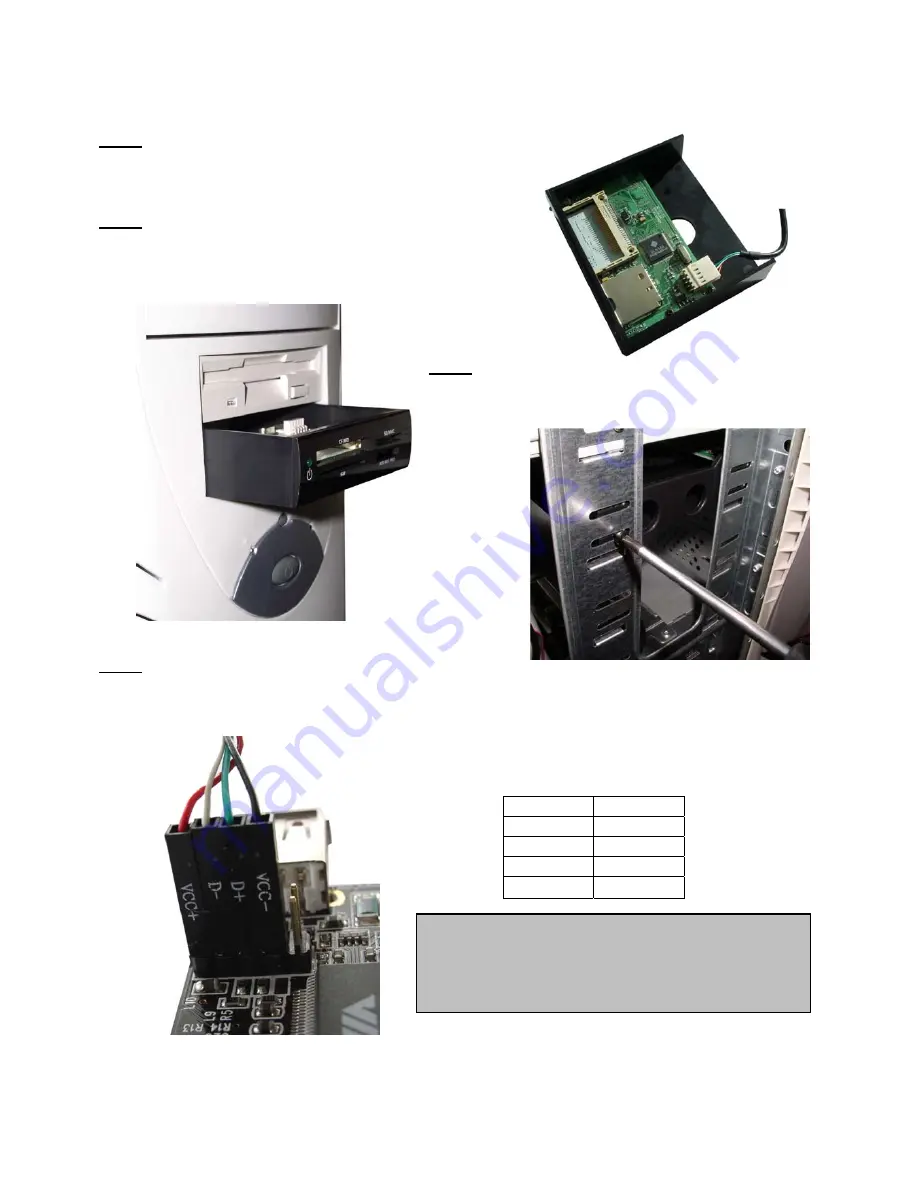
Connect the supplied USB internal cable to the connector on the
Card Reader
Step 2
Switch off your computer, and unplug from the mains. Remove
the case cover and install the card reader assembly into a spare
3.5" bay in your computer
Step 3
Secure the card reader using the supplied screws
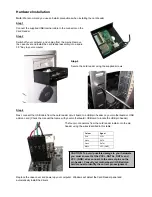
Step 4
Next, connect the USB cable from the card reader circuit board to a USB pin header on your motherboard or USB
add-on card. (Check the manual that came with your motherboard / USB card to locate the USB pin header)
The four pin connectors from the card reader install onto the pin
header using the wires identified in this table:
Colour Signal
Red VCC
+
White DATA
-
Green DATA
+
Black VCC-
(GND)
CAUTION: To avoid possible damage to your hardware
you must ensure that the VCC+, DATA+, DATA- and
VCC- (GND) wires connect to the correct pins on the
pin header. Consult your motherboard / USB add-on
card manual to identify the correct pin assignment.
Replace the case cover and power up your computer. Windows will detect the Card Reader panel and
automatically install the drivers.


