50
DO7293S
ES
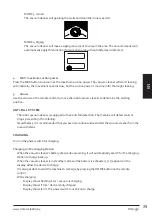
· También puede elegir cargar el dispositivo antes de que se agote la batería pulsando el botón HOME
en el mando a distancia.
· Durante la carga:
· En la pantalla aparece el signo 1111 parpadeante: el aparato está cargándose.
· En la pantalla aparece “FULL”: el aparato se ha cargado plenamente.
· En la pantalla aparece “Error”: el interruptor de encendido/apagado debe estar encendido para la
carga.
Cargar sin la base de carga
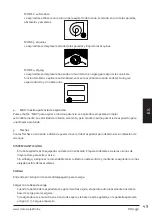
Coja el adaptador, conecte el enchufe a la toma de corriente e introduzca la clavija DC en el aparato.
· Durante la carga:
· En la pantalla aparece el signo 1111 parpadeante: el
aparato está cargándose.
· En la pantalla aparece “FULL”: el aparato se ha cargado
plenamente.
· En la pantalla aparece “Error”: el interruptor de
encendido/apagado debe estar encendido para la
carga.
LIMPIEZA Y MANTENIMIENTO
LIMPIAR LA BANDEJA DE POLVO Y EL FILTRO
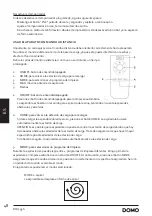
Limpie la bandeja de polvo y el filtro después de cada uso, siguiendo los pasos a continuación:
16
Product Maintenance
Cleaning Side Brushes
Clean the side brush when it become dirty and replace it if it’s damaged. The maximum life span of
the side brush is 12 months.
Note: Before replacing side brushes, check and ensure that the L/R mark on the side brush match
with the L/R mark on the bottom base of the robot.
Cleaning Dust Bin and Filters
Empty and clean the dust bin after each usage following the steps as show in the figures below:
A. Hold the bottom of dust bin, and press down on the button using your
thumb to take out of the dust bin.
B. Take out dust bin.
C. After press down button
and o
pen dust bin upper cover
D. Open dust bin cover and take out the
primary filter and HEPA filter.
E. Empty the dust bin.
F. Wash the dust bin and primary filter under tap water,
clean the HEPA filter with brush, avoid washing it under
water.
G. Assemble primary filter and HEPA filter again into
dust bin.
1
2
3
4
5
6
10
Product Operation
Battery Charging
1. Charging Station Placement
A. Place charging station against the wall,
and remove obstacles about 1m on either
sides and 2m in front of the station. Please
remove obstacles as show in the right figure.
B. If robot is power off, switch on the robot first before charging.
2.
Charge the robot in either way as shown below:
A. Plug one end of the adapter into the robot and the other end into the power socket as shown
in Fig a.
B. Press the “HOME” button on the remote control or robot to operate the robot looking for the
charging docking automatically as shown in Fig b.
Fig a
Fig b
Note:
a. When robot is in charging, the LED panel will gradually show “1111” from left to right.
b. When charging is over, the LED panel will show “FULL”.
c. In standby status, the robot will
when the battery level is low.
d. In working status, the robot will look for the charging dock automatically when the battery
level is low.
In Order to Extend Battery’s Life
a. Please charge the robot for up to 5 hours during the first charging.
b. Charge the robot as soon as possible when battery capacity is low.
c. The robot will return to the charging dock automatically when cleaning is finished or battery
capacity is low.
d. When you do not use the robot for some time, please fully charge the battery first, then
switch off the robot and keep it in a cool but dry place.
e. If the robot has been put aside over 3 months, please charge the robot for 5 hours first
before using it for cleaning.
show


