23
DO987BFK
www.domo-elektro.be
FR
8.
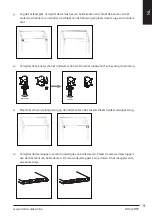
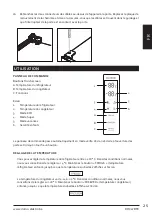
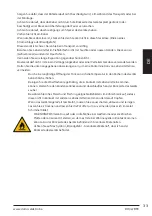
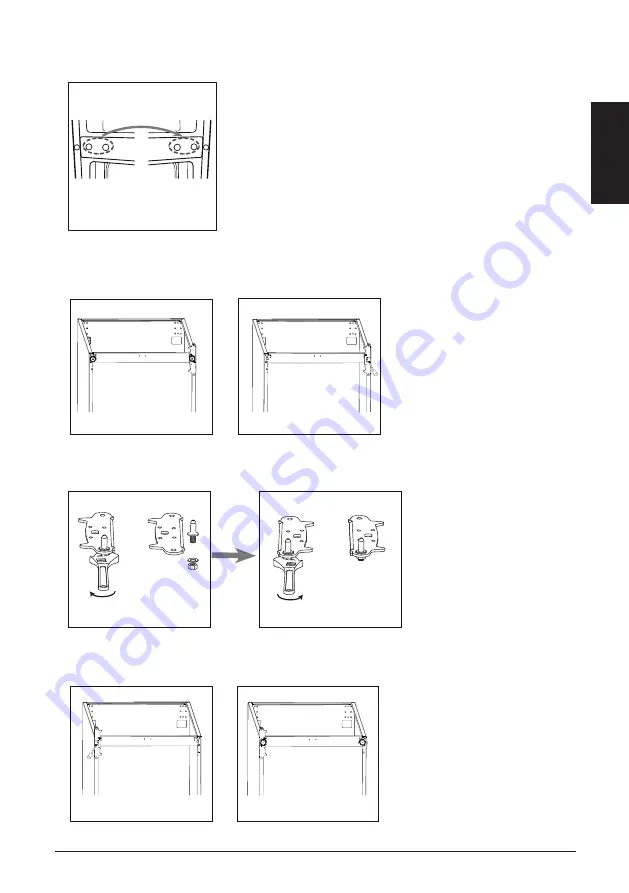
Déplacez les cache-vis du côté gauche vers le côté droit.
,QVWDOODWLRQ
8
.
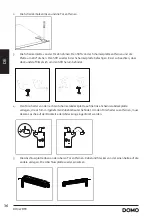
9. Unscrew bottom hinge. Then remove the adjustable feet from both side.
10. Unscrew and remove the bottom hinge pin, turn the bracket over and replace it.
unscrew
screw
10
9.
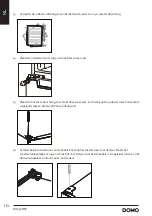
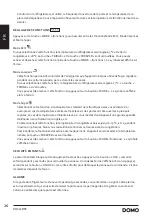
Placez le réfrigérateur à plat. Retirez les pieds de réglage des deux côtés et dévissez les boulons de la
charnière inférieure. Retirez la vis du boîtier et replacez-la de l’autre côté.
,QVWDOODWLRQ
8
.
9. Unscrew bottom hinge. Then remove the adjustable feet from both side.
10. Unscrew and remove the bottom hinge pin, turn the bracket over and replace it.
unscrew
screw
10
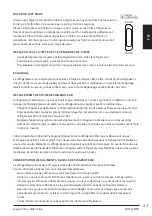
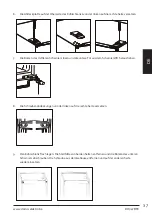
10. Retirez la petite goupille de la charnière inférieure. Faites pivoter la plaque sur 180° et resserrez la
goupille.
,QVWDOODWLRQ
8
.
9. Unscrew bottom hinge. Then remove the adjustable feet from both side.
10. Unscrew and remove the bottom hinge pin, turn the bracket over and replace it.
unscrew
screw
10
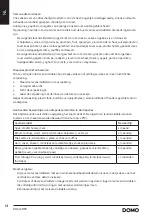
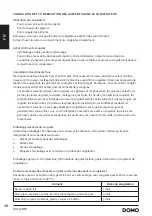
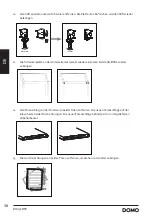
11. Replacez la plaque de charnière sur la face inférieure de l’appareil. Replacez les deux pieds de
réglage.
,QVWDOODWLRQ
13.Detach the Fridge and the Freezer door gaskets and then attach them after rotating.
11.Refit the bracket fitting the bottom hinge pin. Replace both adjustable
feet.
12.Remove aid-closers from bottom of upper and lower doors, then take new aid-closers from
accessary bag and install them to left side.
11
Summary of Contents for DOMO DO987BFK
Page 114: ...114 DO987BFK...
Page 115: ...115 DO987BFK www domo elektro be...

