79
DO987BFK
www.domo-elektro.be
IT
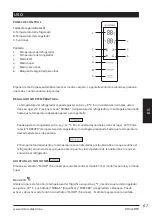
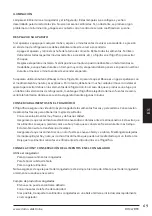
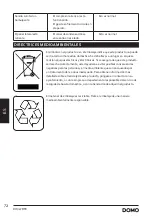
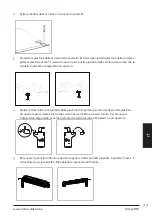
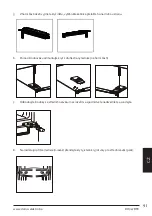
10. Rimuovere il perno dalla cerniera inferiore. Girare di 180° la piastrina e fissare il perno.
,QVWDOODWLRQ
8
.
9. Unscrew bottom hinge. Then remove the adjustable feet from both side.
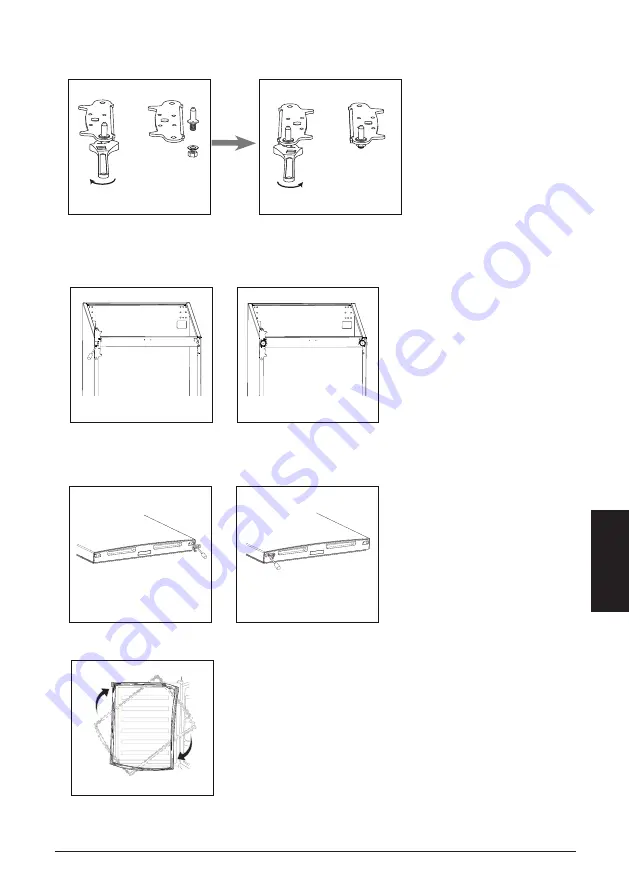
10. Unscrew and remove the bottom hinge pin, turn the bracket over and replace it.
unscrew
screw
10
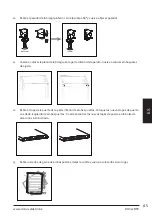
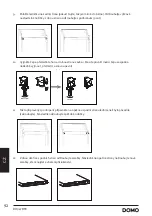
11. Riposizionare la piastrina della cerniera sul lato inferiore dell’apparecchio. Riposizionare entrambi i
piedini regolabili.
,QVWDOODWLRQ
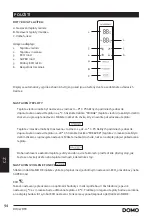
13.Detach the Fridge and the Freezer door gaskets and then attach them after rotating.
11.Refit the bracket fitting the bottom hinge pin. Replace both adjustable
feet.
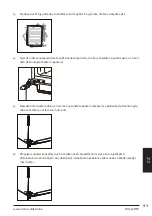
12.Remove aid-closers from bottom of upper and lower doors, then take new aid-closers from
accessary bag and install them to left side.
11
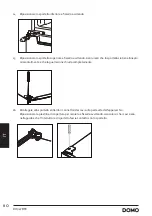
12. Rimuovere lo stop sportello dal lato inferiore di entrambi gli sportelli. Posizionare i nuovi stop
sportello sul lato sinistro di entrambi gli sportelli. I nuovi stop sportello si trovano nel sacchetto
accessori fornito.
,QVWDOODWLRQ
13.Detach the Fridge and the Freezer door gaskets and then attach them after rotating.
11.Refit the bracket fitting the bottom hinge pin. Replace both adjustable
feet.
12.Remove aid-closers from bottom of upper and lower doors, then take new aid-closers from
accessary bag and install them to left side.
11
13. Rimuovere le guarnizioni in gomma da entrambi gli sportelli, capovolgerle e riposizionarle.
,QVWDOODWLRQ
13.Detach the Fridge and the Freezer door gaskets and then attach them after rotating.
11.Refit the bracket fitting the bottom hinge pin. Replace both adjustable
feet.
12.Remove aid-closers from bottom of upper and lower doors, then take new aid-closers from
accessary bag and install them to left side.
11
Summary of Contents for DOMO DO987BFK
Page 114: ...114 DO987BFK...
Page 115: ...115 DO987BFK www domo elektro be...

