17
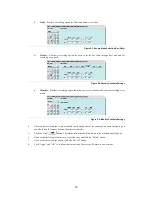
Setting Recording Mode
•
Under “
Rec Mode
” choose one of the three options:
i.
No Recording
(The camera will stop recording)
ii.
Recording
(The camera records at all times)
iii.
Scheduled
(A particular time should be scheduled for recording under this option)
These three types of recording modes will be activated when the alarm starts.
Adding Text & Text Background Color
•
Click the “Display Status” checkbox to change the text color and background color.
•
Text colors: For Text Color users can choose to have text in Black, Red, Green, Blue and White
•
Background color: For Background Color users can choose to have Black, Red, Green, Blue and White
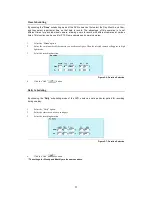
Adjusting Picture Quality
•
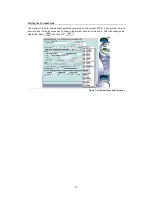
Under “Adjustment” users can choose various settings respectively for
i.
“
Hue
” – This is the attribute of colors that permits them to be classed as Red, Yellow, Green, Blue,
or an intermediate between any contiguous pair of these colors.
ii.
“
Saturation
” – This is the degree of difference from the achromatic light-source color of the same
brightness
iii.
“
Brightness
” – This is the attribute of light-source colors by which emitted light is ordered
continuously from light to dark in correlation with its intensity
iv.
“
Contrast
” – This is to compare with respect to differences
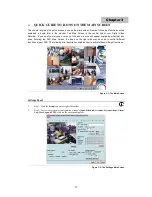
When changes are made the camera image is automatically updated. To return to previous settings,
click
*
“
Default
”
*Default: Hue-50 / Saturation-50 / Brightness-50 / Contrast-50
Figure 4-3: Camera image field
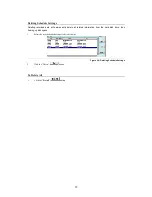
Setting Image Format
•
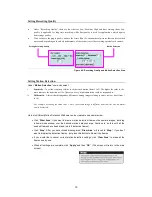
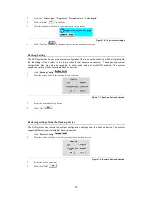
Under “Image Format” users can select:
i.
“
NTSC
”- Three settings for image resolution - (160x120, 320x240, or 640x480).
ii.
*“
PAL
”- Three settings for image resolution - (176x144, 352x288, or 704x576).
Figure 4-4: Image Format Area


