78
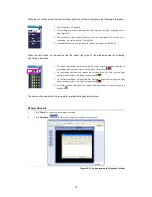
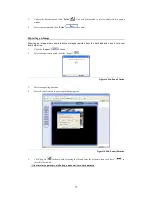
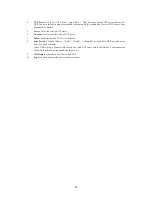
Figure 14-29: Remote Schedule Window
3.
Once complete, click “
Add
”
to activate the settings. After you have completed all schedule
settings you can view a log of all changes at the bottom of the window.
Modifying Scheduled Settings
1.
Click the data you wish to modify
2.
Click the “
Modify
”
button after having changed the scheduled settings.
3.
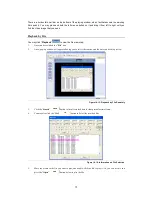
Then you can see the recording schedule after the modifications at the bottom of the window.
Delete/Delete all scheduled Settings
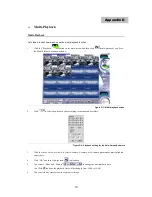
Choose the scheduled setting items of and then click “
Delete
”
/ “
Delete All
”
to
delete the files.
Remote Account Settings
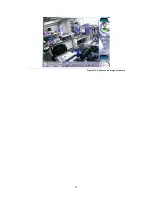
Entering the Account Settings screen as the Administrator, you can see the authority settings of all the
users. Of course, you are able to Add / Delete a user, and to modify a user’s setting. And all your
modifications will be saved to the local Host.
1.
Click the “
Account
”
link on the browser to enter the main remote account screen.
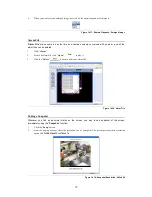
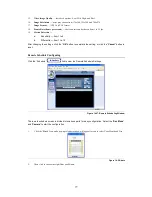
Figure 14-30: Normal Account Settings Screen
2.
Click “Add”
to add a user.
3.
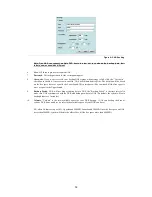
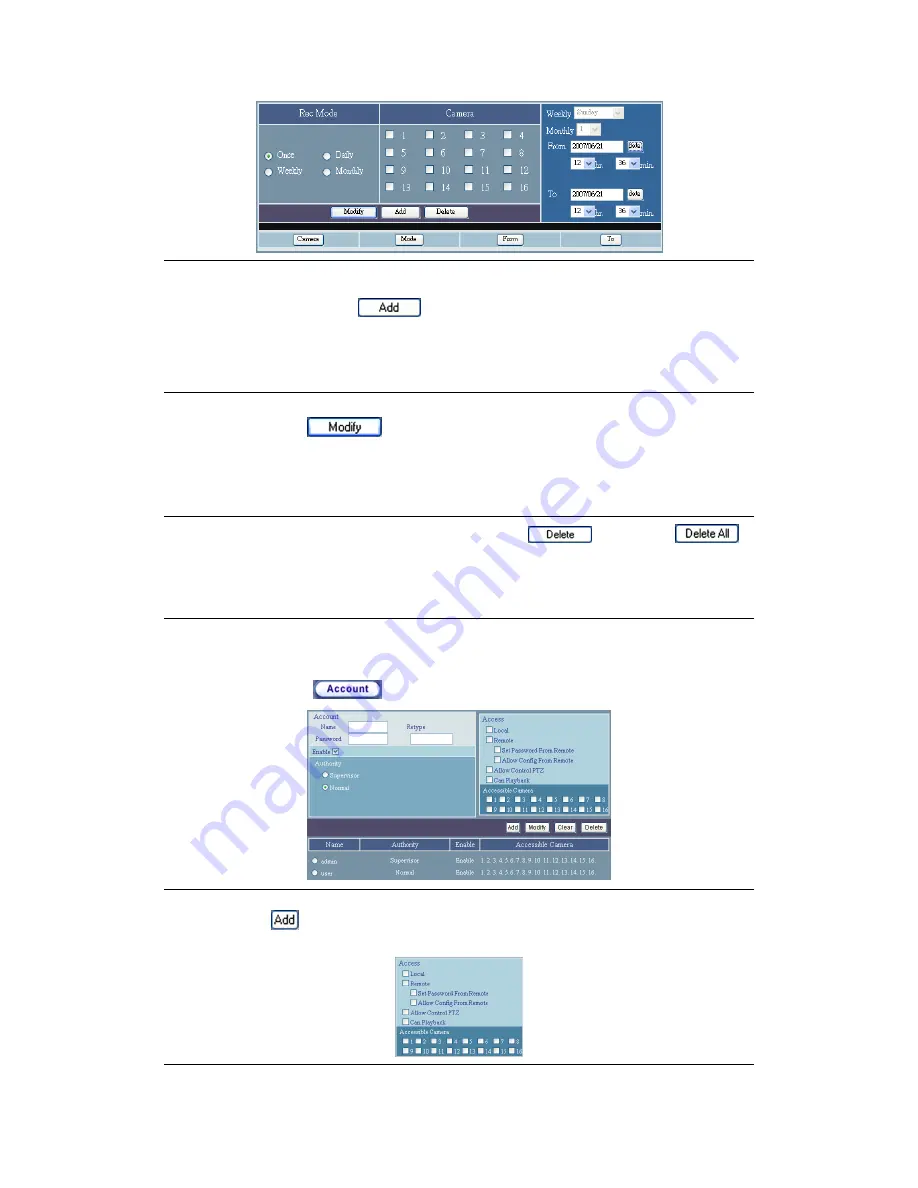
Set the users authority:
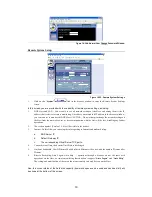
Figure 14-31: Local / Remote user’s Access Authority


