


4
2. Installing the Software
The following items are necessary to set up a wired connection.
●
CD-ROM supplied with the machine
●
USB interface cable
1. Turn on your computer.
2. Insert the provided CD-ROM into the CD-ROM drive of the
computer.
If your computer does not have a CD-ROM drive, download a
setup file from our website (http://www.ricoh.com/printers/sp200/
support/gateway/).
or
3. Click [Quick Install].
4. The software license agreement appears in the [Software
License Agreement] dialog box. After reading the agreement,
click [Yes].
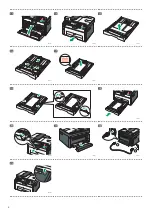
5. Select [USB Connection].
6. Follow the instructions in the setup wizard.
7. Click [Finish] in the [Setup Complete] dialog box. If the
installer prompt you to restart Windows, reboot your
computer.
Setup is completed.
Scan/FAX and other settings
For safe and correct use, be sure to read Safety Information before
using the machine.
Configuring Network Settings Using OS X
Troubleshooting
Maintaining the Machine
Configuring the Machine Using Utilities
Configuring the Machine Using the Control
Panel
Sending and Receiving a Fax
Scanning Originals
Copying Originals
Printing Documents
Paper Specifications and Adding Paper
Guide to the Machine
Appendix
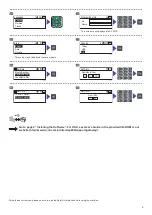
User’s Guide
■
For those using the scanner
features for the first time
For information about specifying the initial
scan settings, see “What You Can Do with
the Scanner Function”, User’s Guide in the
provided CD-ROM or our website (http://www.
ricoh.com/printers/sp200/support/gateway/).
Initial Guide for FAX
Connection
Connect a telephone line cord to LINE.
If using an external telephone, connect the
telephone to TEL.
1
2
DSH043
1. Port For External Telephone
2. Port For LINE
DSH032
Selecting the Telephone Line Type and
Telephone Network Connection Type
Press the [User Tools] key.
DSH210
Press [▲] or [▼] key to select
[Admin. Tools], and then press
the [OK] key.
Press [▲] or [▼] key to select
[Dial/Push Phone], and then
press the [OK] key.
Basic Operation for Sending
a Fax
Press the [Facsimile] key.
DSH154
Enter the fax number using the
number keys.
Press [Start] key.
Depending on the machine’s settings,
you may be prompted to enter the fax
number again if you manually entered
the fax number. Enter the fax number
within 60 seconds. If the fax numbers
do not match, go back to step 3.
If you place the original on the
exposure glass and have more
originals to scan, press [Yes]
within 60 seconds, place the
next original on the exposure
glass, and then press [OK] key.
Repeat this step until all
originals are scanned.
When all originals have been
scanned, press [No] to start
sending the fax.
Press [▲] or [▼] key to select
the telephone line type
appropriate for your telephone
service, and then press the
[OK] key.
Press [▲] or [▼] key to select
[PSTN / PBX], and then press
the [OK] key.
Press [▲] or [▼] key to select
[PSTN] or [PBX], and then
press the [OK] key.
Press the [User Tools] key to
return the initial screen.
Setting the Outside Line
Access Number
If you have selected PBX, use the following
procedure.
Press the [User Tools] key.
Press the [▲] or [▼] key to
select [Admin. Tools], and then
press the [OK] key.
Press the [▲] or [▼] key to
select [PBX Access Number],
and then press the [OK] key.
Enter the outside line access
number using the number
keys, and then press the [OK]
key.
Press the [User Tools] key to
return the initial screen.
English
Read this manual carefully before you use the product and keep it handy for future reference. For safe and correct use, please be sure to read the Safety Information before
using the machine. This manual briefl y describes the procedure for initial setup for fax function.
For more details about other information, see User’s Guide in the CD-ROM or on our web site (http://www.ricoh.com/printers/sp200/support/gateway/).
■
For those using the fax features
for the first time
For information about specifying the initial fax
settings, see “Initial Setup”, Initial Guide for
FAX.
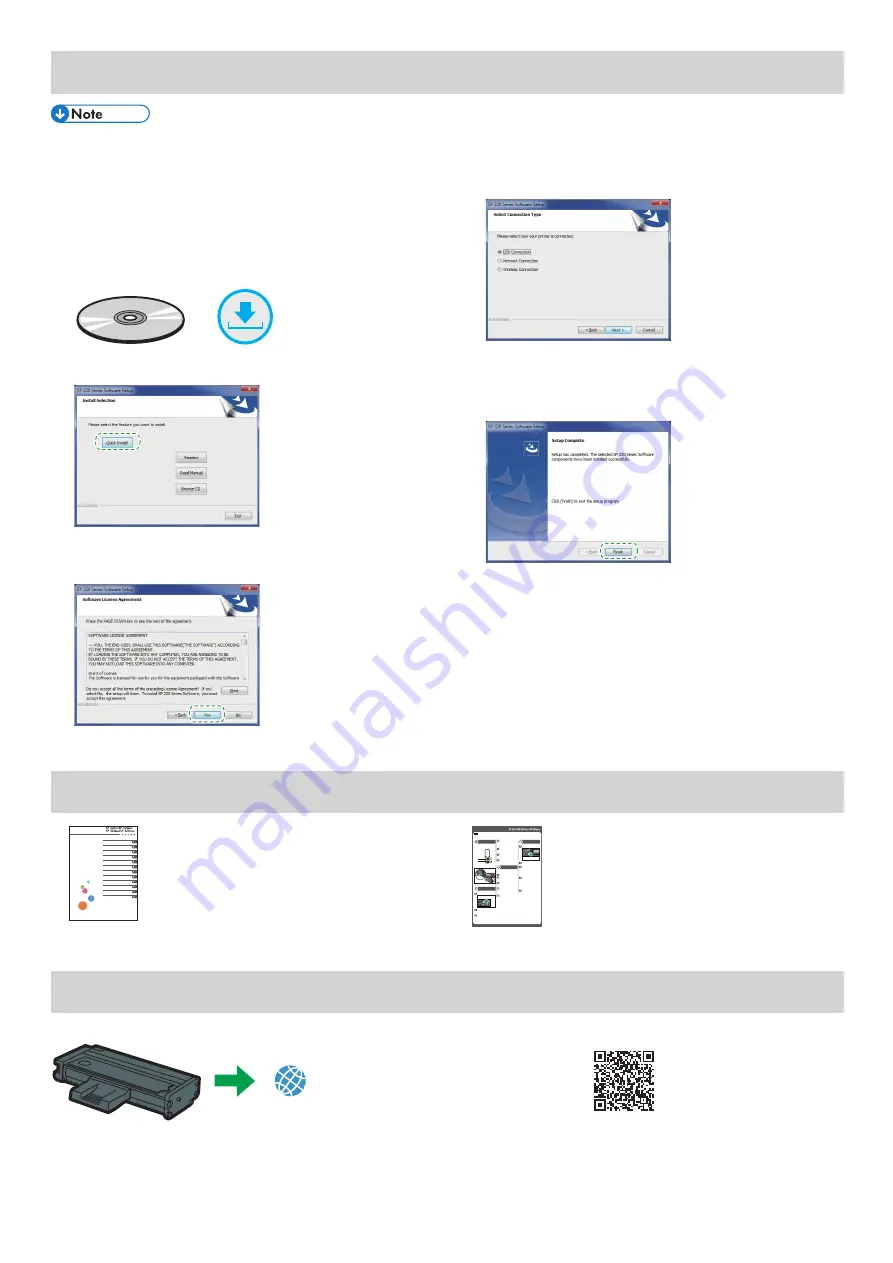
How to purchase consumables
For information about consumables, see the following website or scan the following QR code from your smart device.


