5
lci1.com
574-537-8900
CCD-0001391
Rev:09.18.18
Quick Drop Tongue
Jack
®
Installation and Owner’s Manual
(For Aftermarket Applications)
extends
retracts
Fig.5
B
A
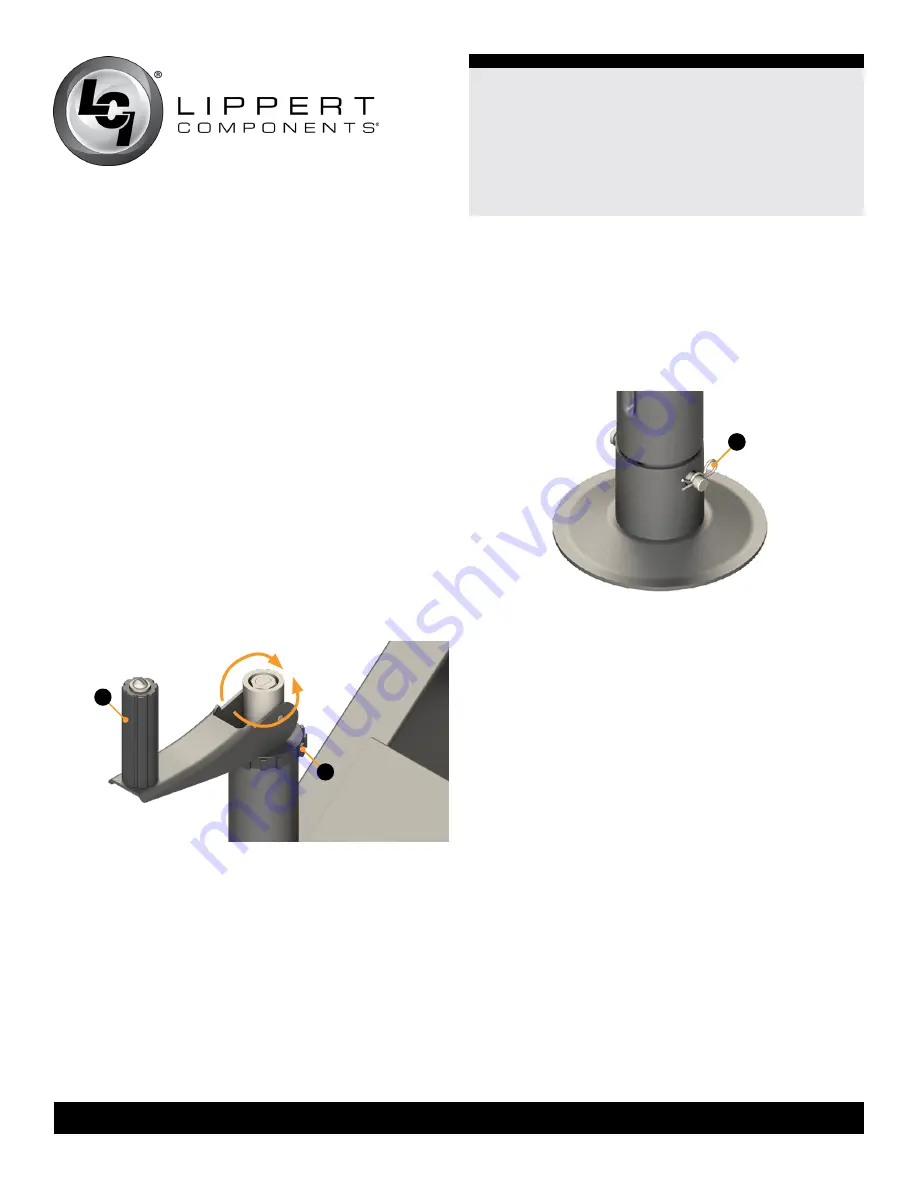
Manual Operation
NOTE:
To operate the crank handle, it is required to have
an existing 6” to 6
1/2
” radius clearance from the center
point of the jack leg to the area around it.
1.
Flip the crank handle
(Fig. 5A)
over into its cranking
position.
A.
Rotate the crank handle clockwise to extend
the jack leg.
B.
Rotate the crank handle counterclockwise to retract
the jack leg.
2.
After desired tongue jack height is achieved, flip the
crank handle over into its stored position
(Fig.4)
. The crank
handle will engage the ribs of the cap
(Fig.4B)
.
NOTE:
Since the crank handle moves independently of
the screw drive, storing it prevents the handle from turning
when the drive screw is used.
Fig.6
A
Hitching To A Tow Vehicle
1.
Chock the tires of the trailer.
2.
Make sure the footpad of the Quick Drop Tongue Jack
is pinned securely in place with the clevis pin and hairpin
cotter pin
(Fig.6A)
.
3.
Use a
3/4
” drive socket with either a cordless or electric
drill or screw gun.
A.
Insert the drive socket over the hex head of the drive
screw
(Fig. 4A)
.
NOTE:
It may be necessary to slightly raise the jack leg
to allow the coupler to clear the hitch ball. Rotate the drive
screw in a clockwise direction to extend the jack leg.
B.
Rotate the drive screw in a counterclockwise direction
to retract the jack leg.
4.
Latch the tow vehicle hitch and connect any wires,
chains or sway control that may be equipped between the
tow vehicle and the trailer.
5.
Remove the tire chocks.
6.
Make sure the leg of the Quick Drop Tongue Jack is fully
retracted before moving the tow vehicle.


