background image

Wireless Access Point / Ethernet Bridge 


Model Name: 

WP310A


Quick Install Guide 

Hardware Installation 


Making a Connection 


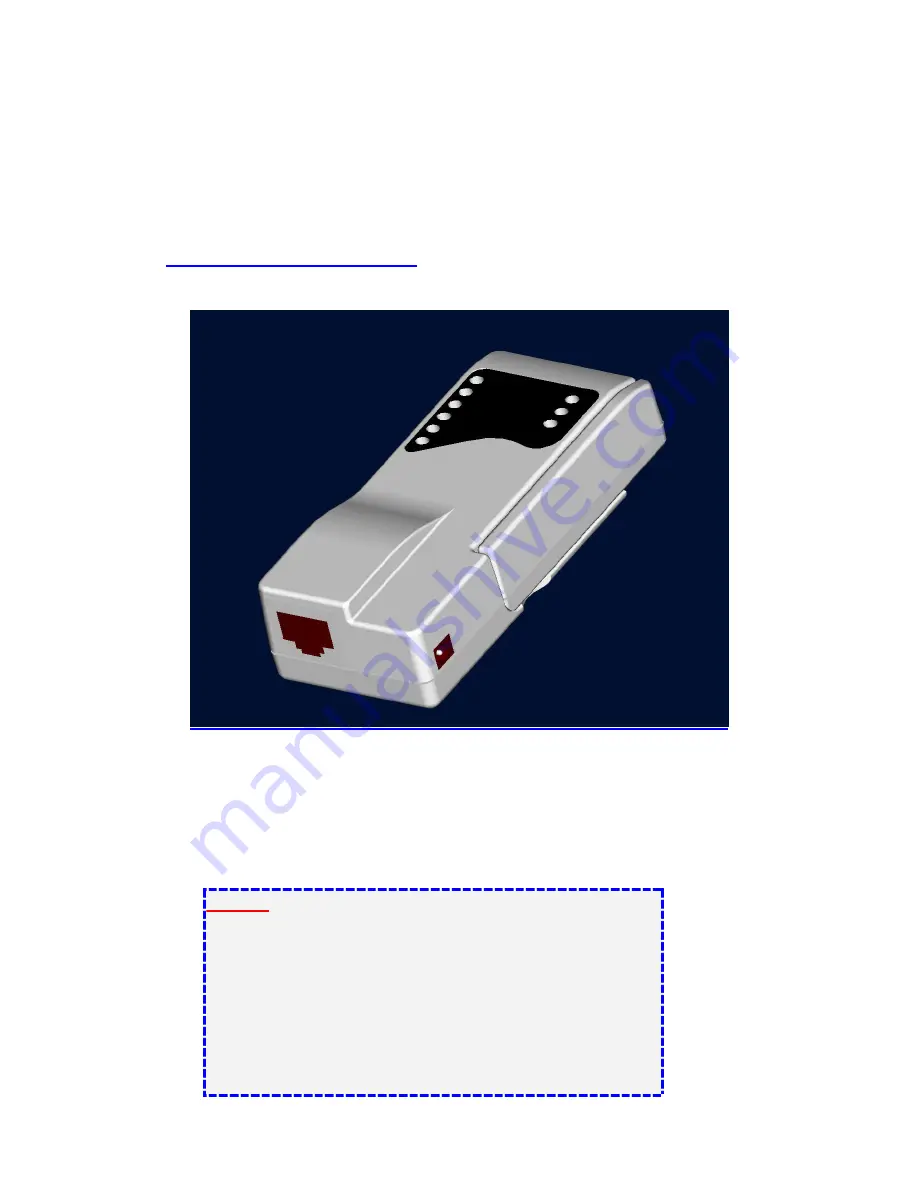
1.  RJ45 port connects to a hub/switch or PC - Use a standard Ethernet RJ-45 

cable. 

2.  Check the LED of “LAN” port on front panel, it must be on. 

If not, to ensure that the cable is connected properly. 

3.  Connect the power adapter to “DC 5V”. 
 

Attention: 


The cable distance between the Router and PC/hub/Switch should 
not exceed 100 meters. 


Make sure the wiring is correct. In 10Mbps operation, Category 
3/4/5 cable can be used for connection. To reliably operate your 
network at 100Mbps, you must use Category 5 cable, or better 
Data Grade. 


Summary of Contents for WP310A

Page 1: ...LAN port on front panel it must be on If not to ensure that the cable is connected properly 3 Connect the power adapter to DC 5V Attention The cable distance between the Router and PC hub Switch should not exceed 100 meters Make sure the wiring is correct In 10Mbps operation Category 3 4 5 cable can be used for connection To reliably operate your network at 100Mbps you must use Category 5 cable or...

Page 2: ...lect the TCP IP line for the applicable Ethernet adapter Then click the Properties button 3 Click the IP Address tab page select USE the following IP address type 192 168 1 1 192 168 1 254 but 192 168 1 20 for the device use in the IP Address field and 255 255 255 0 in the Subnet Mask field then click OK button Start Setup 1 After getting the correct connection start the web browser make sure you ...

Page 3: ...iguration AP Mode After login Web UI you can click Access Point Web Server to get into main configuration page Main page will show 2 4GHz statistics automatically you may click Configuration to modify system setting ...

Page 4: ...ht here Please click Radio to modify wireless settings WP310 default works in Access Point mode You can change detail wireless parameters by clicking Edit 2 4GHz Radio Settings System default SSID is Atheros_Wireless_Network You can modify SSID Wireless Mode Radio Frequency at this page ...

Page 5: ...is an example that we change SSID to MyESS and click Update Then the page will show a Reboot AP bottom You will need to click Reboot AP bottom and have the AP reboot to make the new setting start to function ...

Page 6: ...t device into wireless network In order to setup the AP to work in Ethernet bridge mode you need to choose Wireless Client mode and click Site Survey at Radio page The Site Survey page can help you identify all the APs currently working in your environment You will have to remember the SSID you are going to join ...

Page 7: ...y in SSID column with the value you get from site survey page and press Update bottom then reboot AP After the AP reboot new Ethernet Bridge setting will in effective immediately From the 2 4GHz Statistics page you can find that the WP310A works as a client STA and associated to the AP you specified ...

Page 8: ......

Page 9: ...ence to radio communications However there is no guarantee that interference will not occur in a particular installation If this equipment does cause harmful interference to radio or television reception which can be determined by turning the equipment off and on the user is encouraged to try to correct the interference by one or more of the following measures Reorient or relocate the receiving an...

Reviews: