44
6.0 OSD Setting
6.1 Brightness Menu
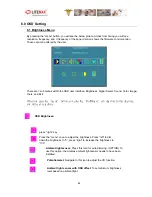
By pressing the “menu” button, you will see the below picture. Across from timing you will see
resolution, frequency, and V-frequency of the panel. Version shows the firmware control version.
These cannot be altered by the user.
There are 7 sub menus within the OSD user interface: Brightness, Signal Select, Sound, Color, Image,
Tools, and Exit.
When you press the “menu" button, you enter the “Brightness" sub directory. In this directory,
you will see 4 selections:
OSD Brightness:
press ’’right’’ key
Press the “menu” once, to adjust the brightness. Press “left” to dim
down the brightness to “0”, press “right” to increase the brightness to
“100”
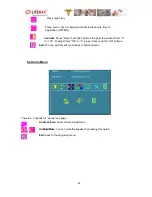
Ambient light sensor:
Press this Icon for auto dimming. (OPTION) To
use this option, the Litemax ambient light sensor needs to have been
installed
Potentiometer:
Navigate to this icon to adjust the VR function.
Ambient light sensor with OSD offset
: To set minimum brightness
level based on ambient light.
Summary of Contents for PPS1831 Series
Page 12: ...12 AC DC Power Adaptor CD for User Manual and Touch Driver Packing...
Page 16: ...16 2 4 2 Rear View 2 4 3 Buttom View...
Page 17: ...17 2 5 Product Dimension...
Page 18: ...18...
Page 25: ...25 4 0 BIOS Setting 4 1 Main Features Setup 4 2 Advanced Chipset Setup...
Page 26: ...26 4 3 Chipset Setup 4 4 Boot Devices Setup...
Page 27: ...27 4 5 Security and Password Setup 4 6 Save and Exit Option...
Page 29: ...29 Please click Yes Please click OK...
Page 31: ...31 Please click Next Please click Install...
Page 32: ...32 Please click Finish Please click Next...
Page 33: ...33 Please click Install Please click Finish...
Page 34: ...34 Please click Yes and then restart the system...
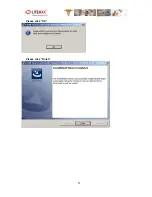
Page 36: ...36 Please click Next Please click Install...
Page 37: ...37 Please click OK Please click Finish...
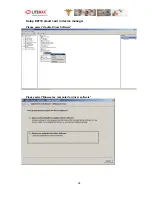
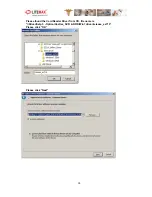
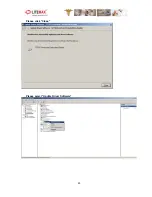
Page 40: ...40 Please click Close Please select Update Driver Software...
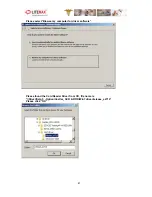
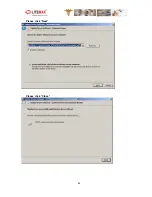
Page 42: ...42 Please click Next Please click Close...
Page 43: ...43 Completed...

