background image

Octagon Greenhouse Manual

Construction Manual              © 2011 Little Cottage Co.                       Page 3

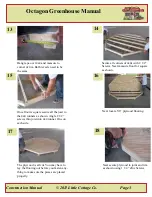
13

14

15

16

17

18

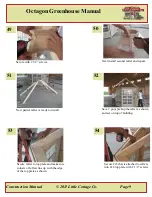
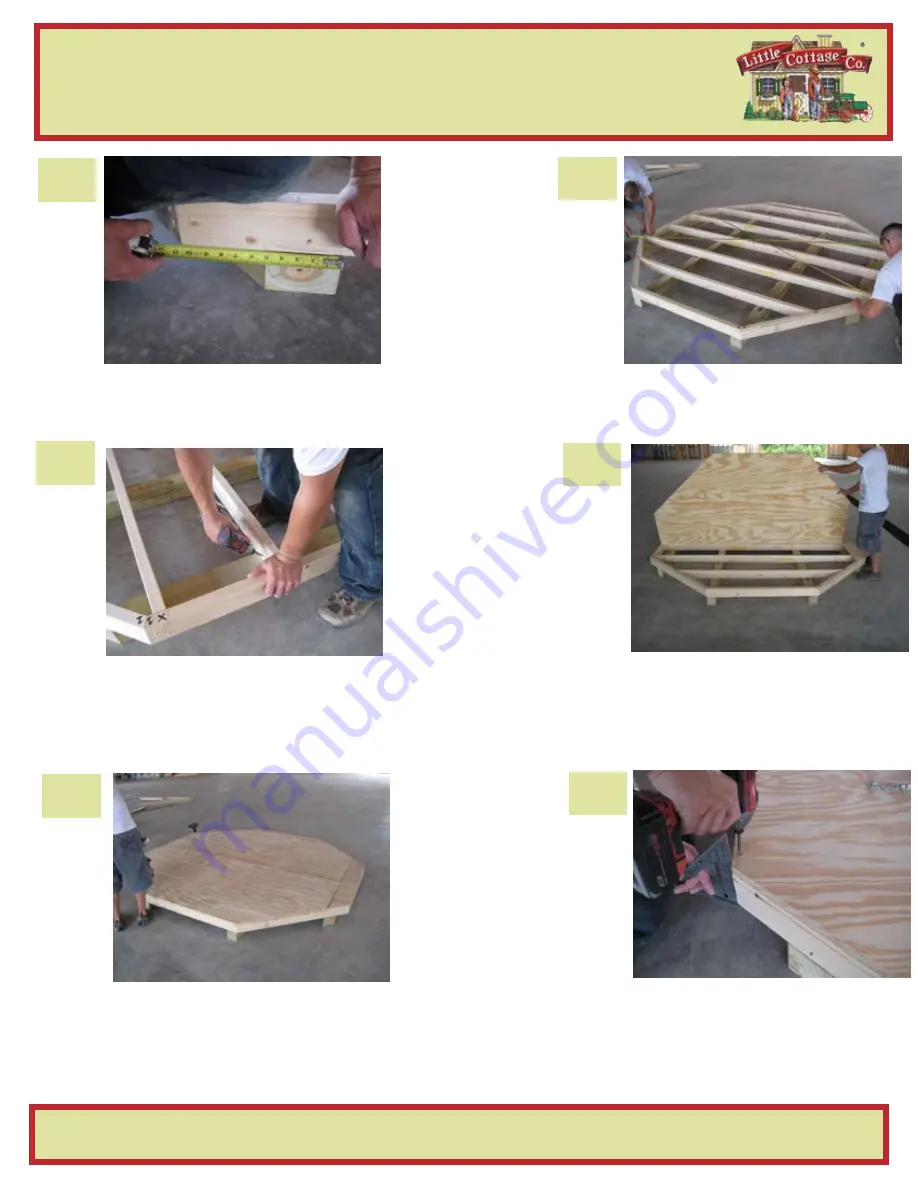
Hang tape over 4x4 and measure to 

corner of rim. Both reveels need to be 

the same.

Secure all corners of 4x4s with 2 1/2” 

Screws. Next measure floor for square 

as shown.

Once floor is square secure all the joist to 

the 4x4 runners as shown. Angle 2 1/2” 

screws thru joist into 4x4 runner. One on 

each side.

Next locate 5/8” plywood flooring.

The plywood is all cut. You may have to 

lay the flooring out before you fasten any

-

thing to make sure the pieces are placed 

properly.

Next secure plywood to joint and rim 

as shown using 1 1/4” Zinc Screws.

Summary of Contents for Octagon Greenhouse

Page 1: ...330 893 4212 www cottagekits com 2011 Little Cottage Co Octagon Greenhouse Manual Tools Needed Cordless Drill 12V or higher 2 Square Drive Bit Hammer 6 Step Ladder Tape Measure Utility knife w blade...

Page 2: ...n Green house Layout 4x4 s as shown Next locate the 8 pieces of rim and joist Here you see the 8 pieces of rim The rims are numbered as shown Make sure matching numbers are connected Continue with rim...

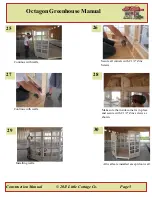
Page 3: ...ked off where the joist need to go Secure joist with 2 1 2 Zinc screws Next check floor framing for square as shown Next place floor on top of 4x4 s as shown The 2 longest 4x4 s need to be in the cent...

Page 4: ...Screws Next measure floor for square as shown Once floor is square secure all the joist to the 4x4 runners as shown Angle 2 1 2 screws thru joist into 4x4 runner One on each side Next locate 5 8 plywo...

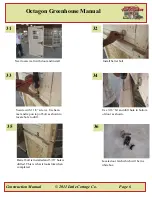
Page 5: ...oor Secure 1 1 4 screw every 8 to 10 Securing the last piece of flooring Next locate wall panels Start with panel A and continue thru panel H Secure wall panel A with 2 1 2 screws as shown make sure c...

Page 6: ...Cottage Co Page 5 25 26 27 28 29 30 Continue with walls Secure all corners with 2 1 2 Zinc Screws Continue with walls Make sure the inside corner is in place and secure with 2 1 2 Zinc screws as shown...

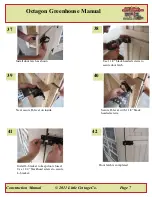
Page 7: ...and install Install barrel bolt Secure with 1 1 4 screws Use ham mer and tap on top of bolt as shown to locate hole to drill Use 3 16 bit and drill hole in bottom of door as shown Barrel bolt is inst...

Page 8: ...38 39 40 41 42 Install door latch as shown Use 1 1 4 black headed screws to secure door latch Next secure D lever on inside Secure D lever with 1 1 4 black headed screws Install L bracket to keep door...

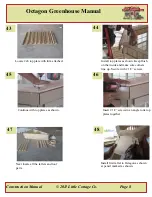
Page 9: ...im attached Install top plates as shown Keep flush on the inside and make sure corners line up Secure with 2 1 2 screws Continue with top plates as shown Insert 2 1 2 screws in an angle to tie top pla...

Page 10: ...install second rafter and repeat Now partial rafter is ready to install have 2 guys pickup the rafter as shown and set on top of building Secure rafter to top plate and make sure corners of rafters l...

Page 11: ...60 Next install last 2 rafters Install rafters as shown Secure bottom of rafters on top plate before doing the top Secure rafter with 2 1 2 screws After all rafters are installed and fas tened fill i...

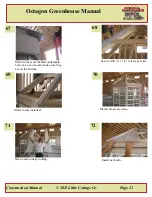
Page 12: ...with rafter blocks Halfway down from the top you will in stall 2x3 s in between rafters as shown and secure with 2 1 2 screws Continue installing 2x3 rafters Next locate metal roof corners and sunsky...

Page 13: ...e Cottage Co Page 12 67 68 69 70 71 72 Metal corners are marked underneath bottom so you need to make sure they are on the bottom Secure with 3 1 1 4 screws per side Metal corner installed Metal corne...

Page 14: ...l 2011 Little Cottage Co Page 13 73 74 75 76 77 78 Roof will overhang trim roughly 1 Secure with 1 white screws with rub ber washer Install second piece as shown and repeat 1 overhang insert screws be...

Page 15: ...ttage Co Page 14 79 80 81 82 83 84 Locate outside corners Next place corners as shown Once corner in place Secure with 1 1 4 Zinc screws rough ly 10 to 12 apart Secure all corners and bottom edge of s...

Page 16: ...own Place treated shelves on inside as shown Next start installing shelves at corner as shown Keep flush with top of window sill and secure with 2 1 2 screws Deck screws are provided for treated shelv...

Page 17: ...6 91 92 93 94 95 96 The short braces will be installed on end shelves Make sure all tops are flush before fastening Next install brace as shown If wood wants to split use 1 8 drill bit and drill hole...

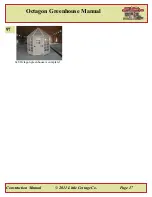
Page 18: ...Octagon Greenhouse Manual Construction Manual 2011 Little Cottage Co Page 17 97 8x8 Octagon greenhouse is complete...

Reviews: