background image

Assembly Instructions

Front
finished
edge

Step

 3

I

I

x6

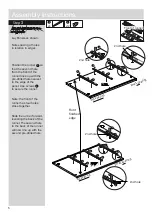
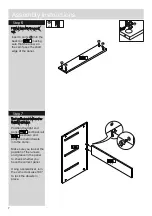
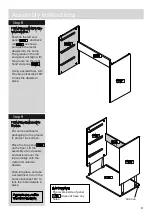
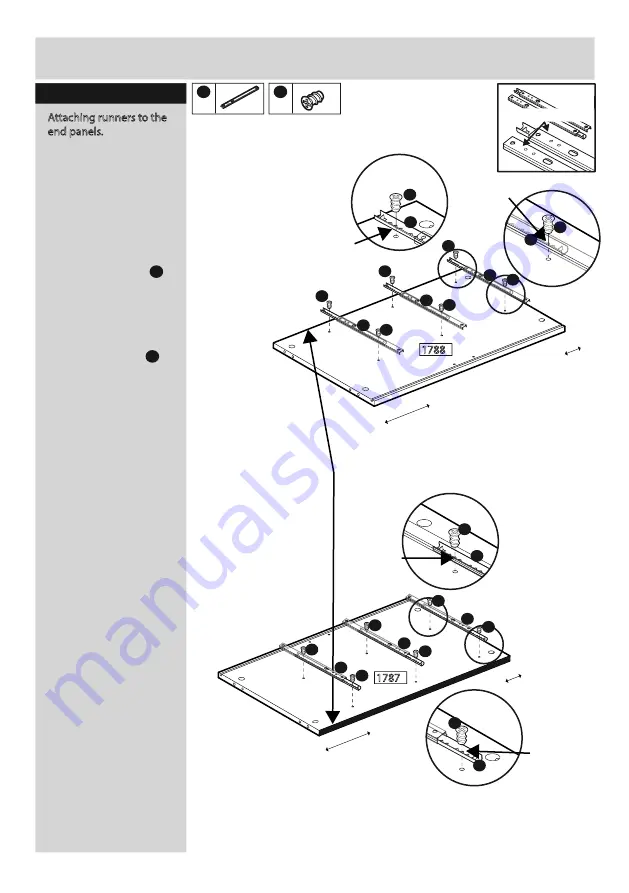
Attaching runners to the
end panels.

J

J

x12

Lay Panels as shown.

Note spacing of holes 

in relation to edges.

Position the runner      so

that the second hole

from the front of the

runner lines up with the

pre-drilled hole nearest

to the edge of the

panel. Use screws      

to secure the runner.

Note: the front of the

runner has four holes

close together.

Slide the runner forward,

revealing the back of the

runner. The second hole

to the back of the runner

will now line up with the

second pre-drilled hole.

5

Front of runner

big s

paci

ng

I

J

I

J

J

I

J

J

J

J

I

1788

J

I

sma

ll sp

acin

g

2nd hole

2nd hole

2nd hole

big s

paci

ng

I

J

J

I

J

J

I

J

J

J

I

J

I

1787

sma

ll sp

acin

g

2nd hole

Summary of Contents for MSP005

Page 1: ...Code MSP005 Mid Sleeper Bed...

Page 2: ...8 WARNING High Beds and the upper bed of bunk beds are not suitable for children under six years due to risk of injury from falls WARNING Bunk beds and high beds can present a serious risk of injury f...

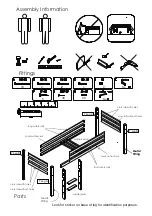
Page 3: ...fication purposes 7 Leg C 7 Leg D 7 Leg B 7 Leg A Metal fitting No No 60 18 2 2 1 2 2 5 34 Metal fitting holes on front rail cross rails with holes cross rails without holes cross rails without holes...

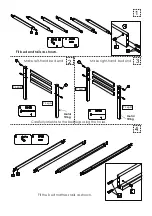
Page 4: ...using the holes Fit the bed mattress rails as shown Fit bed end rails as shown Make left hand bed end Fit bed end rails as shown Make right hand bed end 7 Leg C 7 Leg D 7 Leg B 7 Leg A Metal fitting M...

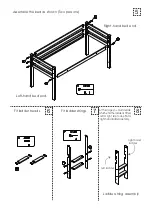
Page 5: ...it ladder treads Fit ladder strings At this stage you must decide which end the ladder is fitted left or right skip to step 9A for right hand ladder assembly Right hand bed end Left hand bed end left...

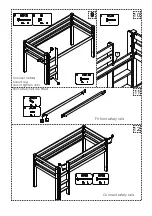
Page 6: ...9 10 11 12 Fit front safety rails Connect safety rails Connect ladder to bed leg do not tighten until front safety rails are fitted 1 F...

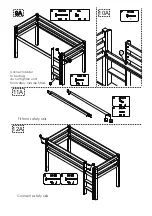
Page 7: ...9A 10A 11A 12A Connect safety rails Fit front safety rails 1 F Connect ladder to bed leg do not tighten until front safety rails are fitted...

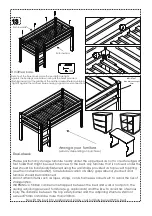
Page 8: ...risk of strangulation WARNING Children can become trapped between the bed and wall a roof pitch the ceiling adjoining pieces of furniture e g cupboards and the like To avoid risk of serious injury the...

Page 9: ...Code COD005 Chest of Drawers 002xx9760...

Page 10: ...t no ne ha ve c o me lo o se Ke e p a wa y fro m dire c t so urc e s o f he a t suc h a s e le c tric g a s o r wo o d fire s Do no t a llo w c hildre n to c limb o n the furniture La rg e r ite ms o...

Page 11: ...urface 2 Surface 1 Surface 2 Bottom 67 2 x 39 6cm 1786 Drawer Front x 3 63 0 x 20 8cm 1789 Drawer Back x 3 60 1 x 15 0cm 7020 LH Drawer x 3 30 0 x 15 0cm 7000 3mm Drawer Bottom x 3 61 2 x 29 8cm 5671...

Page 12: ...etal dowel x 24 Code 760003004 A B C F Please check you have all the fittings listed below Components Fittings Note The quantities below are the correct amount to complete the assembly In some cases m...

Page 13: ...top panel 1785 Step 2 Fitting wooden dowels to top and bottom panels Insert 4 wooden dowels into the top panel and 4 wooden dowels into the bottom panel 1785 Repeat for bottom panel 1786 Note Tighten...

Page 14: ...drilled hole nearest to the edge of the panel Use screws to secure the runner Note the front of the runner has four holes close together Slide the runner forward revealing the back of the runner The...

Page 15: ...for the right end panel 1788 Note Tighten metal dowels up fully against the panel Do not over tighten Step 5 Fitting metal dowels to the end panels A 1787 Repeat for the right end panel 1788 1788 B B...

Page 16: ...ep 7 Fitting the back rail to the right end panel Position the right end panel and back rail as shown and push the metal dowels into the cams Make sure you look at the position of the runners and groo...

Page 17: ...cams clockwise 180 to lock the metal dowels in place IMPORTANT Step 9 Fitting the end panels to the top 1785 1785 Position the left end panel 7 and back rail as shown and push the metal dowels into t...

Page 18: ...ooden dowels Push into place and use a screwdriver to turn the cams clockwise 180 to lock the dowels in place Step 11 Fitting the bottom panel to the end panels 1786 Fold out the back panel Position t...

Page 19: ...tect the surface Step 14 Put unit onto its face Push the leavers at the back of the castors This will stop the unit moving whilst assembling the rest of the unit Step 13 Locking castors Locked Using t...

Page 20: ...s used to square unit up Before securing the back it is necessary to square up the unit You can do this by measuring between XX XX andYY YY ensuring these are the same DIAG 1 If they are not DIAG 2 Ap...

Page 21: ...ush the left hand side panel and right hand panel together Repeat for the other 2 drawers Step 19 Assembling drawer back and sides 7020 7020 7000 7000 7000 7000 B 1789 Step 18 Fitting cams to drawers...

Page 22: ...etal dowels in the drawer front Push into place and use a screwdriver to turn the cams clockwise 180 to lock the metal dowels Repeat for the other 2 drawers Step 21 Fitting the drawer front 7000 7000...

Page 23: ...er is square by measuring from corner to corner as per step 14 Loosen the screws in the panel holders Push the panel holders into the positions shown Screw into place Repeat for other two drawers Step...

Page 24: ...of residual current device RCD is recommended when working with tools If in doubt consult a qualified person Step 23 Fixing to wall Warning 2 people to lift Lift with care Warning K K x1 L L x2 15 IN...

Page 25: ...ace and positioned on a level floor Check the function of each drawer box they should close and open to a stop Do not attach items such as ropes strings cords harnesses or belts etc to avoid the risk...

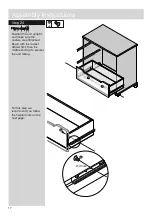
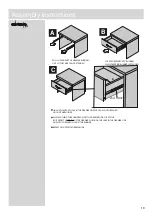
Page 26: ...and make sure the castors are still locked Begin with the lowest drawer first then the middle and top to prevent the unit falling For this step we recommend you follow the helpful hints on the next p...

Page 27: ...RS WHILST KEEPING RUNNERS EXTENDED LINE UP THE FRONT HOLE IN THE DRAWER SIDE WITH THE 2ND THREADED HOLE IN THE RUNNER WHILE PUSHING THE RUNNER AGAINST THE DRAWER SIDE SCREW THE BOLT FROM THE INSIDE OF...

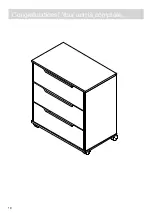
Page 28: ...19 Congratulations Your unit is complete...

Reviews: