Contents
Before reading this manual
Warm up time ........................................................................1
Custom Configurations .........................................................1
Using with speaker level outputs ..........................................1
Impedance the Big Z
Circuit topology ....................................................................2
Hi Z .......................................................................................2
Mid Z ....................................................................................2
Lo Z .......................................................................................3
Speaker in .............................................................................3
Gain & Noise
Passive Direct Box voltage loss ............................................4
Active Direct Boxes and line level inputs .............................4
Little Labs Multi Z PIP gain structure ..................................5
Re-amp level .........................................................................6
Speaker outputs & speaker/amp simulators
Direct signals with amp harmonic overtones ........................5
Capturing the artist / instrument / amp performance ............5
PIP examples
Interfacing guitar stomp boxes in the pro world ...................6
Interfacing pro gear in the guitar world ................................6
Default and custom PIP configurations
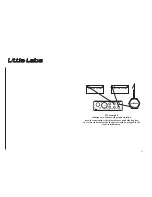
6. The front of the direct box is now one piece.
7. With the 7/16” nut driver tighten the pad assembly nut. A 7/16 “ nut
driver of the excelite brand, as well as most others, has an outside diameter
which will center the pad in the decorative panel properly.
8. Tuck power supply wires inside then slide black textured cover onto
extrusion base. Be careful to slide it all the way in and over the lip of
the front plastic frame. Install rear panel and plastic frame in position
on rear of unit.
9. On the rear panel, screw in the four allen button head screws with
1/16” allen hex driver.
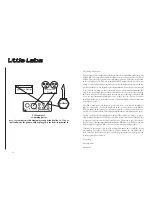
10. Note by looking at rear of knobs which goes where (the switch and
pad knob are different ) and gently push them in place.
11. Pop on knob caps note line orientation.
That’s it!
20

