24
Use the included #6 screws in each
of the corner holes to permanently
attach to any surface.
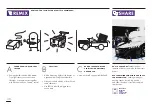
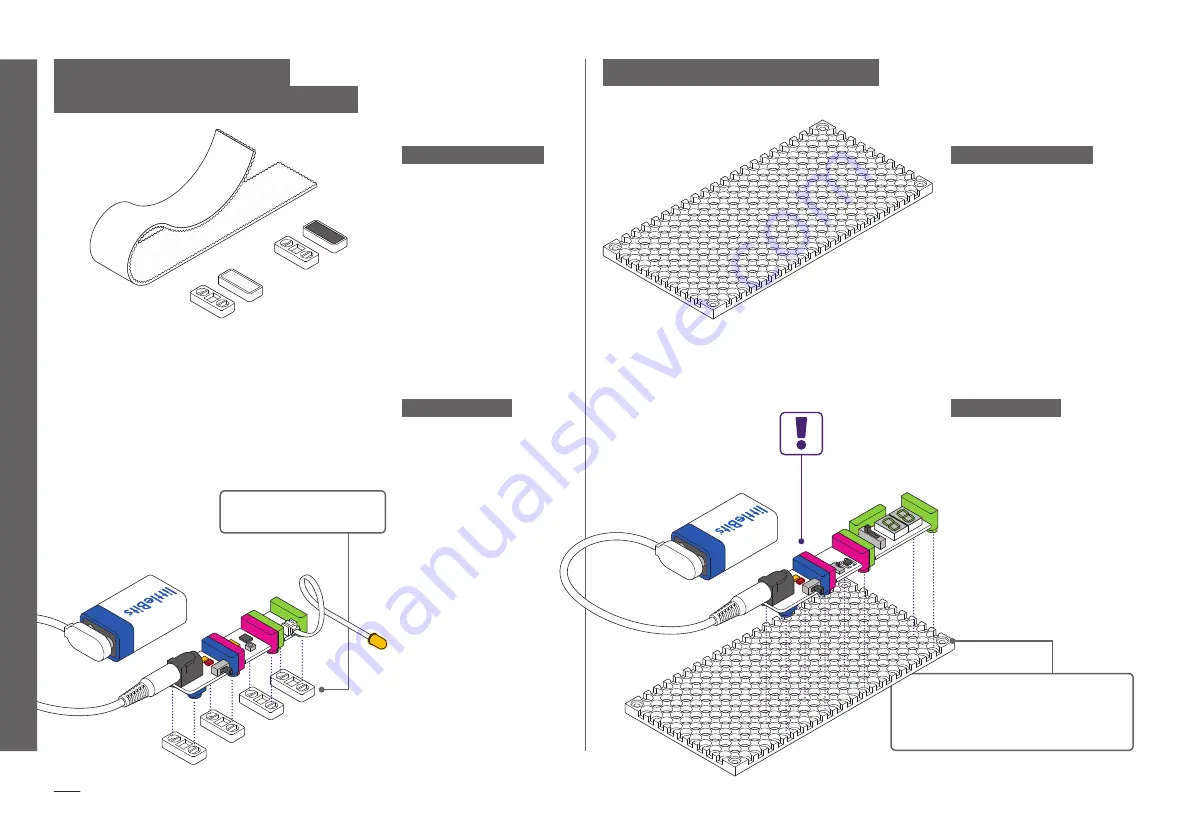
MEET THE ACCESSORY
a5
MAGNET SHOES
a6
HOOK & LOOP SHOES
Shoes slip onto your Bits' feet
and hold your circuit together.
On the bottom of your shoes
you'll fi nd magnets or hook
& loops, which are great
for securing your circuits to
diff erent surfaces.
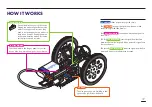
HOW IT WORKS
First, snap together your
littleBits circuit. Then press
the feet of your Bits into the
holes of the shoes and place
it on your chosen surface.
Magnet shoes allow you to
adhere your circuit to any
magnetic surface. Try your
refrigerator or your locker!
Hook & loop shoes come
with an adhesive-backed
hook & loop strip. The strip
can be cut to any size
you desire and aff ixed
to clothing, fabric, or any
flexible surface.
bitFeet
TM
go in the shoes
a9
MOUNTING BOARD
MEET THE ACCESSORY
HOW IT WORKS
The mounting board is like
the backbone of some of
your inventions. It allows
you to keep your circuit
intact and move it around
with ease! It also provides
structure which is helpful
for building out projects,
like a vehicle.
Snap together your littleBits
circuit and press the feet of
your Bits into the holes of the
mounting board.
NOTE:
Your circuit must be
complete before you press
it onto the board. You won't
be able to add Bits one at
a time.
PRESS DOWN ON
BITSNAPS NOT
WHITE CIRCUIT
BOARD.
Summary of Contents for STEAM STUDENT SET
Page 2: ......
Page 4: ...2 WE INVE WORLD WANT TO ...
Page 5: ...3 NT THE WE O LIVE IN ...
Page 35: ...33 o25 DC MOTOR BUILD YOUR CIRCUIT 1 w1 WIRE p1 POWER o25 DC MOTOR i5 SLIDE DIMMER ...
Page 42: ...40 i16 PULSE p1 POWER o25 DC MOTOR o25 DC MOTOR BUILD YOUR CIRCUIT 1 ...
Page 49: ...47 i3 BUTTON p1 POWER o11 SERVO BUILD YOUR CIRCUIT 1 Attach the servo hub See pg 26 ...
Page 56: ...54 i16 PULSE i13 LIGHT SENSOR p1 POWER o6 BUZZER BUILD YOUR CIRCUIT 1 ...
Page 75: ......


