26
Grind the Front Relief
The first step in creating a tool bit is to grind the front relief. For most work, a relief angle of 10°
works well.
While you are grinding the front relief, you are also creating the front cutting edge angle. Make
this angle about 10° also, so that the corner formed by the front cutting edge and the side cutting
edge is less than 90°.
Grind the Left Side Relief
Form the left side relief next. Again, create about a 10° angle. You don
’
t need to form a side
cutting angle. The side cutting edge can be parallel to the side of the tool blank.
Grind the Top Rake
The top of the tool bit is ground at an angle that combines the back rake and the side rake. The
side rake is most important, because the side cutting edge does most of the work. For cutting
steel and aluminum, the side rake should be about 12° and the back rake should be about 8°. For
cutting brass, the rake angles should be much less, or even 0°.
Round the Nose
A small nose radius allows you to turn into tight corners. A large nose radius produces better
surface finishes. Create a nose radius that is appropriate for the tool bit you are creating.
Adjusting Tool Bit Height
The cutting edge of the tool bit should almost always be set to the center height of the lathe
spindle.
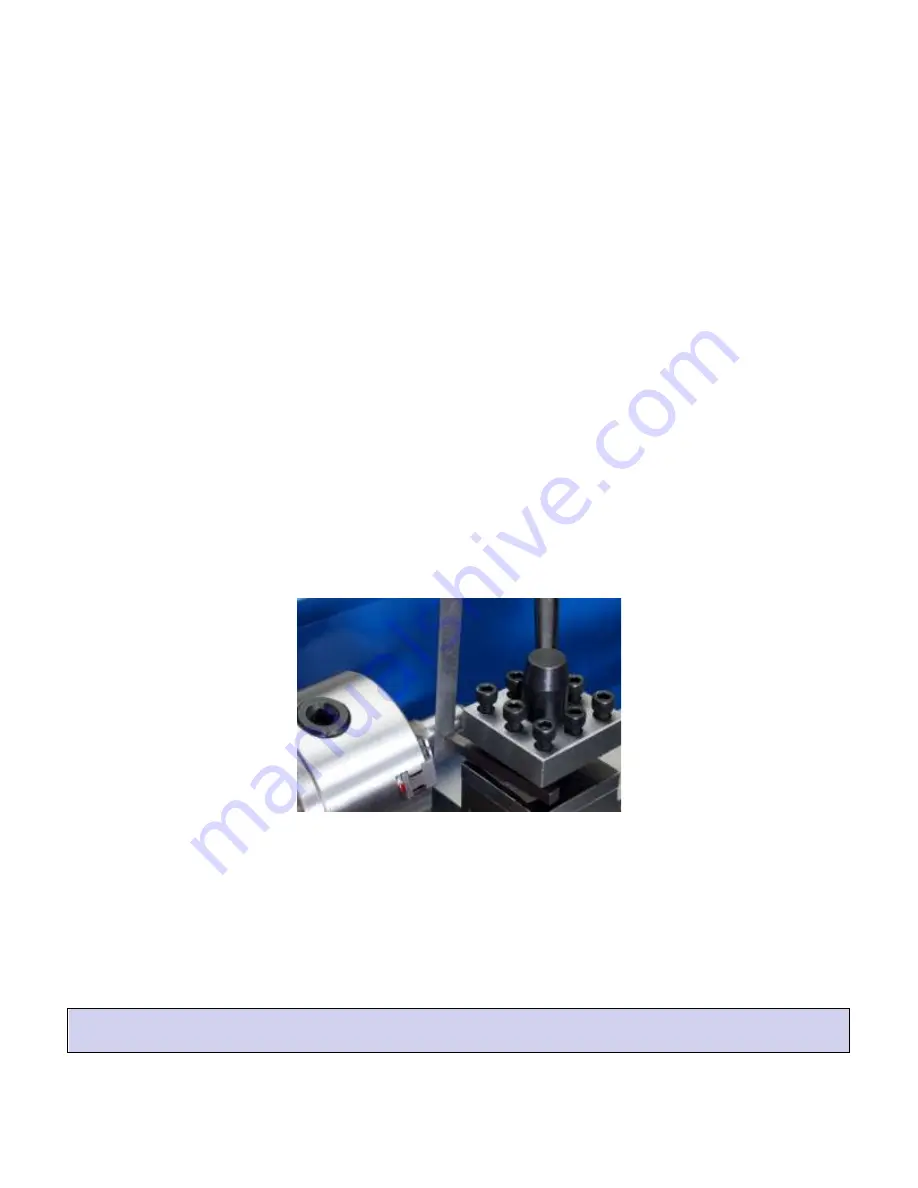
There are several methods for checking the height of the tool bit. Perhaps the simplest way is to
place a thin strip of metal, such as a steel rule or feeler gage, between the work piece and the
point of the tool bit. If the height is correct, the strip of metal will be held vertical. If the top is
leaning toward you, the tool bit is too low. If the top is leaning away from you, the tool bit is too
high.
Using the standard tool post, you adjust the tool bit height using shims under the tool bit. You can
get an economical set of shims, about the right size, at any auto parts store. Purchase a set of
feeler gages and remove the pivot pin.
Chris
’
Tip: The easy way to adjust the tool bit height is to get a quick change tool post. Virtually
all quick change tool posts incorporate a mechanism for easily adjusting the tool bit height.
Summary of Contents for HiTorque 7500
Page 40: ...40 Parts Diagram 7500 Model 7500 drawing 1...
Page 41: ...41 Model 7500 drawing 2...
Page 42: ...42 Parts Diagram 7550 Model 7550 drawing 1...
Page 43: ...43 Model 7550 drawing 2...
Page 47: ...47 Wiring Diagram...


