BEFORE
YOU
BEGIN
28
INTRODUCTION
IMPORT
ANT
PRECAUTIONS
ASSEMBL
Y
BEFORE
YOU
BEGIN
TREADMILL
OPERA
TION
LIMITED
W
ARRANTY
TROUBLESHOOTING
&
MAINTENANCE
CONDITIONING
GUIDELINES
ASSEMBL
Y
TREADMILL
OPERA
TION
BEFORE YOU
BEGIN
ASSEMBL
Y
ASSEMBL
Y
29
INTRODUCTION
IMPORT
ANT
PRECAUTIONS
TREADMILL OPERA
TION
CONDITIONING GUIDELINES
TROUBLESHOOTING &
MAINTENANCE
LIMITED WARRANTY
CONDITIONING GUIDELINES
ALWAYS CONSULT YOUR PHYSICIAN BEFORE BEGINNING AN ExERCISE PROGRAM.
HOW OFTEN? (Frequency of Workouts)
The American Heart Association recommends that you exercise at least 3 to 4 days per week to maintain
cardiovascular fitness. If you have other goals such as weight or fat loss, you will achieve your goal faster with
more frequent exercise. Whether it’s 3 days or 6 days, remember that your ultimate goal should be to make
exercise a lifetime habit. Many people are successful staying with a fitness program if they set aside a specific
time of day to exercise. It doesn’t matter whether it’s in the morning before breakfast, during lunch hour or while
watching the evening news. What’s more important is that it’s a time that allows you to keep a schedule, and a
time when you won’t be interrupted. To be successful with your fitness program, you have to make it a priority in
your life. So decide on a time, pull out your day planner and pencil in your exercise times for the next month!
HOW LONG? (Duration of Workouts)
For aerobic exercise benefits, it’s recommended that you exercise from between 24 and 60 minutes per session.
But start slowly and gradually increase your exercise times. If you’ve been sedentary during the past year, it may
be a good idea to keep your exercise times to as little as five minutes initially. Your body will need time to adjust
to the new activity. If your goal is weight loss, a longer exercise session at lower intensities has been found to
be most effective. A workout time of 48 minutes or more is recommended for best weight loss results.
HOW HARD? (Intensity of Workouts)
How hard you workout is also determined by your goals. If you use your treadmill to prepare for a 5K run,
you will probably work out at a higher intensity than if your goal is general fitness. Regardless of your long
term goals, always begin an exercise program at low intensity. Aerobic exercise does not have to be painful
to be beneficial! There are two ways to measure your exercise intensity. The first is by monitoring your
heart rate using the grip pulse handlebars and the second is by evaluating your perceived exertion level
(this is simpler than it sounds!)
PERCEIVED ExERTION LEVEL
A simple way to gauge your exercise intensity is to evaluate your perceived exertion level. While exercising, if you
are too winded to maintain a conversation without gasping, you are working out too hard. A good rule of thumb
is to work to the point of exhilaration, not exhaustion. If you cannot catch your breath, it’s time to slow down.
Always be aware of these warning signs of overexertion.
CONDITIONING GUIDELINES
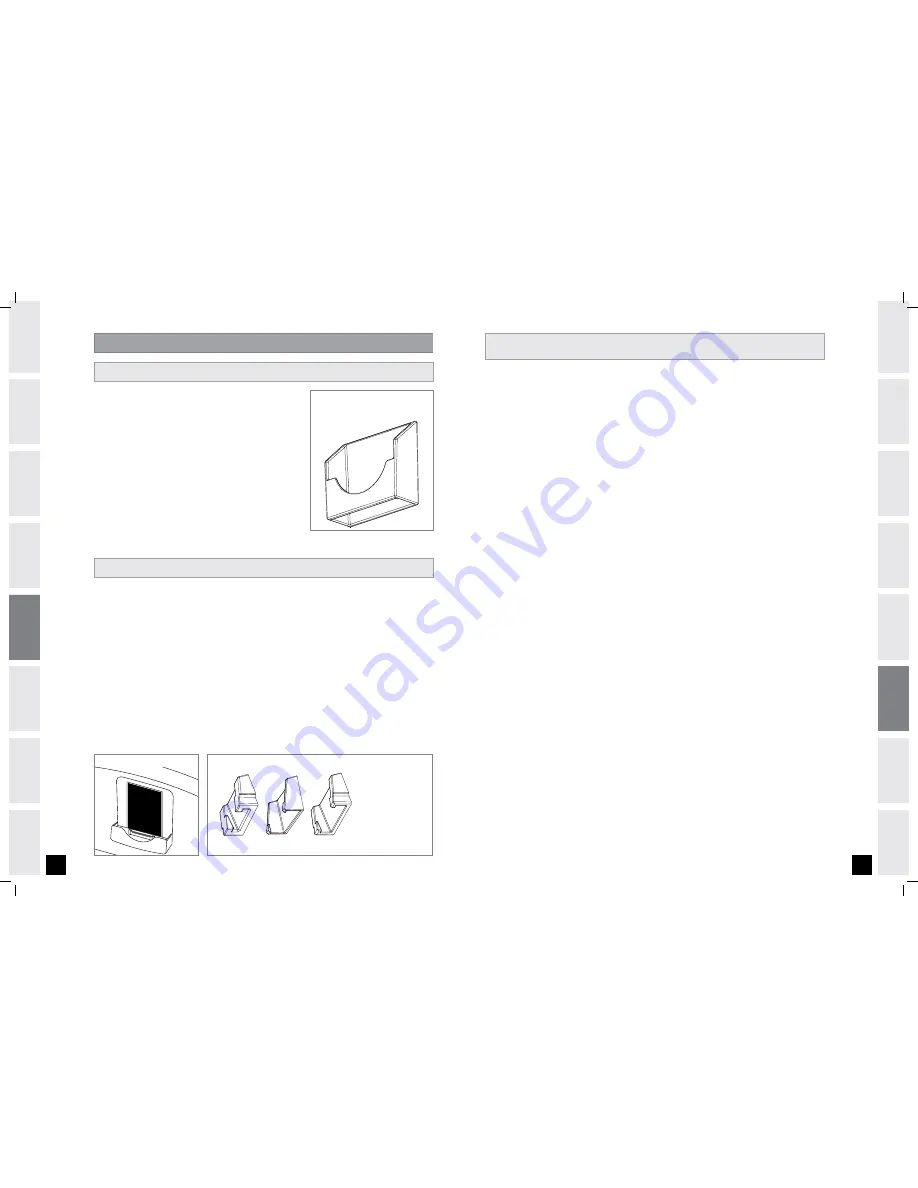
iPod
®
Docking Station
iPod
®
Dock Inserts
Note: Dock insert sizes
vary for each iPod.
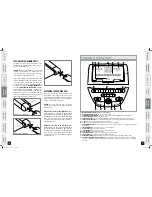
Using Speaker/MP3 Audio Function
1)
Leave
RUBBER PLUG
at bottom of
DOCKING STATION
.
2)
To hold your
MP3
player in place in the
DOCKING STATION
, use
the
UNIVERSAL MP3 PLAYER INSERT
.
Note: Only iPods are compatible with the
CONNECTOR PIN
in
the iPod Docking station.
3)
Connect the included
AUDIO ADAPTOR CABLE
to the
AUDIO IN
JACK
on the top of the
CONSOLE
and the
HEADPHONE JACK
on
your
CD / MP3
player.
4)
Use your
CD / MP3
player buttons to adjust song settings.
NOTE: If you don’t want to use the speakers, you can plug your
headphones into the
AUDIO OUT JACK
at the bottom of
the
CONSOLE
.
5)
Remove the
AUDIO ADAPTOR CABLE
when not in use.
USING
NON-iPod
®
MP3 / CD PLAYERS
Universal MP3 Player
Dock Insert
ENTERTAINMENT INFORMATION
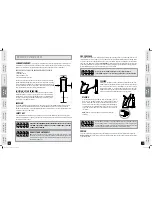
The iPod
Docking Station is the entertainment solution
for your workouts. Various models of iPod with a dock
connector can fit with the use of the included inserts.
Using Your iPod Docking Station (iPod not
included)
1)
Remove rubber plug from bottom of
DOCKING
STATION
.
2)
Place the insert that fits your
iPod
model into
the
DOCKING STATION
. NOTE: Dock inserts will
not fit all of the way to the bottom of the docking
station.
3)
Plug in your
iPod
by matching the dock connector
pin on the treadmill with the dock connector on
your
iPod
.
USING
iPod
®
AUDIO PLAYER
NOTE: If you want to connect a different sized
iPod
, simply lift out the insert and replace
with a new one.
4)
Use the
iPod
controls on the bottom of
the
CONSOLE
to adjust volume and song
settings.
NOTE: If you don’t want to use the speakers,
you can plug your headphones into the
AUDIO
OUT JACK
at the bottom of the
CONSOLE
.
5)
Replace the rubber plug into the bottom of
the
DOCKING STATION
when the station is not
in use.
NOTE:
iPod audio will not play through
speakers if audio adaptor cable is plugged in
while iPod is in the
DOCKING STATION
.
LS16.9T_owners_manual_Rev.1.1.indd 28-29
9/9/09 10:57 AM


