BEFORE
YOU
BEGIN
10
INTRODUCTION
IMPORT
ANT
PRECAUTIONS
ASSEMBL
Y
BEFORE
YOU
BEGIN
TREADMILL
OPERA
TION
LIMITED
W
ARRANTY
TROUBLESHOOTING
&
MAINTENANCE
CONDITIONING
GUIDELINES
BEFORE YOU
BEGIN
ASSEMBL
Y
11
INTRODUCTION
IMPORT
ANT
PRECAUTIONS
TREADMILL OPERA
TION
CONDITIONING GUIDELINES
TROUBLESHOOTING &
MAINTENANCE
LIMITED WARRANTY
A
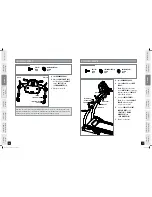
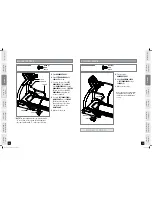
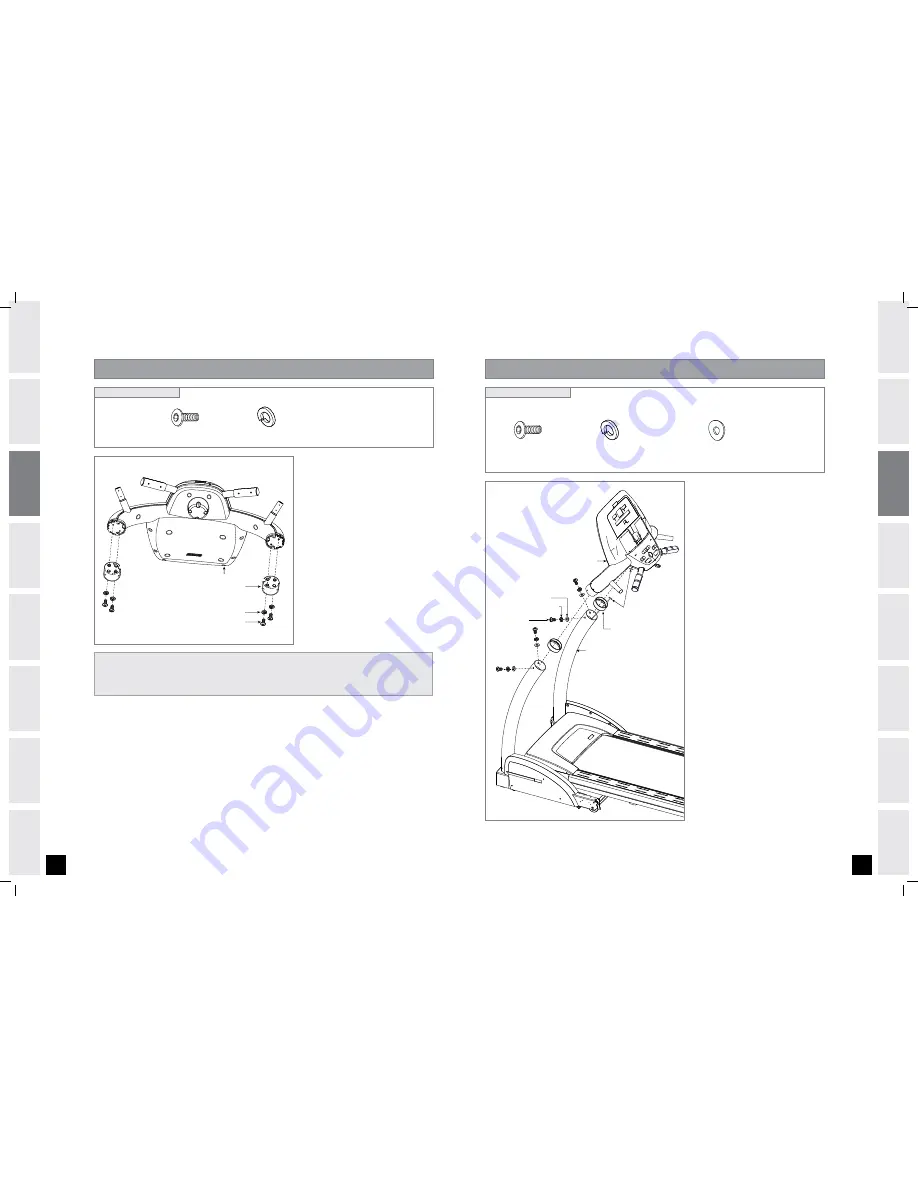
Open
HARDWARE BAG 3.
B
Attach
CONSOLE MAST CAPS
onto the bottom of
CONSOLE
using 2
BOLTS (E)
and
2
SPRING
WASHERS (C)
.
C
Repeat on other side.
ASSEMBLY
STEP 3
DO NOT ATTACH THIS
SIDE UNTIL STEP 4-D
FLAT WASHERS (B)
CONSOLE
BOLTS (G)
FLAT WASHERS (B)
BOLTS (G)
CONSOLE
CABLES
CONSOLE MAST
CONSOLE MAST
BOLTS (B)
SPRING WASHER (C)
WASHER (D)
MAST RING
CONSOLE
SPRING WASHERS (C)
CONSOLE MAST CAP
CONSOLE
BOLTS (E)
LEFT SIDE
RIGHT SIDE
BOLT (E)
10 mm
Qty: 4
SPRING WASHER (C)
8.2 mm
Qty: 4
HARDWARE BAG 3 CONTENTS :
ASSEMBLY
STEP 4
HARDWARE BAG 4 CONTENTS :
CONSOLE MAST
BOLTS (B)
SPRING WASHER (C)
ARC WASHER (D)
MAST RING
CONSOLE
CONSOLE WIRES
BOLT (B)
15 mm
Qty: 4
SPRING WASHER (C)
8.2 mm
Qty: 4
ARC WASHER (D)
8.4 mm
Qty: 4
A
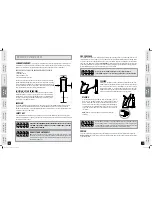
Open
HARDWARE BAG 4.
B
Slide
CONSOLE
through
MAST
RINGS.
*
Note:
Make sure the arrows
on the
MAST RINGS
are pointing
upward towards the
CONSOLE
when sliding into place.
C
Connect
CONSOLE WIRES
.
*
Note:
Do not pinch
CONSOLE
CABLES
when placing the
console onto the mast.
D
Connect
CONSOLE
to
RIGHT
CONSOLE MAST
using
2
BOLTS (B)
, 2
SPRING
WASHERS (C)
and
2
ARC
WASHERS (D)
.
E
Repeat on other side.
Reminder: The console mast caps are marked with an
L
if they are to be used on the left-hand side of the
treadmill or an
R
if they are to be used on the right-hand side of the treadmill. If the console mast caps are
assembled on the incorrect side of the treadmill, the unit will not assemble correctly.
LS16.9T_owners_manual_Rev.1.1.indd 10-11
9/9/09 10:57 AM


