background image

6

CHaPTer 3: Preventative maintenance

Preventative maintenance is the key to smoothly operating equipment, as well as keeping the user’s liability to a minimum.  Equipment needs to be 

inspected at regular intervals.  Defective components must be replaced immediately.  Improperly working equipment must be kept out of use until it is 

repaired.  Ensure that any person(s) making adjustments or performing maintenance or repair of any kind is qualified to do so.  


aFTer eaCH USe (daiLy)

Clean and inspect, following these steps:

Turn off the treadmill with the ON / OFF switch, then unplug the power cord at the wall outlet.  

• 

Wipe down the running belt, deck, motor cover, and console casing with a damp cloth.  Never use solvents, as they can cause damage to the 

• 

treadmill.  

Inspect the power cord.  If the power cord is damaged, contact Customer Technical Support.  

• 

Make sure the power cord is not underneath the treadmill or in any other area where it can become pinched or cut.  

• 

Check the tension and alignment of the running belt.  Make sure that the treadmill belt will not damage any other components on the treadmill by 

• 

being misaligned.  

If any labels are damaged or illegible, contact Customer Technical Support for replacements.  

• 

eVery WeeK (WeeKLy)

Clean underneath the treadmill following these steps:

Turn off the treadmill with the ON / OFF switch, then unplug the power cord at the wall outlet.  

• 

Fold the treadmill into the upright position, making sure that the lock latch is secured.  

• 

Move the treadmill to a remote location.  

• 

Wipe or vacuum any dust particles or other objects that may have accumulated underneath the treadmill.  

• 

Return the treamill to its previous position.  

• 

eVery mONTH - imPOrTaNT! 

Turn off the treadmill with the ON / OFF switch, then unplug the power cord at the wall outlet.  

• 

Inspect all assembly bolts of the machine for proper tightness.  

• 

Remove the motor cover.  Wait until ALL display screens turn off.  

• 

Clean the motor and lower board area to eliminate any lint or dust particles that may have accumulated.  Failure to do so may result in premature 

• 

failure of key electrical components.  

Vacuum and wipe down the belt with a damp cloth.  Vacuum any black / white particles that may accumulate around the unit.  These particles may 

• 

accumulate from normal treadmill use.  

3.1 PreVeNTaTiVe maiNTeNaNCe

eVery 6 mONTHS Or 150 miLeS

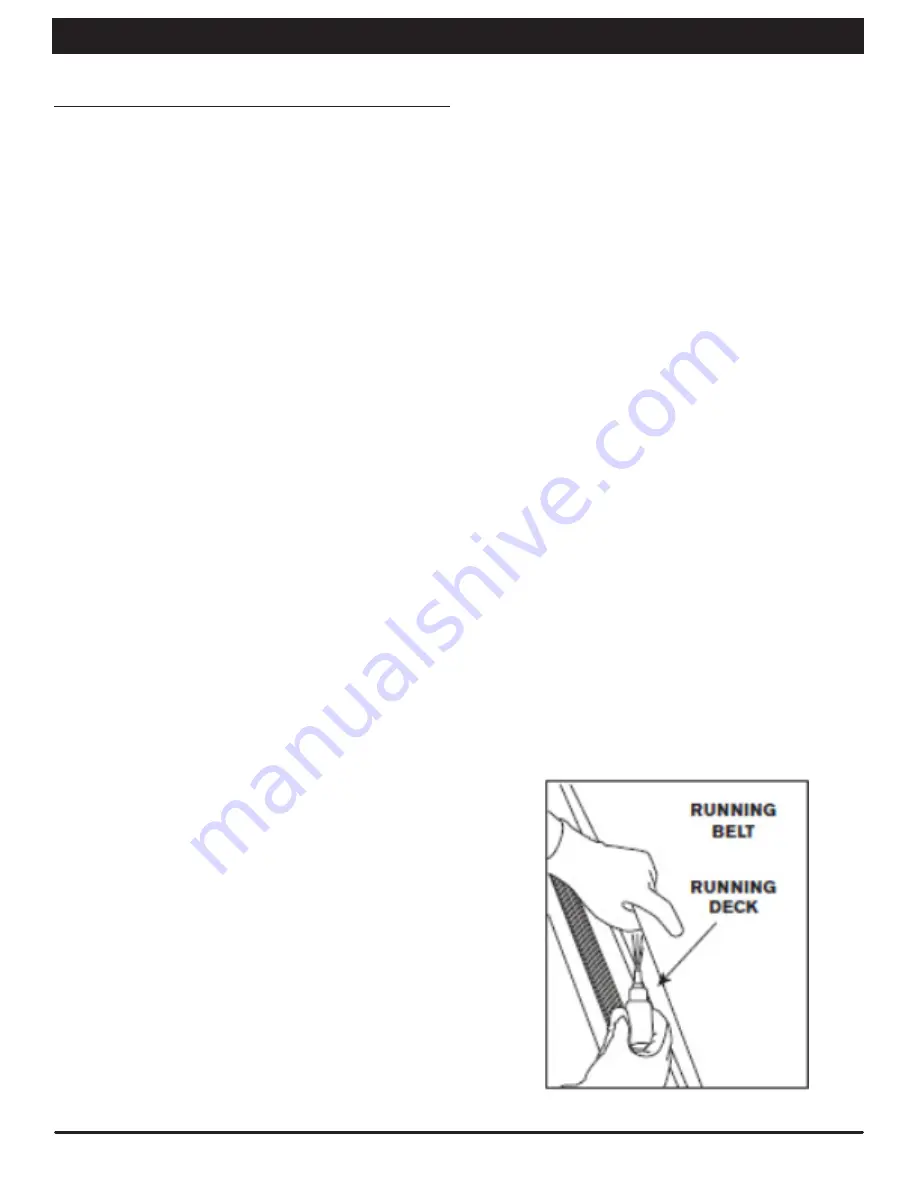
It is necessary to lubricate your treadmill running deck every six months 

or 150 miles to maintain optimal performance.  Your treadmill came with 

a bottle of lubricant which can be used for two applications.  If you need 

lubricant, contact Customer Technical Support.  Only use lubricant provided 

by Customer Technical Support.  

Turn off the treadmill with the ON / OFF switch, then unplug the power 

• 

cord at the wall outlet.  

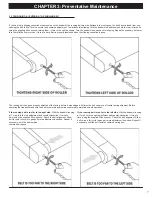
Loosen both the rear roller bolts.  (For best results, place two remov-

• 

able marks on both sides of the frame to note roller position).  Once 

the  belt  is  loosened,  take  the  bottle  of  lubricant  and  apply  it  to  the 

entire top surface of the running deck (not the belt).  Tighten both rear 

roller bolts (matching up the marks for proper position) to the original 

position.   After  you  have  applied  lubricant,  plug  in  the  power  cord, 

insert the safety key, start the treadmill and walk on the belt for two 

minutes to spread the lubricant.  

If  your  treadmill  has  air  shocks,  lubricate  them  with  Teflon  based 

• 

spray.  

Contact  Customer  Technical  Support  with  questions  about  applying  the 

lubricant to your treadmill.  

Summary of Contents for LS9.9T

Page 1: ...L S 9 9 T T r e a d m i ll L S 9 9 T S ER V I C E MA N U Al...

Page 2: ...s 9 4 3 Program Information 10 4 4 Livetrack Fitness Journal System 13 4 5 Using A CD MP3 Player 14 4 6 Demo Mode 14 CHAPTER 5 ENGINEERING MODE 5 1 Engineering Mode 15 5 2 Engineering Mode Overview 15...

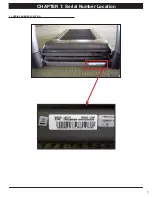
Page 3: ...3 1 1 Serial Number Location CHAPTER 1 Serial Number Location...

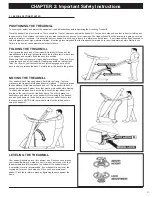
Page 4: ...wheel locks to lock the rear wheels NOTE Both rear wheel locks must be locked before using the treadmill To ensure your safety and protect the equipment read all instructions before operating the Live...

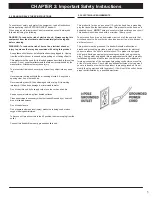
Page 5: ...r disabled persons Do not use outdoors Do not operate where aerosol spray products are being used or when oxygen is being administered To disconnect turn all controls to the off position then remove p...

Page 6: ...eturn the treamill to its previous position EVERY MONTH IMPORTANT Turn off the treadmill with the ON OFF switch then unplug the power cord at the wall outlet Inspect all assembly bolts of the machine...

Page 7: ...ped At times the belt can move off center during shipment Before operating the treadmill make sure the belt is centered and remains centered to maintain smooth operation If the running belt is too far...

Page 8: ...eed key to confirm J Set incline key used to confirm desired incline Press after pressing a quick key number K Set speed key used to confirm desired speed Press after pressing a quick key number L Cha...

Page 9: ...SPEED Shown as MPH or KMPH Indicates how fast your walking or running surface is moving CALORIES Total calories burned HEART RATE Shown as BPM beats per minute Use to monitor your heart rate displaye...

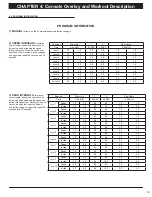
Page 10: ...3 0 4 0 8 0 3 0 2 0 Level 5 Speed 1 5 2 3 3 0 6 0 2 3 1 5 Incline 2 5 3 5 4 5 8 5 3 5 2 5 Level 6 Speed 1 5 2 3 3 0 6 5 2 3 1 5 Incline 2 5 3 5 4 5 9 0 3 5 2 5 Level 7 Speed 1 8 2 6 3 5 7 0 2 6 1 8 I...

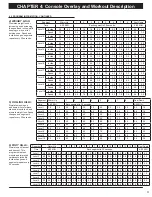
Page 11: ...s repeat every 30 seconds Segment Warm Up 1 2 3 4 5 6 7 8 Cool Down Time 4 00 MIN Each segment is 30 seconds 4 00 MIN Level 1 1 0 1 5 2 0 2 5 3 0 3 5 4 0 3 5 3 0 2 5 2 3 1 5 Level 2 1 3 1 9 2 5 3 0 3...

Page 12: ...4 0 4 0 3 5 3 0 2 5 2 0 1 0 0 0 Level 4 0 0 1 5 2 5 3 0 3 5 4 0 4 5 4 5 4 0 3 5 3 0 2 5 1 5 0 0 Level 5 0 0 1 5 3 0 3 5 4 0 4 5 5 0 5 0 4 5 4 0 3 5 3 0 1 5 0 0 Level 6 0 0 1 5 3 5 4 0 4 5 5 0 5 5 5 5...

Page 13: ...osen user ACCUMULATED DATA With the LIVETRACK fitness journal system you can scroll through your accumulated data in multiple formats by pressing the LIVETRACK buttons A workout is saved when the prog...

Page 14: ...djust song settings 3 Remove the audio adaptor cable when not in use 4 If the user does not want to use the speakers they can plug their headphones into the audio out jack at the bottom of the console...

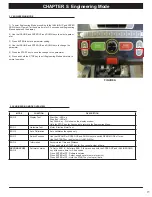
Page 15: ...Test Start Key LED on Stop Key LED off Any Other Key Will show on the display window Hold the STOP key for 3 seconds to return to the Engineering Menu ENG 1 Hardware Test Motor Incline Motor Test ENG...

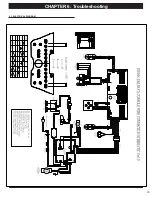
Page 16: ...16 CHAPTER 6 Troubleshooting 6 1 Electrical Diagram...

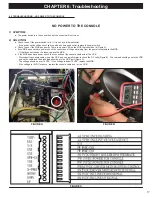
Page 17: ...lit Figure A c If the MCB does not have power check the connection of the power wiring from the power receptacle to the MCB If that does not resolve the issue replace the MCB d If the MCB does have po...

Page 18: ...ring Mode Remove the screws holding the console faceplate to the console frame and check the connection of the keypads After checking the connections re test the keys for function Massage any non resp...

Page 19: ...he drive belt is still around the drive belt and roller pulleys Re align or replace the drive belt if needed Check the connection of the motor cable at the MCB Check to see if the motor spins freely I...

Page 20: ...incline motor or MCB resolve the issue replace the console and console cable c Check the connection of the incline motor at the MCB The incline motor cable includes 3 signal terminals and 3 power term...

Page 21: ...is not slipping or is frayed cut in any way Replace the drive belt if needed Make sure the optic disk on the motor is not rubbing the speed sensor Turn the motor by hand to see if motor brushes or bea...

Page 22: ...eadphone wiring There are some things that will interfere with heart rate signal including florescent lighting electric dog fences large electric motors cell phone towers and airports c The console is...

Page 23: ...ck or audio adaptor cable Verify the audio adaptor cable connection at the console Replace the headphone jack Replace the audio adaptor cable c There is a bad connection between one of the audio board...

Page 24: ...rocedure in Section 3 1 c The console should have a ground wire in the console Check the connection of the ground wire to the frame Use a file or sand paper to remove any build up of paint around the...

Page 25: ...JOHNSON HEALTH TECHNOLOGIES 1610 Landmark Drive Cottage Grove WI 53527 USA Toll Free 1 877 548 7864 Fax 608 839 1717 www livestrongfitness com Author Kevin Oeltjenbruns...

Reviews: