background image

Other Useful Information

Cleaning and maintenance

·

·

·


·

·

·

WARNING!

·

·

·

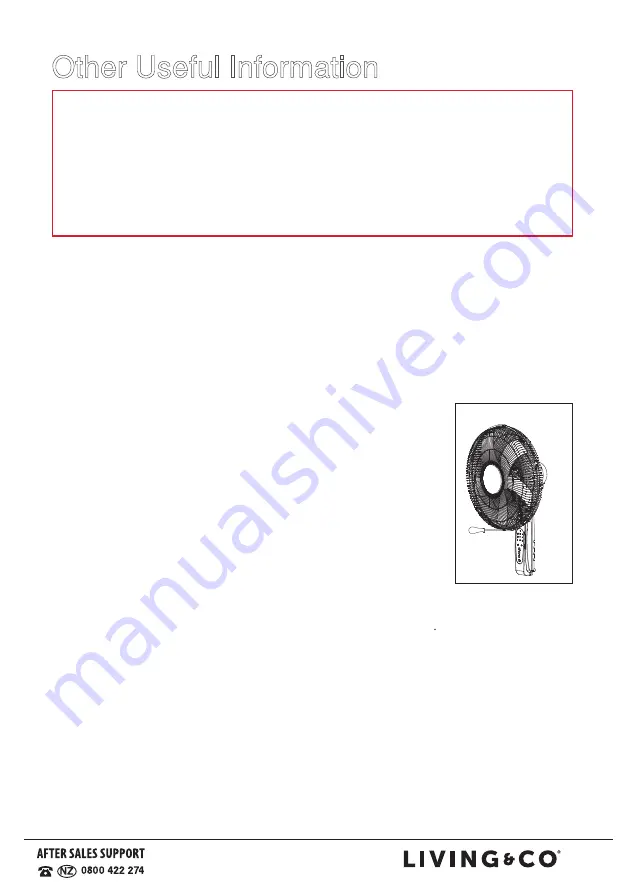
Fig.4  

12

1300 886 649

AU

1300 886 649

AU

13

Before cleaning, maintenance or moving the fan, and before removing a 

front or rear grille, switch off the fan and unplug it from the wall outlet.

Do not immerse the fan in water or other liquids. Do not spray it with 

liquids. Do not allow water to drip on or into the fan motor housing.

Never use petrol, solvents, harsh detergents, or abrasive or alkaline

cleaners on the fan.

Dusting: 

Clean your fan periodically by lightly running a vacuum cleaner

nozzle (soft brush) over the front and rear grilles to remove any dust or dirt

that may have accumulated inside or on the unit. Alternatively, use a soft,

dry cloth for dusting.

Stubborn stains:


Use a slightly damp, soapy cloth for stubborn stains but

be sure the cloth is not too wet. Use caution around the motor housing. Do

not allow the motor or other electrical components to be exposed to water.

Blade cleaning:

 If the blades need cleaning, first remove

the front grille by loosening the fan grille securing clips 

along with securing screw (refer Product Specifications 

Page 5) (Fig.4). Wipe the blades clean using a damp 

cloth, dry thoroughly. Refit the front grille and ensure all 

the screws and washers are inserted and tightened 

properly.

Storage:

 In the off season, store the clean and dry fan in 

a safe, dry location, protected from dust. We recommend 

using the original carton for storage of the disas sembled

Service/repair: 

The appliance requires no maintenance and contains no 

user-serviceable parts. Do not attempt to take the motor unit apart, repair or 

modify it. Do not operate the fan if its power cord or plug is damaged,or when 

it is working abnormally. In case of damage or malfunction, or if the cord is 

damaged, have the unit repaired by trained personnel only, or contact the 

after sales support line for advice on repair or replacement.

Before phoning for a service,

 please ensure that your fan is properly 

assembled and all parts are undamaged and in good working order. Also 

ensure that the front and rear grilles are clean and free of obstructions and 

that the fan is properly connected to your power supply.

product (follow the assembly instructions in reverse order to disassemble). 

Alternatively, place a large plastic bag or old towel over the top of the cleaned 

appliance for dust protection.

Summary of Contents for YF-ST1638

Page 1: ...INSTR CTION MANUAL YF ST1638 40cm Pedestal Fan ...

Page 2: ...1 ...

Page 3: ...2 1300 886 649 AU Contents Page Important Safety Instructions 3 Product Overview 5 Getting Started 6 Instructions 10 Other Useful Information 13 1300 886 649 AU 2 ...

Page 4: ...e your outlet voltage and circuit frequency correspond to the voltage stated on the rating label If this is not the case do not use the fan Water To protect against fire and electric shock do not immerse the cord plug or the fan itself in water or other liquids or expose the electrical connections to water Ensure your hands are dry before handling the plug or switching on the appliance Do not use ...

Page 5: ...hing other than its intended purpose and only use it as described in this manual Any other use may cause fire electric shock or injury No clothes drying Do not use this fan as a dryer Attachments The use of accessories not intended for use with this fan may cause injuries to the user or damage to the appliance Liability We assume no liability for any damages or personal injury caused by misuse of ...

Page 6: ... may vary slightly from the product purchased All images in this manual are for reference purposes only Parts are not necessarily pictured to scale Safe Front grille Safe screw nut Blade cap Blade Grille nut Rear grille Motor Body Control panel Power cord Height Adjustment Control Collar Outer Pipe Base Remote control Lock plate L shaped screw ...

Page 7: ...osed of safely Inspection Unwind the cord to its full length and inspect it for damage Do not use the appliance if the appliance or its cord have been damaged or are not working properly In case of damage contact our after sales support centre for advice on examination repair or return of the damaged product Instructions Make sure you have read and understood all instructions and warnings in this ...

Page 8: ...otor into the top of the inner pipe tighten the refer Figure 3 5 Unscrew the Grille Nut on the front of the motor by turning counterclockwise 6 Mount the Rear Grille to the motor front cover by matching 3 holes on the guard to the 3 round positioning knobs on the motor front cover Push in firmly until the 3 knobs protrude through the 3 holes refer Figure 4 7 Replace and tighten the Grille Nut by t...

Page 9: ...1300 886 649 AU 8 Figure 1 Figure 4 Grill nut Figure 2 Height Adjustment Control Collar Grill nut Blade cap Figure 3 Lock plate L shaped screw Outer Pipe ...

Page 10: ...Figure 5 Figure 6 Blade cap 9 1300 886 649 AU 9 Figure 7 Guard centre cap ...

Page 11: ... soft natural breeze suitable for night time use The mode indicator is green Fig 1 TIMER OFF ON SPEED OSC LOW 4H POWER MID 2H MODE HIGH 1H OSC outlet and switch on power to the outlet 0 5H Press the ON SPEED button on the remote control or on the control panel to switch on the fan At first operation it will start at low speed On subsequent operations the fan will start at the last selected setting...

Page 12: ... control or on the control panel to set the timer in increments of 0 5 hour to a maximum of 7 5 hours After the timer runs out the fan will automatically shut off There are four indicator lights for the timer 0 5h 1h 2h 4h For example Tilt adjustment Make sure the fan is unplugged from the power supply before adjusting the tilt angle The fan head assembly can be tilted to direct the breeze upwards...

Page 13: ... do not over tighten screw WARNING Keep batteries out of reach of children Swallowing may lead to serious injury or death in as little as 2 hours due to internal burns If swallowed go straight to a hospital emergency room Dispose of used batteries immediately Other battery precautions Do not open the batteries or short circuit them Due to increased risk of leakage empty batteries should be removed...

Page 14: ...uring screw refer Product Specifications Page 5 Fig 4 Wipe the blades clean using a damp cloth dry thoroughly Refit the front grille and ensure all the screws and washers are inserted and tightened properly Storage In the off season store the clean and dry fan in a safe dry location protected from dust We recommend using the original carton for storage of the disas sembled Service repair The appli...

Page 15: ...e ACMA as well as corresponding government requirements for the safety of electrical devices At the end of its working life make the appliance unserviceable by unplugging it from the power outlet and cutting the power cord Do not throw this appliance out with your household rubbish Electrical and electronic products contain substances which can have a detrimental effect on the environment and huma...

Page 16: ...12 1300 886 649 AU 1300 886 649 AU 15 MAY ...

Reviews: