

• Place the unit on a level surface away from sources of direct sunlight or excessive heat.
• Protect your furniture when placing your unit on a natural wood and lacquered finish. A cloth
or other protective material should be placed between it and the furniture.
• Do not clean your unit by water directly. Clean the unit with a soft, clean cloth slightly
moistened with plain lukewarm water only.
• Stronger cleaning agents, such as Benzene, thinner or similar materials can damage the
surface of the unit.
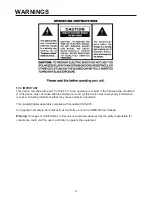
WARNING:
Changes or modifications to this unit not expressively approved by the party
responsible for compliance could void the user’s authority to operate the equipment
CARE AND MAINTENANCE
5
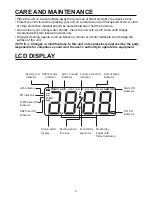
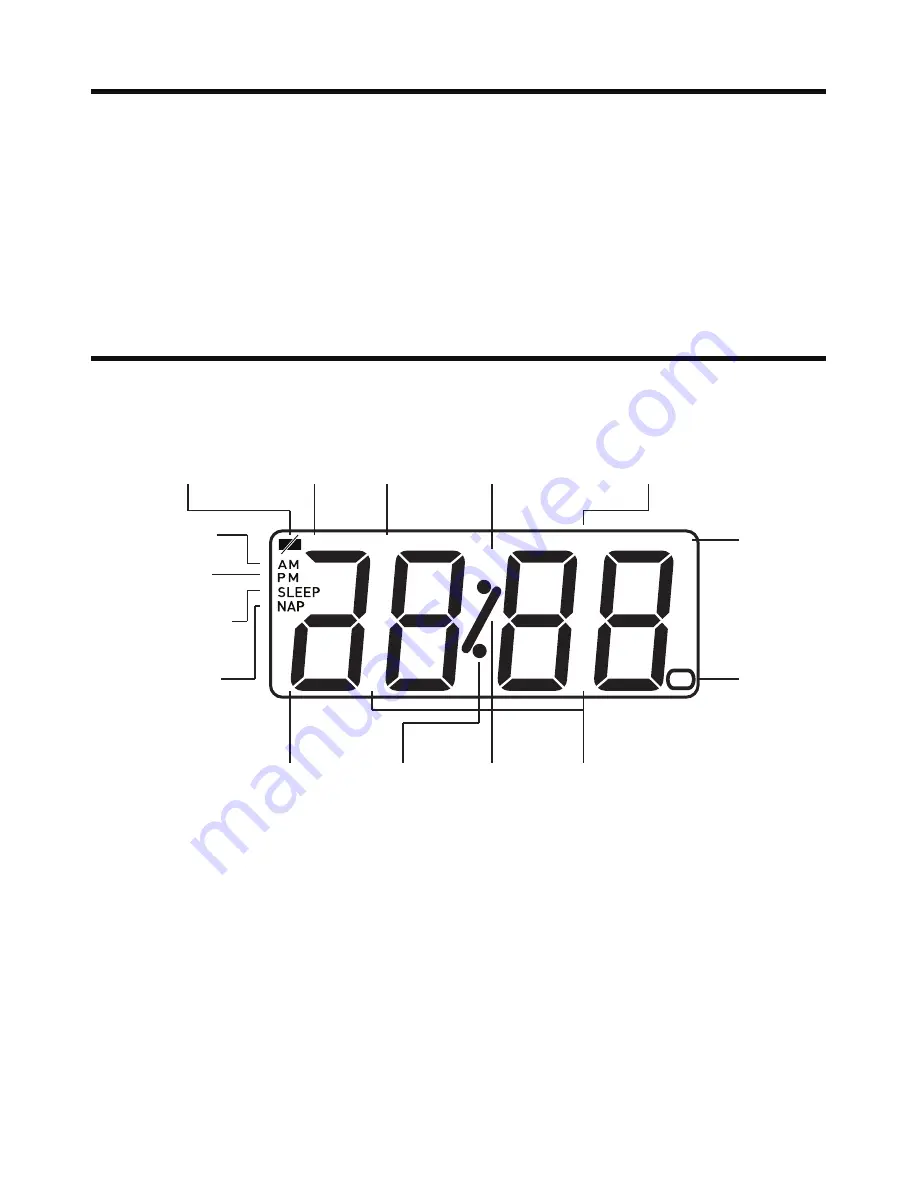
LCD DISPLAY
RADIO mode
indicator
AM indicator
PM indicator
SLEEP timer ON
indicator
NAP timer ON
indicator
Time & Alarm
Display
Flashing Colon
for clock
Battery Low
indicator
Snooze activation
indicator
Alarm ON
indicator
Date of Week
indicator
DST ON
indicator
AUX -in mode
indicator
RADIO AUX
DST
Z
M D
D M
MON TUE WED THU FRI SAT SUN
ALARM ON
Month/Day
Day/Month
format indicators
Month/Day
Separator