13
14
Figure II
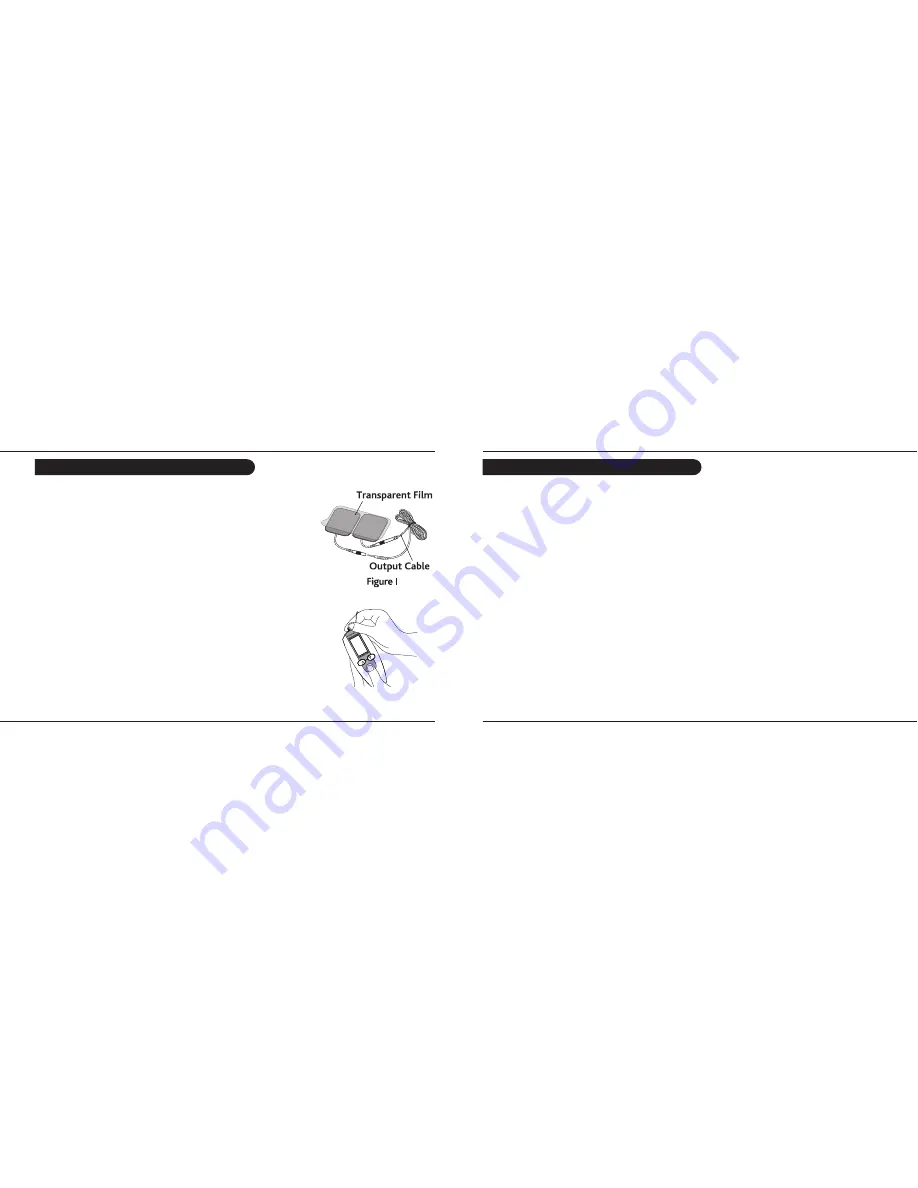
How to connect the gel pads:
Each gel pad is pre-fixed with a cord-socket and protected by
a transparent film (Figure I). Attach the gel pads to the
output cables and insert into the output socket (Figure II).
Remove the layer of film and place that side of the gel pad
to the skin, positioning the gel pads on the area of pain.
Press to ensure adhesion. Please read section ‘Program
Selection and Gel Pad Positioning’ (pages 19-20) carefully to
understand where to place the gel pads.
Caution:
Affix the gel pads so that they do not overlap one
another and are approximately 4-6 inches apart. Be sure not to
move the gel pads to another part of your body without turning
off the power first.
Once the gel pads are attached, the TENS Digital Pain Reliever
is ready to be switched on.
Please note:
• Never stick the gel pads to each other
• Keep the gel pads clean and do not expose to heat or direct sunlight
• If the gel pads do not adhere to your body or are dirty, wipe with a damp, lint free
cloth or replace with new ones
• Do not clean the pad or adhesive gels with any chemical
• Place the gel pads on intact skin only. Do not place on cuts or damaged skin
• The TENS Digital Pain Reliever should only be used on one person at a time
• Replace the transparent film on the gel pads when not in use
• When the gel pads need replacing, new gel pads and cables are available at your
local Lloydspharmacy or from www.lloydspharmacy.com. Please replace the output
cable with the new one supplied
IMPORTANT NOTE: When removing the gel pads from the skin, peel off from one corner
of the gel pad. DO NOT pull the cord-socket or output cable to remove.
Using your TENS Digital Pain Reliever
Using your TENS Digital Pain Reliever


