background image

E-mail support 

techsupport@lmicorporation.com


LMI Corporation

Phone support 

(810) 714-5811 


Form:  CA 045 

May 5, 2005 

C:\Documents and Settings\timmartin\Local Settings\Temporary Internet Files\OLK9\CA 
045 LMI 241-BWV2 to 440 or 501.doc 

Page 9 of 

12 


II.


MASTERING INSTRUCTIONS


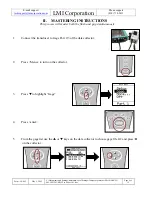
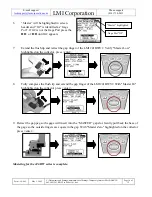
This process will master both the flush and gap simultaneously  


1.


Connect the transducer to Gage Port 2/3 of the data collector. 


2.


Press <Menu> to turn on the collector. 


3.


Press 

 to highlight “Gage”. 


4.


Press <enter>. 


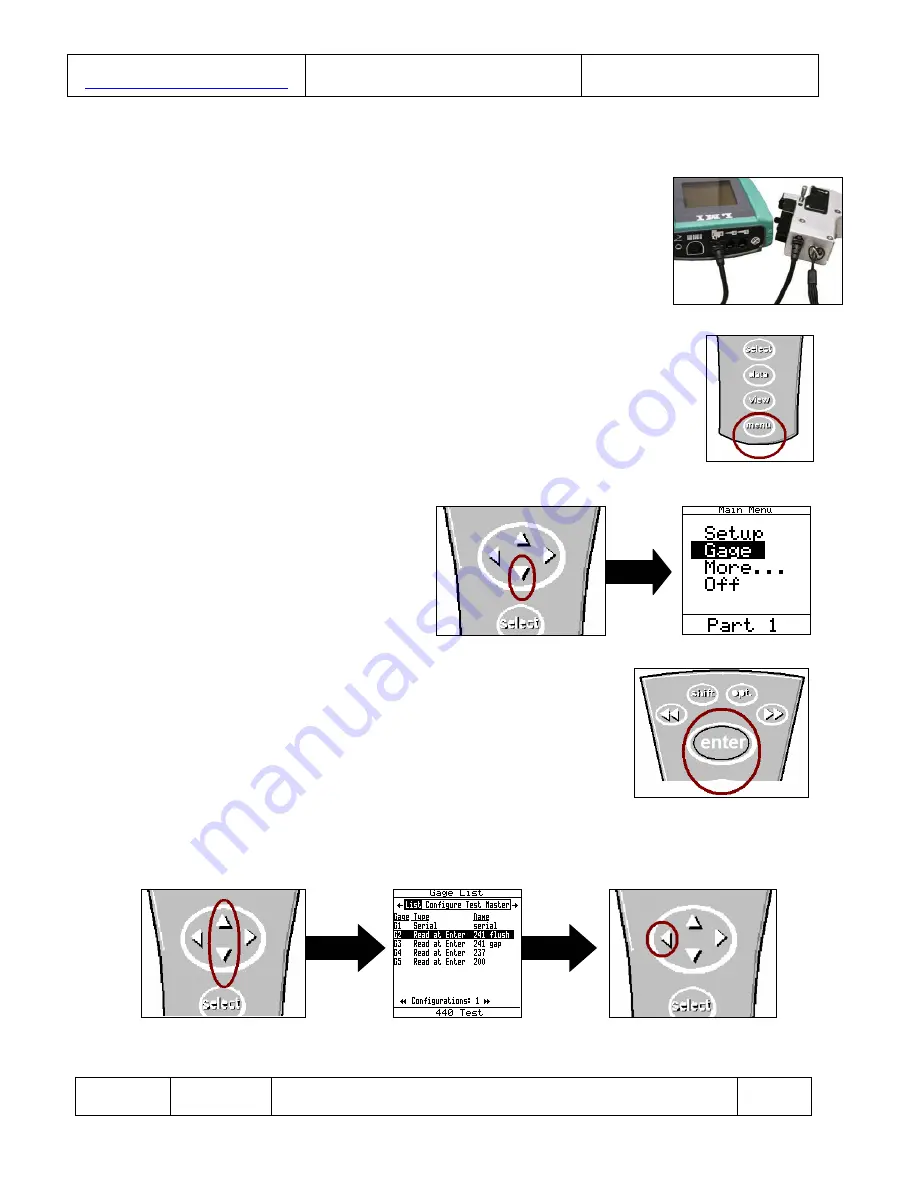
5


From the gage list use the 

 or 

 keys on the data collector to choose gage file G2 and press 


on the collector. 


Summary of Contents for 241-BWV2

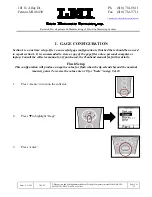
Page 1: ...LK9 CA 045 LMI 241 BWV2 to 440 or 501 doc Page 1 of 12 CONFIGURATION and MASTERING for the LMI 241 BWV2 or 241 FG the LMI 440 or ASI DATAMYTE 501 This instruction will outline I GAGE CONFIGURATION 2 Flush Setup 2 Gap Setup 6 II MASTERING INSTRUCTIONS 9 III VERIFICATION OF THE MASTERING 11 Flush Verification 11 Gap Verification 12 Required Equipment 1 LMI 440 or ASI DataMyte 501 2 LMI 241BWV2 or 24...

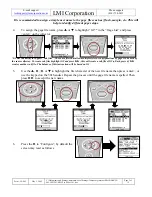
Page 2: ...ion I is a one time setup After a successful gage configuration is finished there should be no need to repeat section I It is recommended to store a copy of the gage files onto a personal computer or laptop Consult the collector manual or if purchased the TranSend manual for further details Flush Setup This configuration will produce a negative value for flush when the tip extends beyond the nomin...

Page 3: ... in the Gage List and press enter on the collector G2 has the ability to support sub files These are files that allow multiple styles or configurations of gages to be used by the same collector To create sub files highlight G2 and press this will create a sub file of G2a Each press of creates another sub file The balance of this instruction will be based on G2 5 Use the or to highlight the first c...

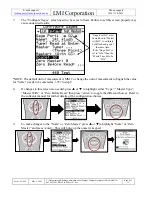
Page 4: ... measurment to English the value for Scale needs to be entered as 3937 in step 9 8 If changes to this screen are needed press or to highlight either Type Master Type Master With or Zero Before Read then press enter to toggle the different choices Refer to the collector manual for further details of the configuration choices 9 To make changes to the Scale or Zero Master press or to highlight Scale ...

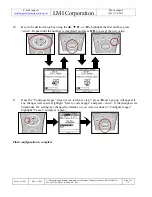
Page 5: ...lue buy using the or to highlight the first number press enter Repeat until the number is completed and press to accept the new value 11 Once the Configure Gages screen is set reference step 7 press and a pop up will appear if any changes were made Highlight Save to current gage and press enter if the changes were intentional If a setting was changed by mistake or you were not done in Configure Ga...

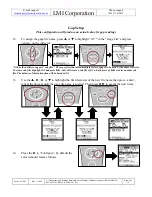
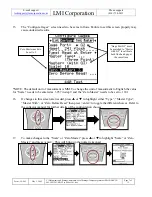
Page 6: ... Gage List and press enter on the collector G3 has the ability to support sub files These are files that allow multiple styles of gages to be used by the same collector To create sub files highlight G2 and press this will create a sub file of G3a Each press of creates another sub file The balance of this instruction will be based on G3 13 Use the or to highlight the first character of the new file...

Page 7: ...ment to English the value for Scale needs to be entered as 3937 in step 9 and the Zero Master needs to be set to 1181 16 If changes to this screen are needed press or to highlight either Type Master Type Master With or Zero Before Read then press enter to toggle the different choices Refer to the collector manual for further details of the configuration choices 17 To make changes to the Scale or Z...

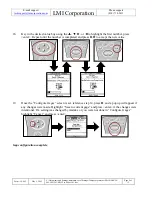
Page 8: ...value buy using the or to highlight the first number press enter Repeat until the number is completed and press to accept the new value 19 Once the Configure Gages screen is set reference step 14 press and a pop up will appear if any changes were made Highlight Save to current gage and press enter if the changes were intentional If a setting was changed by mistake or you were not done in Configure...

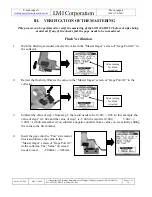
Page 9: ...9 CA 045 LMI 241 BWV2 to 440 or 501 doc Page 9 of 12 II MASTERING INSTRUCTIONS This process will master both the flush and gap simultaneously 1 Connect the transducer to Gage Port 2 3 of the data collector 2 Press Menu to turn on the collector 3 Press to highlight Gage 4 Press enter 5 From the gage list use the or keys on the data collector to choose gage file G2 and press on the collector ...

Page 10: ... until G2 appears 7 Extend the flush tip and retract the gap finger of the LMI 241BWV2 Verify Master Low highlighted on the collector press enter 8 Fully compress the flush tip and extend the gap finger of the LMI 241BWV2 With Master Hi highlighted on the collector press enter 9 Retract the gap peg so the gage will insert into the MASTER gap slot Gently pull back the base of the gage so the outsid...

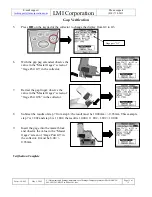
Page 11: ...n the Master Gages screen of Gage Port G2 in the collector 2 Retract the flush tip Observe the value in the Master Gages screen of Gage Port G2 in the collector 3 Subtract the value of step 2 from step 1 the result needs to be 10 00 0 03 In this example the value of step 2 is 5 002 and the value of step 1 is 5 002 the result is 10 004 5 002 5 002 10 004 remember if you subtract a negative number f...

Page 12: ...gap peg extended observe the value in the Master Gages screen of Gage Port G3 in the collector 7 Retract the gap finger observe the value in the Master Gages screen of Gage Port G3b in the collector 8 Subtract the results of step 7 from step 6 the result must be 10 00mm 0 03mm This example step 7 is 1 802 and step 6 is 11 802 the result is 10 000 11 802 1 802 10 000 9 Insert the gage into the mast...

Reviews: