���
���
CHARGING INSTRUCTIONS
Charging the Battery with the Basic Charger
Charge the machine for 12-16 or until the LED indicator is solid green
before the first use
.
If you purchased a premium or fast charger with the machine, you will not receive a basic charger.
• Insert the basic charger into the control panel jack.
• Plug the charger into a live AC outlet and charge until the LED indicator is solid green.
• Depending on usage, the typical charging time will range from 18-24 hours.
• To avoid overcharging your battery, disconnect the charger after the LED indicator is
solid green.
Never charge the battery for longer than 24 hours in a row
.
• For optimal battery life, charge the battery after each use.
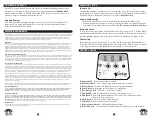
Battery level and status are indicated on your control panel LED by the following
:
•
Green
SOLID &
Red
OFF
. . . . . . . . . . . . . . . . . . . . . . . . . . . . . . . . . . . . . . . . . . . . . . . . . . . . .
Battery at full charge
•
Green
FLASHING &
Red
OFF
. . . . . . . . . . . . . . . . . . . . . . . . . . . . . . . . . . . . . . . . . . . . . . .
Battery at 2/3 charge
•
Green
OFF &
Red
FLASHING
. . . . . . . . . . . . . . . . . . . . . . . . . . . . . . . . . . . . . . . . . . . . . . .
Battery at 1/3 charge
•
Green
OFF &
Red
SOLID
. . . . . . . . . . . . . . . . . . . . . . . . . . . . . . . . . . . . . . . . . . . . . . . . . . . . . . . . . . .
Battery depleted
Charging the Battery with the Premium Charger or Fast Charger
When charging the machine with a premium or fast charger, the charging LED indicators on
the control panel are
bypassed
and the
charger base LED lights are used instead.
Both
chargers have trickle charge technology, which ensures the battery will not be overcharged.
• Insert the round 3-prong battery charger connector into the charger jack located on the
left side of the red case. Plug the charger into an electrical outlet.
•
Premium Charger
- Battery will be fully charged in 3-6 hours depending on battery level.
•
Fast Charger
- Battery will be fully charged in 9-18 hours depending on the battery level.
• An
orange light
(premium) or a
red light
(fast) indicates the battery is
charging
.
• A
green light
on either charger indicates the battery is
fully charged
.
• For optimal capacity, charge the battery after each use.
Using the Machine with the Premium Charger
The premium charger can extend your playing time 2-4 hours. To use this feature:
• Ensure the battery is mostly charged, connect the charger to the machine and plug into
an electrical outlet. Then turn the machine on and play.
• The premium charger will NOT fully charge the battery and power the machine at the
same time. It will not power the machine if the battery is dead.
Battery Life and Maintenance
Before storing the machine, ensure the battery is fully charged
. When the machine is not in
regular use (or is being stored), charge the machine every month until the LED light is solid
green.
Never let the machine go uncharged for more than one month.
®
®
OPERATING INSTRUCTIONS
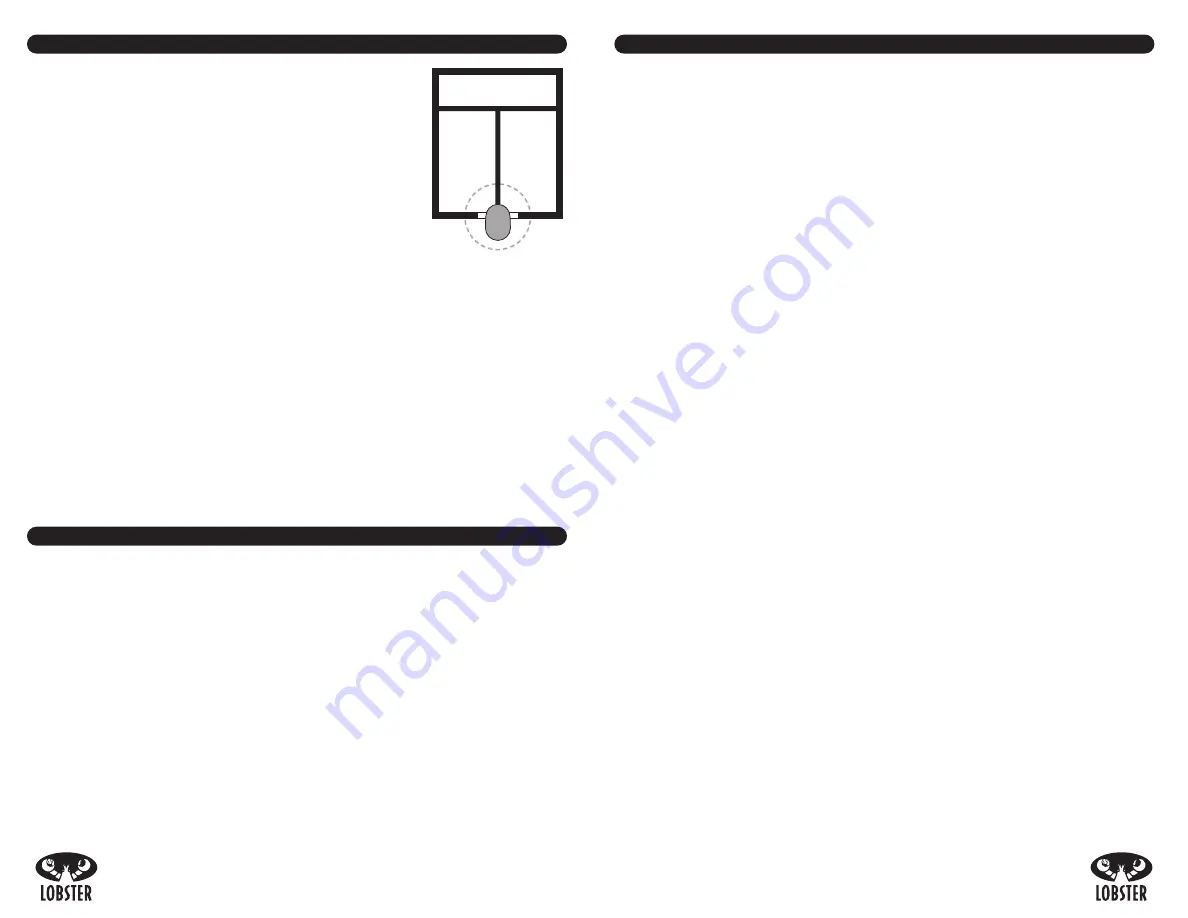
Court Placement
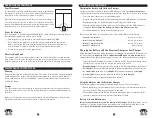
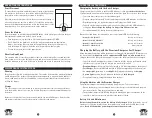
To ensure the best position and widest range of sweep, align the white
line marker on the bottom of the machine with the baseline, placing
the machine at the center mark (as shown to the right).
If desired, move the machine closer to the net to narrow the sweep or
move it back from the baseline to widen it. To reposition the machine,
turn on the horizontal sweep and turn it off when the machine is in the
desired position—It is not necessary to pick up the machine.
Power the Machine
Turn the machine on by switching the POWER button on the control panel. Ensure both the
ball speed and feed dials are at their lowest setting.
• Turn the power on, set the feed to 10 seconds and the speed to 35 MPH.
• Put 3-4 balls in the machine. Confirm the trajectory and speed are appropriate.
Adjust, if necessary. Once you have set the machine up properly, turn machine off,
load the hopper full of balls, and then turn the machine on again to play.
• To turn off the feed, turn off the power button.
Elevation Hand Crank
The elevation knob is located on the lower right side of the machine. Pull-out and twist the
knob clockwise to raise your ball trajectory up and turn counter-clockwise to lower. Use the
elevation indicator on the front of the case to identify and return to preferred level settings.
MAINTENANCE INSTRUCTIONS
Cleaning
Turn the power off when cleaning the machine. The outside of the machine may be wiped with
a mild detergent. The inside of the machine may be vacuumed to remove dirt and debris (i.e.
leaves, sand particles, dirt, etc). In addition, remove all small debris from the balls before
refilling the hopper.
Storage
The elite storage cover is an ideal way to protect your machine from the elements. Always
store the machine indoors in a clean, dry location. Exposure to rain and snow will damage the
electronics.
Never store the machine in a closed car trunk—which can reach 180 degrees. Excessive heat
and extreme conditions can affect the machine’s electronics and battery.


