42
www. lochinvar .com
100221773_2000189439_Rev. 01
PERIODIC MAINTENANCE
GENERAL UPKEEP
Make it a habit to look around the heater, the vent piping,
and the hot and cold water pipes. Do not allow any material
to be piled up against the heater. Do not place any object
on top of the vent pipes.
Every 3 - 6 months or as necessary:
•
Clean lint from blower, top of heater.
Once per year:
•
Inspect the Vent System.
•
Burner Operation and Inspection.
•
Combustion Chamber for scaling or sooting.
•
Temperature-Pressure Relief Valve Test.
•
Anode Rod Inspection.
•
Flush a pail of water from the heater drain valve, once
per year.
If any deficiencies or abnormalities are encountered during
these inspections call a qualified service technician.
VENTING SYSTEM INSPECTION
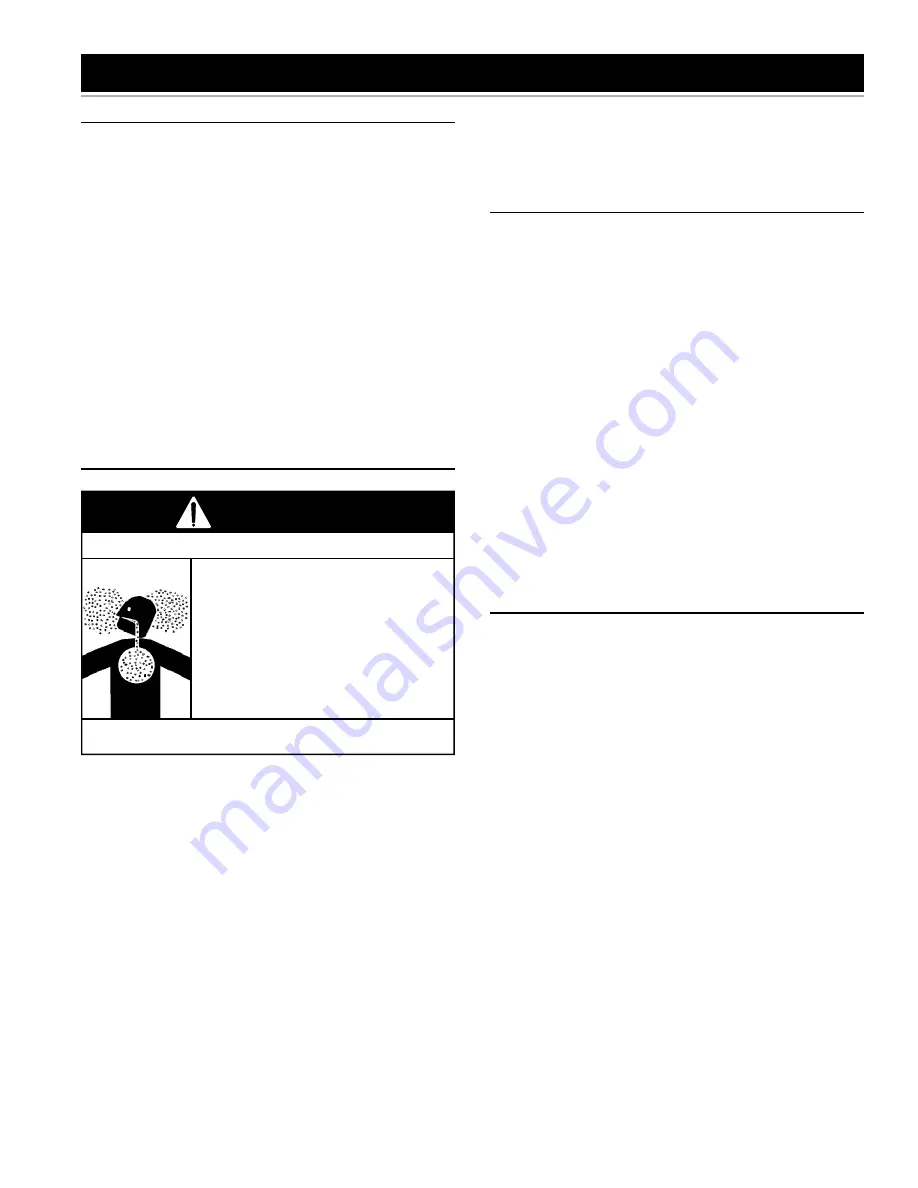
Breathing carbon monoxide can cause brain damage or death.
Always read and understand instruction manual.
•
Flue gases may escape if vent pipe is not properly
connected.
•
Be alert for obstructed, sooted or deteriorated vent
system to avoid serious injury or death.
•
Do not store corrosive chemicals in vicinity of water
heater.
•
Chemical corrosion of flue and vent system can
cause serious injury or death.
•
Analyze the entire vent system to make sure that
condensate will not become trapped in a section of
vent pipe and therefore reduce the open cross
sectional area of the vent.
Breathing Hazard - Carbon Monoxide Gas
WARNING
At least once a year a visual inspection should be made
of the venting system. You should look for:
•
Obstructions which could cause improper venting. The
combustion, dilution and ventilation air flow must not
be obstructed.
•
Damage or deterioration which could cause improper
venting or leakage of combustion products.
Be sure the vent piping is properly connected to prevent
escape of dangerous flue gasses which could cause
deadly asphyxiation.
Obstructions and deteriorated vent systems may present
serious health risk or asphyxiation.
Chemical vapor corrosion of the flue and vent system
may occur if air for combustion contains certain chemical
vapors. Spray can propellants, cleaning solvents,
refrigerator and air conditioner refrigerants, swimming pool
chemicals, calcium and sodium chloride, waxes, bleach
and process chemicals are typical compounds which are
potentially corrosive.
If after inspection of the vent system you found sooting or
deterioration, something is wrong. Call the local gas utility
to correct the problem and clean or replace the flue and
venting before resuming operation of the water heater.
BLOWER MAINTENANCE
Inspect the top of the heater and around the ventilation
openings of the blower motor and the rear blower dilution
air intakes for any lint and dust that may have accumulated.
Depending on the location of the heater, significant
quantities of lint may accumulate. The lint may obstruct
the free flow of air to the motor, and cause the motor and
blower to run hotter than normal (see Figure 48).
To clean any dust and lint, proceed as follows:
1. Unplug the water heater.
2. Using a nylon bristled paint or toothbrush, brush away
any lint. Pick up the lint with a cloth.
Better results can be achieved by using the small brush
on a vacuum cleaner to remove all lint and dust which
have accumulated on top of the heater, the louvres of the
air intake snorkel, the motor ventilation openings and the
rear blower dilution air intakes.
Important:
Do not insert any foreign object into the
ventilation openings of the motor.
CLEANING THE BLOWER.
In dusty and contaminated air conditions, the interior of
the blower and the blower wheel may require periodic
cleaning. This is often indicated by nuisance failures of the
air pressure switch or the high limit temperature control.
A collection of dust or debris on the rear blower dilution
air intakes can also indicate reduced blower capacity. To
clean the inside of the blower assembly and the blower
wheel requires the removal of the blower/motor from the
mounting plate located on the top of the heater. Tools
required include an 11/32” nut driver, small (1”) paint brush,
toothbrush and vacuum cleaner.
1. Turn the thermostat on the gas control to the lowest
setting. If the heater is running, wait for it to shut down
(see Figure 47).
2. Turn the gas control switch to the “OFF” position.
3. Disconnect the electrical power to the water heater
from the wall outlet.
4. Disconnect the vent piping from the top of the blower.
Loosen the lower gear clamp that holds the rubber
coupling to the blower (see Figure 48).
5. Remove and retain the (4) 11/32” nuts located on the
back of the blower with the nutdriver (see Figure 40
& Figure 48).
6. Holding the blower motor and the blower housing,
pull the assembly forward to disengage it from the
mounting plate. The blower will still be connected to
the junction box so exercise care not to stress the
wiring.


