65
18.2
CONVERSION TO LPG
This process must be carried out in the order stated before the water heater is switched on. Failure to
follow the following procedure may lead to non-warrantable damage to the water heater. The conversion
MUST be carried out by a competent person certified for work on LPG fuel.
In the event of any seal or gasket being broken it is essential that the seal or gasket be replaced. Contact
Lochinvar limited for replacement seals and gaskets.
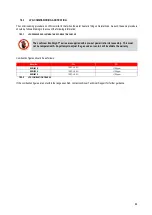
Model
Part No.
Stamp
Size
EKW46CE
ORF2022
150
4.98
0.025
EKW61CE
ORF2023
210
5.56
0.025
EKW86CE
ORF2024
285
6.76
0.025
18.2.1
LPG
ORIFICE
MARKINGS
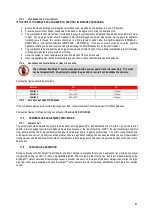
If the water heater is already installed and operational, you must turn off the gas supply, turn off the power supply and allow the
water heater to cool before proceeding. The conversion procedure is as follows:
18.2.2
EKW46CE
–
EKW86CE
1.
Remove the top and front access covers from the unit (no tools required for removal).
2.
Remove the impulse tube and wiring plug from the gas valve.
3.
Remove the three cap-head screws securing the gas valve to the venturi.
4.
Locate the propane orifice disk from the conversion kit bag. Verify that the stamping on the orifice disk is correct for the
water heater see 18.2.1. Place the orifice into the black rubber grommet in the side of the gas valve ensuring the orifice
and grommet are seated correctly.
5.
Reposition the gas valve against the venturi and replace the cap-head screws securing the valve to the venturi.
6.
Refit the impulse tube and wiring plug to the gas valve.
7.
After installation is complete, attach the propane conversion label (in the conversion kit bag) next to the water heater rating
plate. Attach the LPG caution label (in the conversion kit bag) to the left side of the unit in the lower left corner.
8.
Replace the top and front access covers.
18.2.3
CONVERSION
PROCEDURE
EKW46CE
–
EKW86CE
Summary of Contents for ECOKNIGHT EKW116CE
Page 28: ...28 Max distance between brackets ...
Page 29: ...29 ...
Page 30: ...30 ...
Page 34: ...34 ...
Page 35: ...35 ...
Page 55: ...55 15 8 WIRING DIAGRAM 15 8 1 WIRING DIAGRAM ...
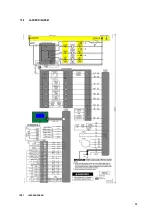
Page 56: ...56 15 9 LADDER DIAGRAM 15 9 1 LADDER DIAGRAM ...
Page 87: ...87 ...
Page 88: ...88 ...

