SCH Collectors Installation & Operation Manual
Install metal roof attachment
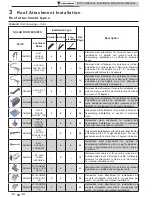
1. Determine roof type. Inspect the structural integrity of
the roof and the durability of the roof materials.
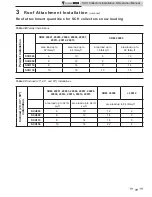
2. Determine the number of collectors needed for the
installation and the number of required roof attachments
from Table 3B or 3C on page 11.
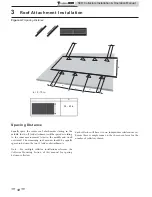
3. Determine collector connection points (spacing).
Measure the spacing of the rafters or trusses to confirm
the dimensions and prepare for the system layout
(reference the Roof Attachment Spacing Section on
page
12).
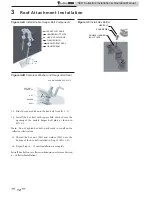
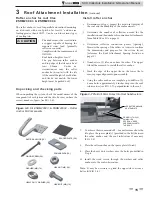
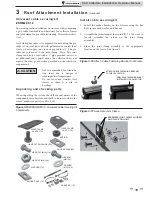
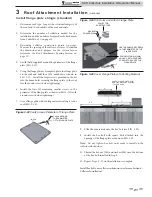
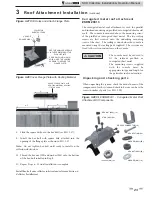
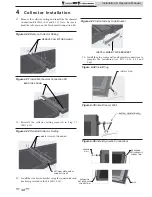
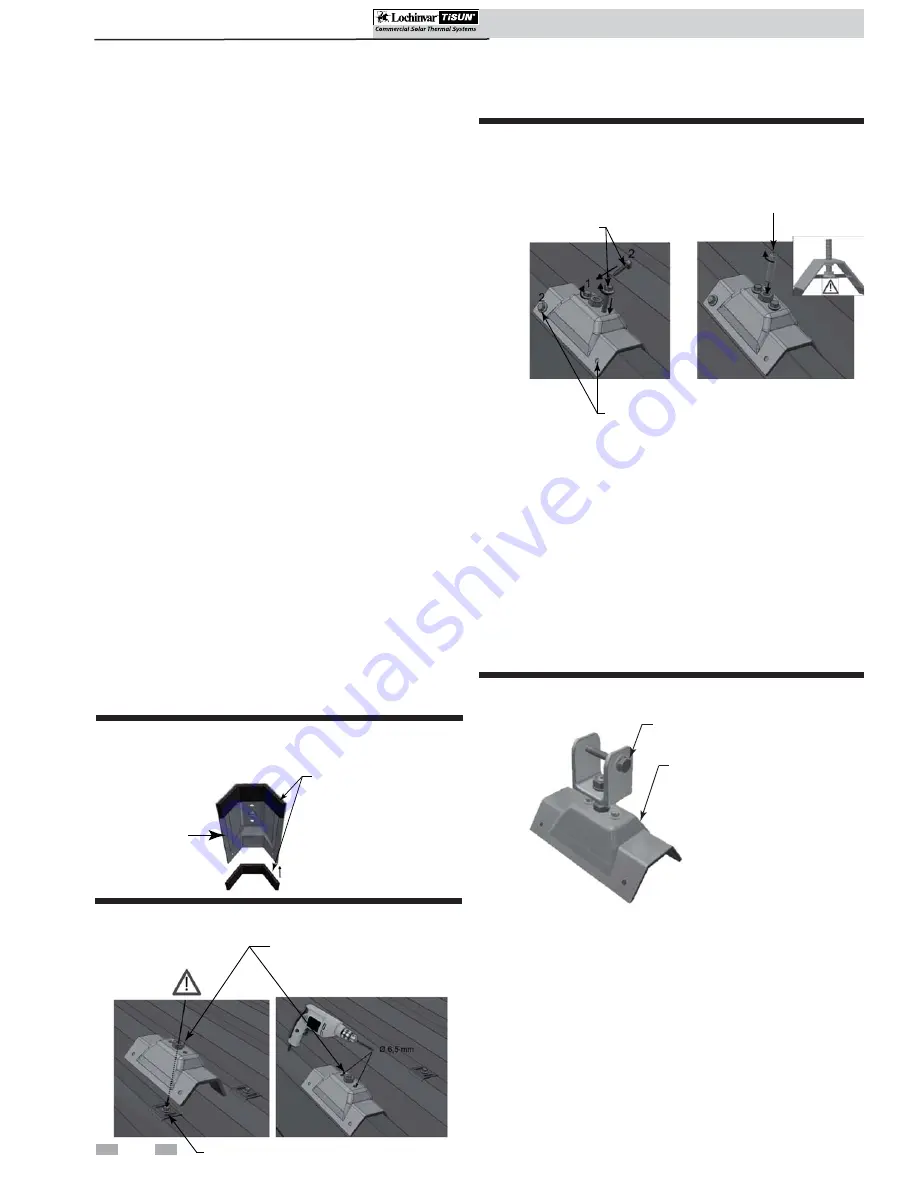
4. Attach the rubber seals provided in the kit to each end of
the metal roof attachment as shown in FIG. 3-30.
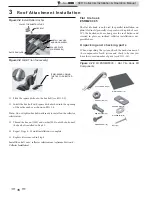
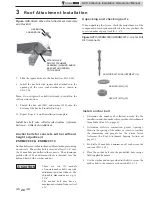
5. Place the metal roof attachment on top of an existing
fixing point of the metal roof (FIG. 3-31).
6. Using the metal roof attachment as a template pre-drill
two (2) 6.5 mm holes into the top of the metal roof
attachment (see FIG. 3-31).
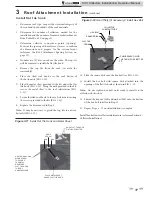
7.
Install hex bolts into pre-drilled holes as shown in
FIG.
3-32.
8. Install the four (4) self tapping screws provided in kit
into each side of the metal roof attachment (FIG. 3-32).
9. Insert the stud (all thread) into the center of the roof
attachment.
Figure 3-30 Install Rubber Seals
INSTALL SEALING PADS
METAL ROOF
ATTACHMENT
Figure 3-31 Pre-drill 6.5 mm Holes
PRE-DRILL 6.5 MM HOLES
FIXING POINT
Figure 3-32 Install Hex Bolts and Stud
INSTALL STUD
(ALL THREAD)
INSTALL
HEX BOLTS & STUD
INSTALL SELF TAPPING SCREWS
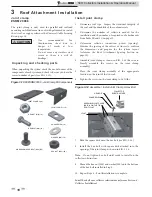
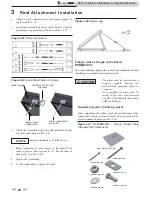
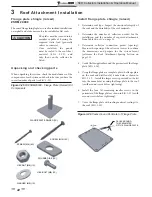
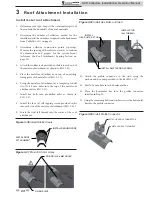
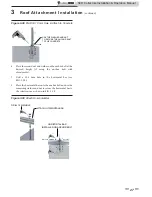
10. Attach the profile connector to the stud using the
washers and hex nuts provided in the kit (FIG. 3-33).
11. Drill a 6.5 mm hole into the horizontal bar.
12. Place the horizontal bar into the profile connector
installed in Step 10.
13. Using the remaining bolts and washers secure the horizontal
bar into the profile connector.
Figure 3-33 Install Profile Connector
3
Roof Attachment Installation
SCH Collectors Installation & Operation Manual
24
ATTACH PROFILE CONNECTOR
METAL ROOF ATTACHMENT

