14
MISCELLANEOUS
T
1
2
**Network Module Setting
Pairing with Z-Wave/ZigBee Controllers _______________________________________________14
Hardware Troubleshooting _________________________________________________________16
Programming Troubleshooting ______________________________________________________17
Reset the Lock to Factory Default ____________________________________________________18
Installing the Network Module ______________________________________________________19
Pin Code Management Sample Sheet _________________________________________________20
How to Replace/Install Cylinder ______________________________________________________21
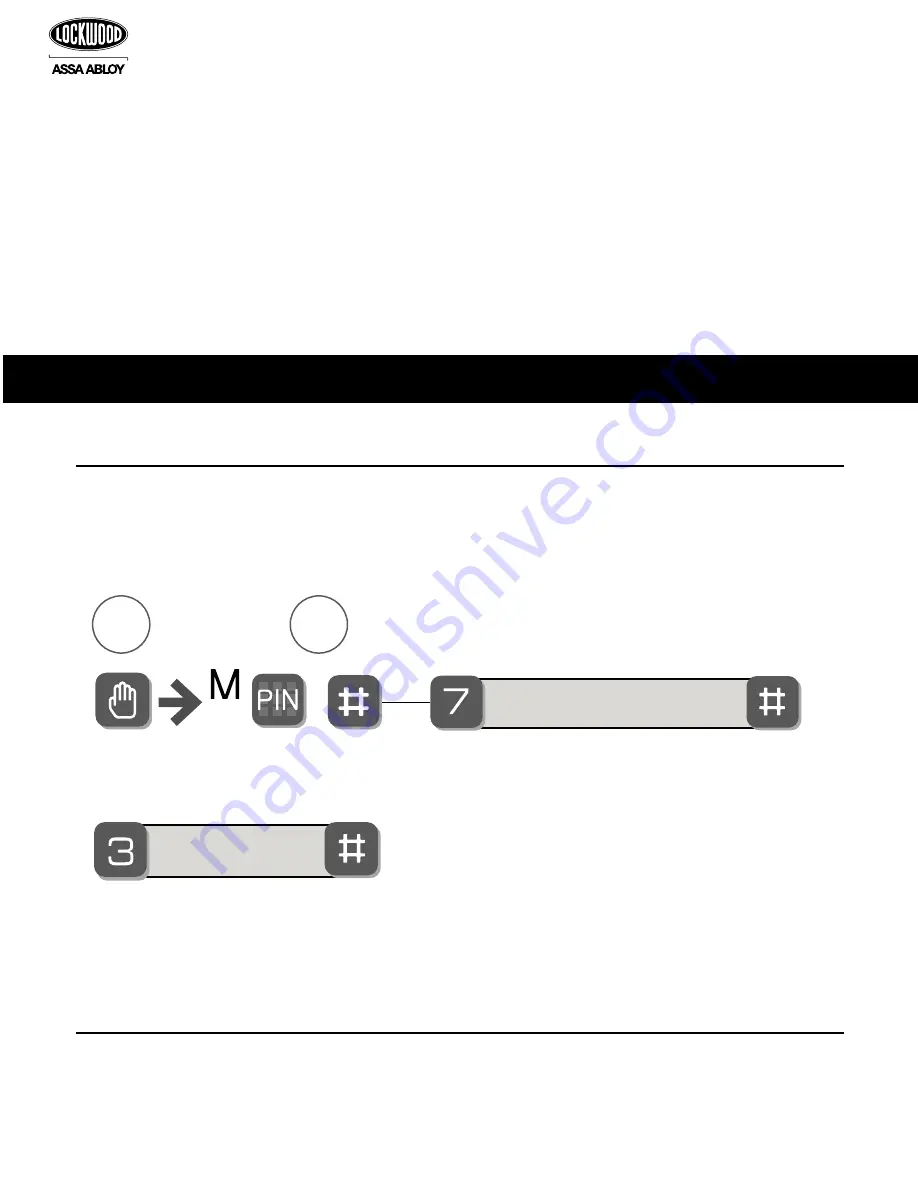
Before pairing the Lockwood Wireless Digital Deadbolt to a new Z-Wave/ZigBee network controller, be sure
it is not paired to another controller. You can check this by following these simple steps:
The old Z-Wave/ZigBee network controller must be set on the unpaired mode.
Repeat steps A and B above in the Digital Deadbolt to remove it from the old Z-Wave/ZigBee network. The
lock will communicate a successful change.
If the Lockwood Wireless Digital Deadbolt shows option B as above, the Digital Deadbolt has been paired
with another Z-Wave/Zigbee controller and needs to be unpaired.
Pairing with Z-Wave/ZigBee Controllers
1.
Check that the Lockwood Wireless Digital Deadbolt is not already paired
2.
Unpairing a Z-Wave/Zigbee Controller
(A)
(B)
Privacy Button Setting
Handing the Lock
Enable
Disable
Performs automatic handling
of the lock
Complete
High
Low
Silent
English
Enable
Disable
Join the network
Exit the network
**This function appears only
with RF network module
Note: If the lock is connected to a network
controller, it is recommended that it is
programmed through the centralised
interface (PC or hand-held device) to ensure
communication between the lock and the
controller unit.
Language Setting Mode
**Network Module Setting
All Code Lockout Mode
**This function appears only
with RF network module
installed.
Summary of Contents for Digital Deadbolt
Page 2: ......


