24
25
PAIRING THE SENSOR(S) MANUALLY
CREATE PWL ACCOUNT & SET UP WI-FI
®
CONNECTION
The weather console backlight can be adjusted, using the HI/LO/AUTO slider to select the appropriate
brightness:
• Slide to the HI position for the brighter backlight.
• Slide to the LO position for the dimmer backlight.
• Slide to the AUTO position for auto-adjusted backlight.
Whenever you changed the batteries of the 7-in-1 weather sensor or other additional sensors,
re-synchronization must be done manually.
1. Change all the batteries to new ones in the low battery sensor(s).
2. Press the SENSOR/WI-FI button on the console to enter sensor synchronization mode (as
indicated by the flashing antenna).
The console can upload/download weather data in ProWeatherLive (PWL) cloud server through wi-fi
router, follow the step below to set up your device.
Create Your PWL Account
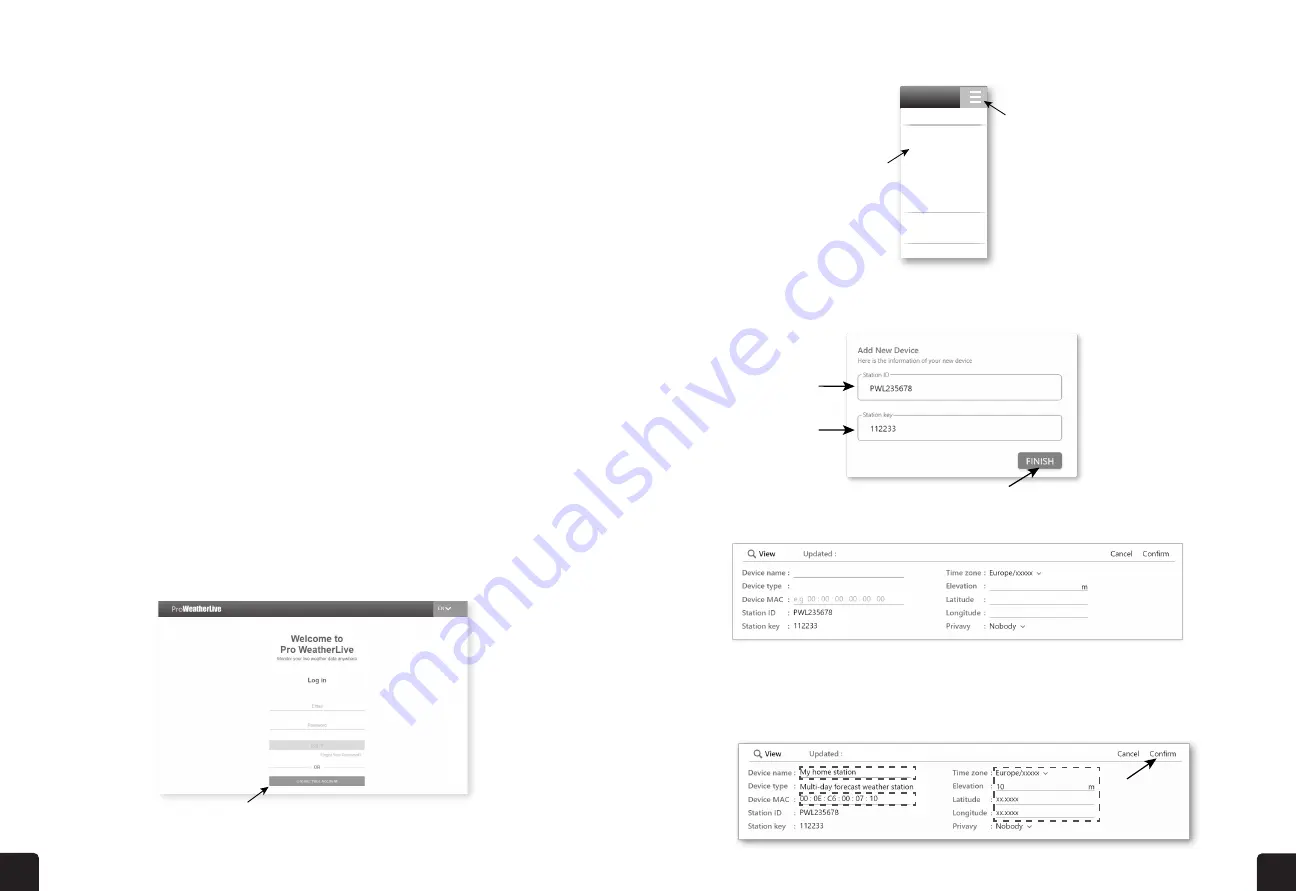
1. Visit the ProWeatherLive website at https://www.proweatherlive.net and click the
“Create Your
Account”
. Follow the instructions to create an account.
NOTE: Please use a valid email address to register your account.
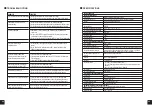
2. Once your account is created, sign into it, and then click
“Edit Devices”
in the drop-down menu to
add a new device.
3. In
“Edit Devices”
page, click the “+Add” on the top right corner to create a new device, it will generate
the station ID and key instantly, jot down both and then click
“FINISH”
to create the station tab.
4. Click the
“Edit”
on the top right corner of the station tab.
5. Enter in the
“Device name”, “Device MAC address”, “Elevation”, “Latitude”, “Longitude”
and
select your time zone in the station tab, then click
“Confirm”
to save the setting.
DISPLAY BACKLIGHT
23
-By pressing and hold
[ALARM / SNOOZE]
key for 2 seconds to stop the alarm and will activate again in
the next day
-By pressing
[ ALARM ]
key to stop the alarm and the alarm will activate again in the next day.
NOTE:
-The snooze could be used continuously in 24 hours.
-During the snooze, the alarm icon “ ” will keep flashing.
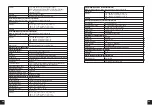
4.4.3 UNIT SETTING
Use the
[ UNIT ]
key to change the unit of measure of the reading on the console display.
Below is the operation step:
- Press and hold
[ UNIT ]
key for 2 seconds to enter the unit setting mode.
- Short press
[ UNIT]
key to proceed to the next setting step.
- Press
[ / INDEX ]
or
[ / MODE ]
key to change the value. Press and hold the key for
quick-adjust.
- Press and hold
[ UNIT ]
key for 2 seconds to exit the unit setting mode at any time.
Setting items table:
Step
Mode
Setting procedure
1 Temperature unit Press
[ / INDEX ]
or
[ / MODE ]
key to select °C or °F
2 Rain unit
Press
[ / INDEX ]
or
[ / MODE ]
key to select mm or in
3 Wind speed unit Press
[ / INDEX ]
or
[ / MODE ]
key to select m/s, km/h, knots or
mph
4 Baro pressure unit Press
[ / INDEX ]
or
[ / MODE ]
key to select hPa, inHg or mmHg
5 Light intensity
Press
[ / INDEX ]
or
[ / MODE ]
key to select Klux, Kfc or W/m
2
4.4.4 BACK LIGHT
The main unit back light can be adjust, using the
[ HI / LO / AUTO ]
sliding switch to select the
appropriate brightness:
-Slide to the
[ HI ]
position for the brighter back light.
-Slide to the
[ LO ]
position for the dimmer back light.
-Slide to the
[ AUTO ]
position for the auto adjust back light that according to environment light level.
5.
CREATE PWL ACCOUNT & SETUP WI-FI CONNECTION OF CONSOLE
The console can upload /download weather data in ProWeatherLive (PWL) cloud server through
WI-FI router, you can follow the step below to setup your device.
NOTE:
ProWeatherLive (PWL) website and APP are subjected to change without notice.
5.1
CREATE PWL ACCOUNT AND ADD NEW DEVICE IN PWL
1. In
https://proweatherlive.net
click the "
Create Your Account
" then follow the instructions to
create your account.
24
2. Log in the ProWeatherLive and then click the "
Edit Devices
" in the pull down menu.
Account
Edit Devices
Dashboard
Unit & Display
Alert Setting
Help
FAQ
Weather Server
Data Export
Log Out
3. In "Edit Devices" page, click the "
+Add
" on the top right corner to create a new device, it will
generate the station ID and Key instantly, jot down both and then click "
FINISH
" to create the
station tab.
4. Click the "
Edit
" on the top right corner of the station tab.
5. Key-in the "Device name", "Device MAC address", "Elevation", "Latitude", "Longitude" and
select your time zone in the station tab, them click "confirm" to save the setting.
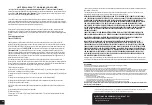
NOTE:
Enter a negative sign for Latitudes or Longitudes when it’s South or West respectively.
For example,
33.8682 South is “-33.8682” ; 74.3413 West is “-74.3413”
The device Mac address can be found on the backside of
the console or in the "SETUP" page mentioned in
section
6.3
.
The weather forecast and weather condition will be based
on the Latitudes and Longitudes entered, which are also
used for calculations of sunrise, sunset, moon rise and
moon set times.
Step 1
Step 2


