WIPING MODES AND SETTINGS
Logicube OmniWIPE-
2™ User’s Manual
14
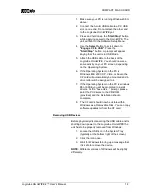
NOTE
: Do not use an actual Master drive in the
Master / Target 1 position. It will be erased along
with the other Target drives.
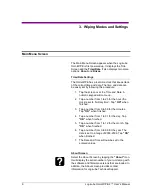
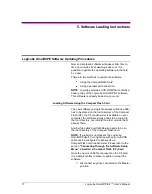
2. From anywhere in the menu system press the
“
Set
” button to enter the Settings menu.
3. Tap the
“Security Erase”
icon. The Security
Erase Settings screen will appear.
4. Tap the
“Passes”
icon to set the number of
passes. Use the numeric keypad to enter the
number of passes. Tap
“OK”
when finished.
5. Tap the
“Enhanced”
icon to set the Enhanced
wipe to Yes which is represented with a “Y” or No
which is represented wi
th an “X”.
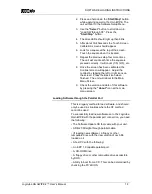
6.
Press the “
Start/Stop
” button twice.
7. A message will appear stating that you are about
to erase the Target drives. If you wish to continue,
choose “<Yes>”. If you want to abort the operation,
choose “<No>”.
8. If any of the attached drives are protected with a
password, a prompt will come up informing the
user. Use the Alphanumeric Keypad to enter the
password. If the correct password is entered the
wiping operation will continue.
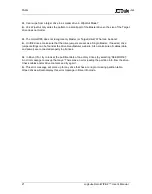
9.
If “<Yes>” is chosen, the Security Erase operation
will begin and a status screen will appear. It
contains both a progress bar and a “time elapsed”
field.
10. The Logicube OmniWIPE will notify you when
erasing is complete. Press the Back button to
return to the main menu


