SOFTWARE LOADING INSTRUCTIONS
Logicube OmniWIPE-
2™ User’s Manual
18
2.
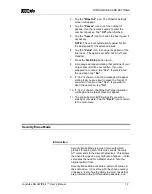
Press and hold down the “
Start/Stop”
button
while applying power to the OmniWIPE. The
unit will boot to the Software Setup Menu.
3. Use the
“Select”
button to scroll down to
“Load SW through CF”. Press the
“Start/Stop”
button.
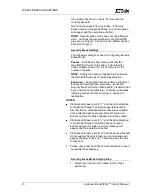
4. The drive LEDs should light up then blink.
5. After about 30-45seconds the Touch Screen
Calibration screen should appear.
6. Look for a square at the top of the screen.
Touch the square when it is located.
7. Repeat the previous step four more times.
The unit will count each time the square is
pressed correctly. It will count (1/5), (2/5), etc.
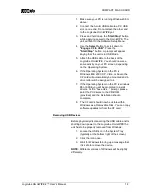
8. Once the screen has been calibrated, the
Contrast screen will appear. Adjust the
contrast by tapping the left or right icons on
the screen. Press the Back icon when
finished. The unit will reboot to the Main
Menu Screen.
9. Check the version and date of this software
by pressing the
“About”
icon at the main
menu screen.
Loading Software through the Parallel Port
This is a legacy method to load software, and should
only be used in situations where the CF method
cannot be used.
To successfully load new software on to the Logicube
OmniWIPE with the parallel port connection, you need
the following:
• The Software Update CD that came with your unit.
• A DB-25 Straight-through parallel cable.
• (If loading new software), a floppy or other
removable drive with the new version of ocx.h86
loaded on it.
• A host PC with the following:
− An EPP 1.9 capable parallel port.
− A CD-ROM drive.
− A floppy drive or other removable drive accessible
by DOS.
− Ability to boot from a CD. This can be determined by
checking the PC’s BIOS.

